
Import KiCAD files
In the upper left corner of the Fusion window, click Show Data Panel
 to open the Data Panel.
Click Upload.
Select KiCad Design Files to import.
These can include individual schematic and board files, or project files, or library files.
In the Open dialog, filter the files to only KiCad files to avoid searching through unrelated files.
Select the KiCad file that you want to upload.
Select translation type; Modules or Sheets.
Select the location where you want to store the files then click OK.
- For a project file, Fusion automatically finds and includes related schematic and board files and create an Electronics Design file.
- For both a schematic and board file of the same project, Fusion automatically creates an Electronics Design file.
- For a schematic or board file, Fusion recommends creating an Electronics Design file, but you can deselect this option.
- For a project file and a schematic file from different projects, Fusion recommends choosing sheets as the default setting.
Review your design files, select your preferences, then click OK.
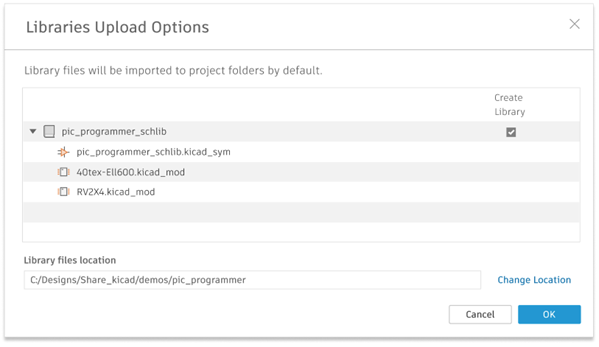
(Optional) To upload library files, review the files and click OK.
By default, Fusion imports library files to the project folders, but you can change their location if needed.
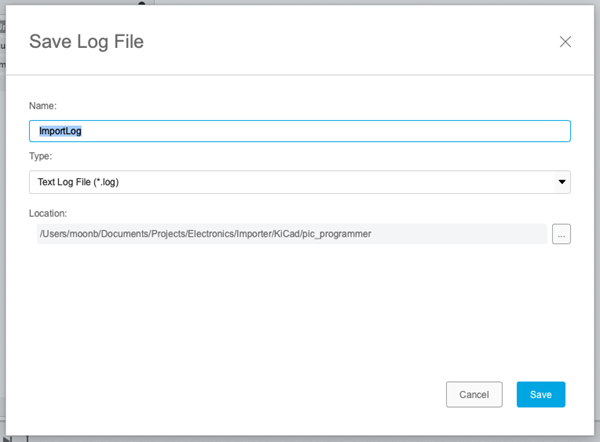
During upload or import of files, a notification will appear to note the status of your import. This notification informs you if the process had issues.
Save and review your file by clicking the notification. You can change the file name, type, and location in the Save Log File dialog. Click Save to save the file and close the dialog.
When the import process completes, you can see the results in the Data Panel.