Control the visibility of a toolpath
You can make nonselected toolpaths (probing and machining) visible on the canvas by turning on their visibility.
In the Browser, next to the toolpath you want to make visible, click
 .
. changes to
  and the toolpath is displayed on the canvas.
To hide the toolpath, click
 .
.
While programming toolpaths in the Manufacture workspace, you can get a better understanding of how a toolpath is behaving by:
- Comparing a toolpath with one or more toolpaths to see the difference
- Making a toolpath visible during Section Analysis.
Compare toolpaths example
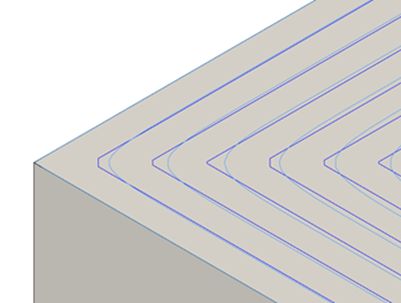
To understand the impact that changing a parameter has on a toolpath, you can make two similar toolpaths visible and compare them on the canvas.
To compare two toolpaths:
- In the Browser, click the name of the toolpath you want to select as your reference for comparison. Your reference toolpath appears as a dark blue colored toolpath.
- In the Browser, next to the toolpath that you wish to compare with, click the
 icon to make the toolpath visible for comparison. Your comparison toolpath appears as a lighter, gray colored toolpath.
In the example below, there are two similar Steep and Shallow toolpaths. The only difference is one toolpath has Smooth Offsets enabled for shallow passes.

View a toolpath during a section analysis example
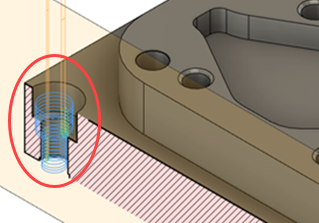
When you cannot see the detail of a toolpath by orbiting your view, you can try performing a section analysis instead.
To make a toolpath visible for Section Analysis, click the ![]() icon next to the toolpath name in the Browser and then perform a Section Analysis.
icon next to the toolpath name in the Browser and then perform a Section Analysis.

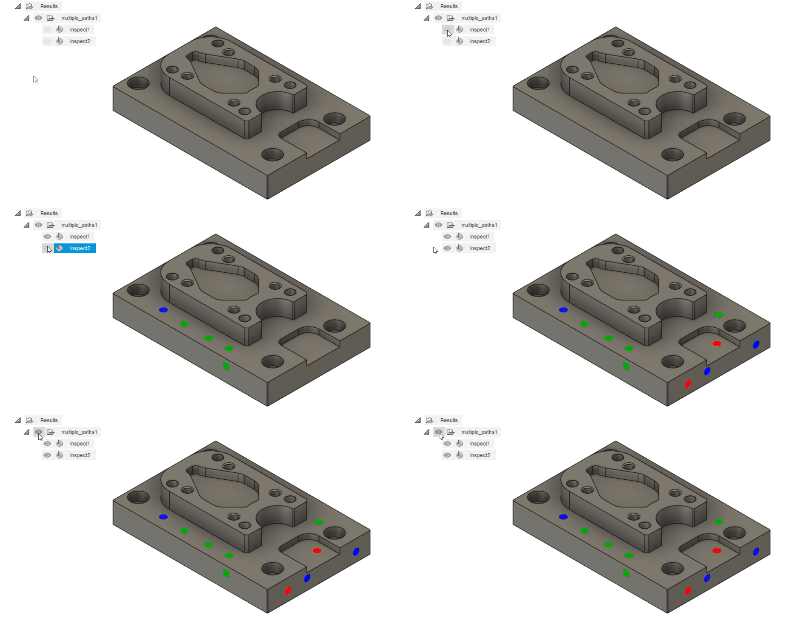
View multiple surface inspection results example
You can also make visible any non-selected surface inspection results.

