
Insert a 3D circuit board into an enclosure
Prerequisites:
A 3D enclosure design document is open in the Design workspace
The Data Panel is open
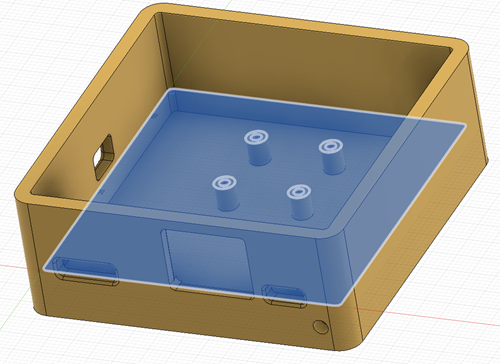
Figure 1: Example enclosure, in the Design workspace, showing a plane on top of the four stand-off posts for sketching the board geometry.
Steps:
If you haven't already created a 2D PCB for the enclosure, in the Design workspace, using tools on the the Solid toolbar, sketch the circuit board geometry in your model enclosure.
Record the geometry of the circuit board design for use in the next step.
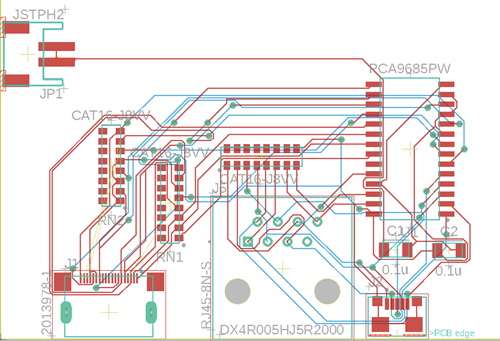
In the Electronics workspace, create your 2D PCB with the required geometry.
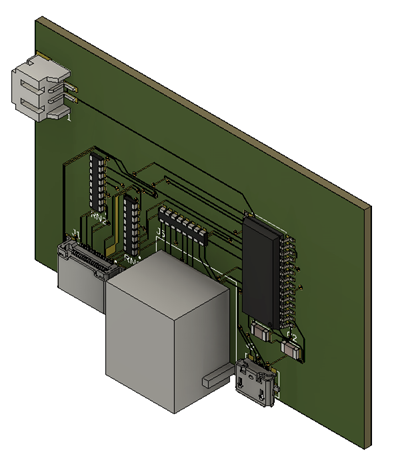
On the 2D PCB document Design toolbar, click Switch > Push to 3D PCB to create the 3D PCB design document.
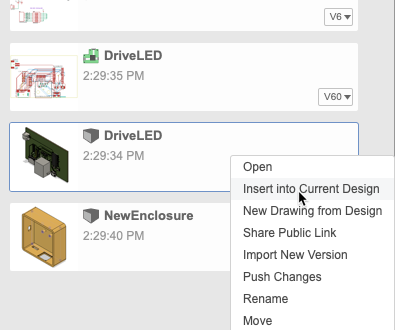
Using the tabs at the top of the Fusion window, switch to the open enclosure design document.
In the Data Panel right-click the 3D PCB document in the Data Panel and select Insert into Current Design to bring the board into the enclosure design document.
Using the manipulator handles move and rotate the board to position it correctly, so you can examine the alignment of the components relative to openings in the enclosure.