
Activity 1: Create and configure a change template
Fusion Manage requires a separate license and can be used with Fusion or independently. Learn more.
In this activity, you'll create a change template that contains the people and standard tasks that are used when creating change requests and change orders. Because it is mandatory to do so, you'll set yourself as the change coordinator for the purposes of this activity.
- It is assumed that you are performing these tutorials in your production environment. Therefore, we recommend that you read through the relevant help pages and activities so that you know what the result will be before modifying anything.
- A change template is mandatory when creating a change request and change order. Therefore, in order for your team to complete their tutorials, they must either be given access to create their own change templates or use one that someone else has created.
- When it comes time for your team to begin generating production data, you should consider changing the change coordinator to the correct person, or archive this change template once it is no longer needed.
Prerequisites
Before you can complete this activity, you must have completed Tutorial 1 and Tutorial 3.
Steps
Familiarize yourself with change approval templates.
See Change approval templates for more information.
Open the menu and select Workspaces > Change Management > Change Approval Templates.
Create a new template.
Click Create.
Enter the following information into the Header section:
Name:
Mechanical Change TemplateDescription:
This template defines the team and tasks to complete a mechanical change.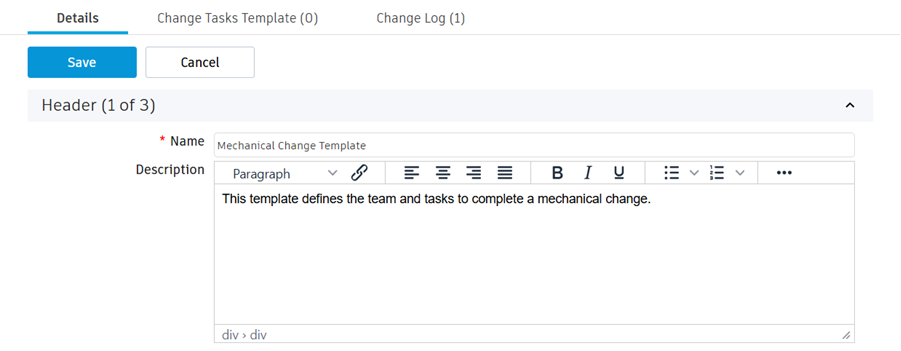
In the Change Requests section, select yourself as the CR Coordinator.
Note: The CR Coordinator is required to perform workflow actions when the change requests workflow is at the Review & Impact Analysis, Perform Tasks, or Change Control Board Review states.Select yourself in the CR Approvers field.
Note: When the CR Approver field has been populated with a user, then the Change Control Board Review state will be mandatory during the change request workflow. You can set more than one approver.
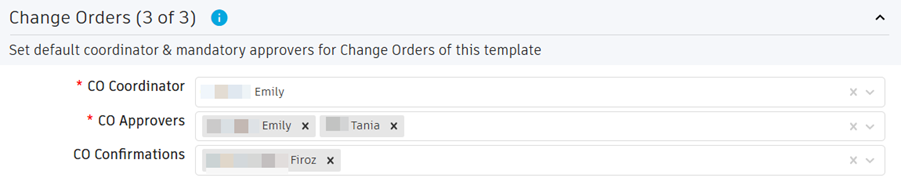
In the Change Orders section, select yourself as the CO Coordinator.
Note: The CO Coordinator is required to perform workflow actions during the change orders workflow.Select yourself in the CO Approvers field.
Note: CO Approvers are required to perform the workflow action Submit to CCB (Fast Track) or Submit to CCB.The CO Confirmations field can be left blank for the purpose of this activity. If this field is populated, then when the CO workflow is at Released state, the user specified in this field will be required to perform the Confirm workflow action.
Click Save.
Create a change request task to perform an impact analysis.
Open the Change Tasks Template tab.
Click Add.
Enter the following information:
ID - CR01
Depends On (Optional) - Leave this blank
Process – Change Request
Title – Identify and assess impact of change
Description (Optional) - Complete a financial and effort impact analysis for the proposed change.
Priority (Optional) - Set this to Medium.
Assignee (Optional) - Leave this blank
Reviewer (Optional) - Leave this blank
Target Effort (Optional) - 4

Create a change request task to review the proposed change.
In the Change Tasks Template tab, click Add.
Enter the following information:
ID - CR02
Depends On (Optional) - CR01
Process – Change Request
Title – Review proposed change
Description (Optional) - Identify all items and parent assemblies impact by the proposed change.
Priority (Optional) - Set this to Medium.
Assignee (Optional) - Leave this blank
Reviewer (Optional) - Leave this blank
Target Effort (Optional) - 4

Create a change order task to carry out the mechanical design changes.
In the Change Tasks Template tab, click Add.
Enter the following information:
ID - CO01
Depends On (Optional) - Leave this blank
Process – Change Order
Title – Update mechanical design
Description (Optional) - Update the design in CAD and provide latest BOM upon engineering approval in PDM.
Priority (Optional) - Set this to Medium.
Assignee (Optional) - Leave this blank
Reviewer (Optional) - Leave this blank
Target Effort (Optional) - 40

Click Save.
Activity 1 summary
In this activity you created and configured a change template.