3ds Max gives you a wide variety of options for designing materials. If you’re new to designing and using materials, read these topics for a general idea about working with materials, and what the most important options are.

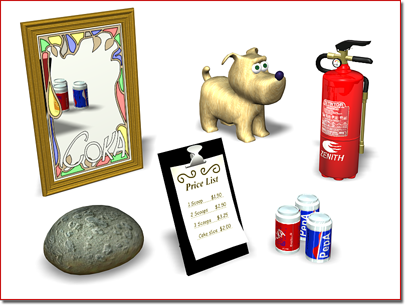
Materials make objects look more convincing.
For more details, follow the links in the workflow outline.
Workflow Outline
In general, when you create a new material and apply it to an object, you follow these steps:
- Choose the renderer you plan to use, and make it the active renderer: see Assign Renderer Rollout.
It is a good idea to design materials with a particular renderer in mind. The mental ray renderer is the best choice when you need to model physically accurate lighting. The default scanline renderer does not demand precise lighting, and it supports some effects that the mental ray renderer does not.
Note: The mental ray Connection rollout lets you add features unique to the mental ray renderer to basic 3ds Max materials. - Choose the material type.
For mental ray rendering, we recommend that you use materials from the Autodesk Materials group. These are commonly used materials (ceramic, concrete, hardwood, and so on) that have accurate real-world properties. Autodesk Materials are based on the Arch & Design material, a general-purpose material that also has real-world properties and a large number of options. After you become comfortable with mental ray rendering, you might choose to use the Arch & Design material itself or some of the special-purpose mental ray materials that are also available.
For scanline rendering, the most general-purpose material types are Standard and Raytrace. For both of these material types, you can also change the shading type.
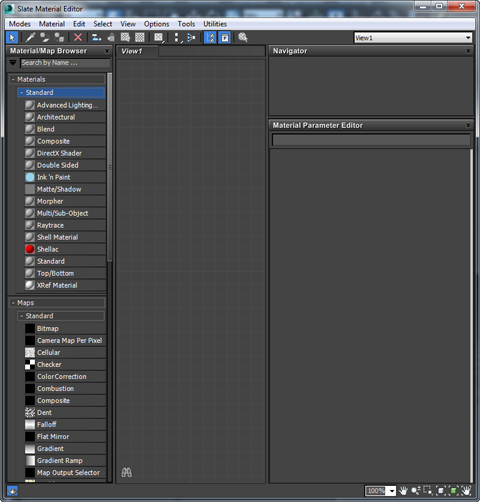
- When you have decided on a material type, open the Slate Material Editor.

Slate Material Editor window
Left: Material/Map Browser panel
Middle: The active View (you can set up more than one View)
Lower right: Parameter Editor panel
- Drag a material of the type you want from the Material/Map Browser panel to the active View.
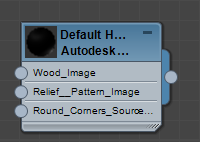
3ds Max displays the material as a node in the active View.

Example of a material node
- Double-click the material node to display its parameters in the Parameter Editor panel.
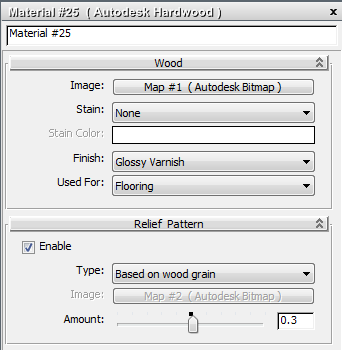
- Use the Parameter Editor to enter settings for the various material components: diffuse color, glossiness, opacity, and so on.

Material parameters in the Parameter Editor
.(Double-click a node to display the node’s parameters)
Note: Lights and Shading describes how lights affect the appearance of a material. Choosing Colors for Realism gives guidelines on getting good results from non-physical materials such as the Standard material. - Assign Using Maps to Enhance a Material to the components you want to map, and adjust the map parameters.

You assign a map to a material by “wiring” the map and material nodes together.
See Using Maps to Enhance a Material for an introduction to the use of maps in materials, and Wiring Nodes for detailed information about wiring nodes in the active View.
- On the Slate Material Editor toolbar, click
 (Assign Material To Selection) to apply the material to the object.
 - If necessary, adjust the UV mapping coordinates in order to orient maps with objects correctly.
- Save the material.