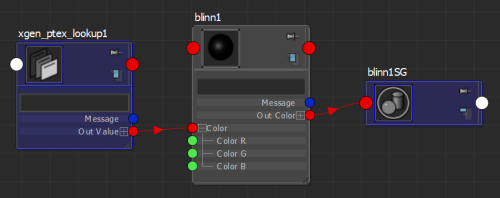
You can assign Ptex-based texture and image files to a Description by connecting an xgen_ptex_lookup node to your XGen shader. This node passes the map's per-face color values from the texture to the primitives generated on geometry surface. You can use Ptex files created with the Create Map option in XGen, or files created by other applications such as Autodesk Mudbox 2012 (or later).
See also Save File Textures to Ptex files in XGen.
- In the Hypershade, select your XGen hair shader network.
- In the
Node Editor (
Window > Node Editor), display the shader node connections.
For information about displaying node connections, creating nodes, and connecting nodes, see Node Editor basics.
- Create an xgen_ptex_lookup node.
- Connect the
Output Value of the
xgen_ptex_lookup node to a color input channel on your hair shader node.

- Select the xgen_ptex_lookup node.
- In the node's
Attribute Editor, click
 beside
File Name and browse to the location of the Ptex file.
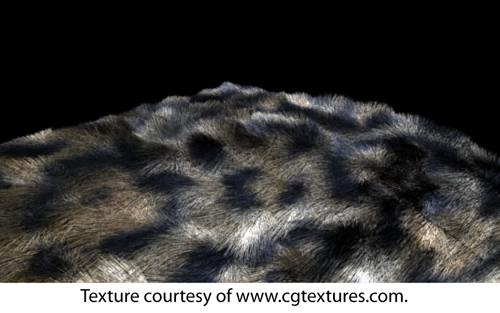
The Ptex-based texture now controls the primitive color in the rendered Description.
- Render the Description in mental ray.
