You can create, edit, or delete sketches.
Create a Sketch
- To create a sketch in a part or assembly file, do one of the following:
- On the 3D Model tab, click Start 2D Sketch
 or Start 3D Sketch
 .
.
- Right-click in the browser and choose New Sketch or New 3D Sketch.
- Click a planar face or work plane of a part and, in the mini toolbar, choose Create Sketch
 .
.
- On the 3D Model tab, click Start 2D Sketch
- To create a sketch in a drawing file, click Place Views tab > Start Sketch .
Note: To enable or disable object snap in 3D Sketch, press the command in the status bar or use the keyboard shortcut Ctrl + Shift + P.
Edit a Sketch
- Do any of the following:
- Double-click the sketch icon in the browser.
- Right-click the sketch in the browser and choose Edit Sketch or Edit 3D Sketch.
- Right-click the sketch plane in the graphics area and choose Edit Sketch or Edit 3D Sketch.
- Right-click the sketch dimension in the canvas and choose Edit Sketch.
- Use commands on the Sketch tab or 3D Sketch tab to add geometry and apply constraints, dimensions, and features.
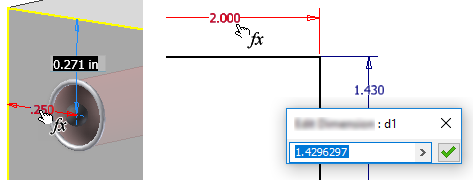
- To reference other dimensions (parameters), select the feature to show the dimensions used to create it and click the dimension value you want to reference. Or, during sketching activity click another dimension to reference it.

Finish a Sketch
You must finish a sketch to exit the sketch environment.
- To end a 2D sketch, on the Sketch tab click Finish Sketch
 or right-click in the graphics area and choose Finish 2D Sketch.
- To end a 3D sketch, on the 3D Sketch tab click Finish Sketch
 or right-click in the graphics area and choose Finish 3D Sketch.
Delete a Sketch
- Select the sketch in the browser and press Delete or right-click it and choose Delete.
Note: If the sketch is part of a feature you can also delete the feature.