This topic covers the settings in the ML Deformer Attribute Editor tab.
For steps on how to use the ML Deformer, see Create an ML Deformer and Create an ML Deformer using separate Target geometry.
- In the Animation (F4), Modeling (F2), and Rigging (F3) menu sets: Deform > ML Deformer
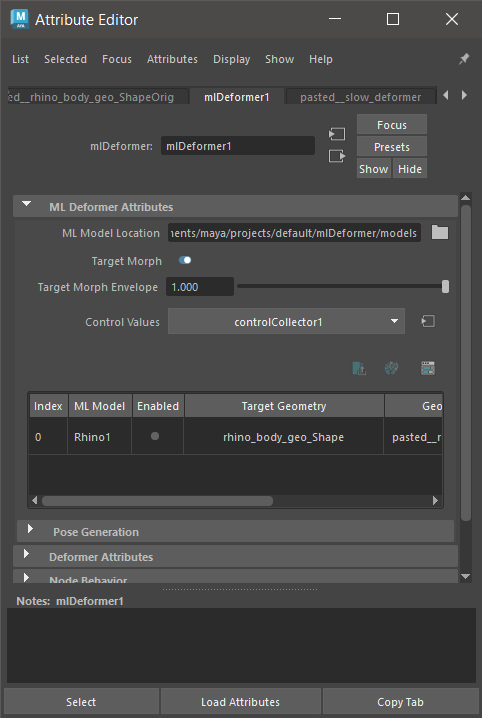
The ML Deformer tab in the Attribute Editor
Sample ML Deformer animation in the Content Browser
ML Deformer Attributes
- ML Model Location
- Path to the folder containing trained models.
- Target Morph
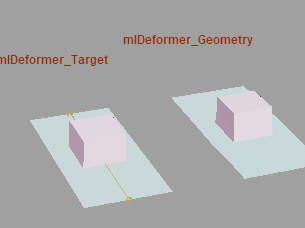
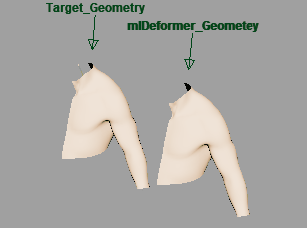
- Toggle visualization of the Target deformation (the "goal" for the ML Deformer to approximate.)
- Typically, when you are finished animating your scene, you will turn on Target Morph and set the Envelope to 1.0 to reactivate the original high quality deformation for final renders.
- Target Morph Envelope
-
Note: This envelope slider is active only if you turn on the Target Morph option.Lets you adjust the morph (in %) between the trained approximation and the Target.
- Control Values
- Lets you Select, Create, or Assign a Control Collector.
- You can also click Select Control Collector
 to highlight the collector in the Node Graph. A Control Collector specifies which inputs are passed into the ML Model. See the
Control Collector attributes.
to highlight the collector in the Node Graph. A Control Collector specifies which inputs are passed into the ML Model. See the
Control Collector attributes.
- ML Deformer Attributes Table
-
- Index
- The placement in the array.
- ML Model
-
Right-click on a cell to select the Trained Model to use. The ML Model contextual menu appears:
ML Model contextual menu Option Function Select Model Lets you choose the ML model to apply to the specified geometry. Enable Model/Disable Model Turns the deformation on the Source model on or off. This is the same as activating or disabling the Enabled button in the ML Deformer Attributes list. Reload Model Reloads the ML model with the latest changes. Export Training Data... Opens the ML Deformer Export Training Data window, where you can export the sample poses that will be used to train the model. Train Model... Opens the ML Deformer Training Settings where you can configure the training settings and start the training of the model. View Training Results... Opens the Training Results window to let you evaluate the effectiveness of the most recent training, including the error rates and how they differ between the Training and Validation results. A large difference between the Training and Validation results could be an indication of overfitting of the data. See the explanation of Overfitting in the ML Training Results window. Apply Mesh Compare Lets you apply a heat map to review the quality of the ML target geometry compared to the original geometry. The options include: - Visualize Quality: Displays the spatial accuracy of the output mesh vertices compared to the source.
- Visualize Impact: Displays the amount of new deformation that is being applied by the ML Deformer (i.e. the amount of "work" the deformer is doing) on source mesh vertices.
- Enable Mesh Compare: Quickly toggle the visualization on and off. This includes displaying vertex colors.
Note: Mesh Compare can negatively impact scene performance. Thus, we recommend using Mesh Compare only as a diagnostic tool, and deleting the meshCompare node when you're finished.Open Training Job Monitor... Opens the ML Training Job Monitor where you can view the progress of the training process. - Enabled
-
Toggles the ML Deformer approximation on or off.
- Target Geometry
-
Right-click a cell to select the deformed geometry the ML model should approximate. The Target Geometry contextual menu appears:
Option Function Select Target Geometry Highlights the object currently assigned as the Target geometry, or the complex deformation being approximated, in the Viewport, Outliner, and Node Editor. Select Output Geometry Highlights the object currently assigned as the Output, or the geometry that is being deformed by the ML Deformer, in the Viewport, Outliner, and Node Editor. Replace Target with Selected Assigns the currently selected object as the Target, that is, the geometry that the model is going to approximate. Create Target for Deformers Post ML Deformer Creates a Target mesh based on the deformers that follow ML deformer in the deformation stack and lets you approximate other deformers in the stack without having to set up the Target manually. Disconnect Target Lets you unassign the object currently assigned as the Target. - Geometry
- Right-click a cell to select the base geometry. The base geometry defines what vertices should be deformed by the ML Deformer.
- Control Ranges Table
-
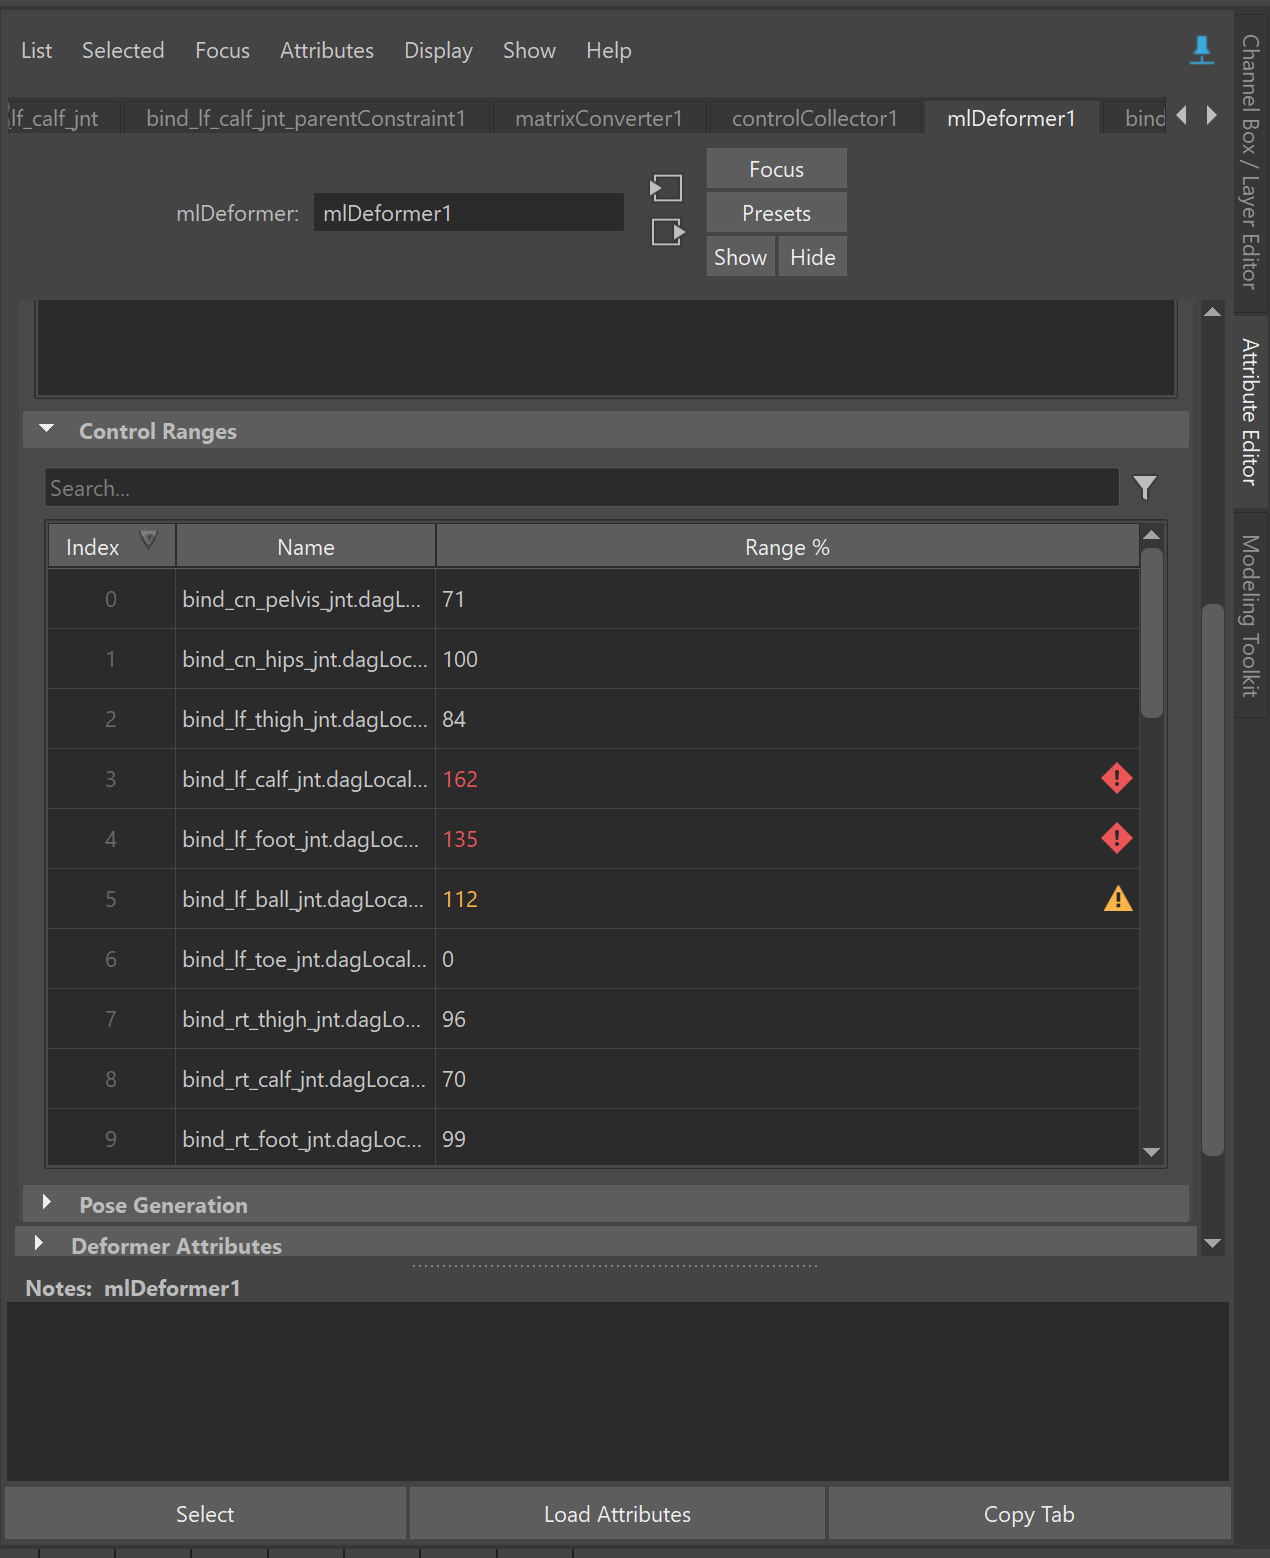
The ML Deformer Control Ranges Table
The Control Ranges table displays the list of controls linked to the deformer and the value ranges they operate within.
The table compares current control values to the trained range from all active deformation managers. If a control value is outside the original training range, the Range % will change color and the deformation results may be unpredictable. A range of 100% or lower indicates the control value is within the trained range. Any value above 100% indicates the control is outside its trained range and may produce poor results. If multiple models are active on a single ML Deformer node (i.e. when working with multiple geometries), the table will use the most restrictive range across all models.
Note: Use this table to determine when retraining is required to accommodate new control values.
Pose Generation
Lets you create a separate Control Collector for sample generation. See Control Collector attributes for more about controls settings.
- Preexisting animation, for example, motion capture.
- Manually created animation, for example, keyframe animation.
- Randomly-generated for example, pose generation.
- Pose Generator
-
Lets you create a separate Control Collector for sample generation. This allows different controls to be used to generate the sample poses the model will be trained on, versus the controls that drive the model itself.
- If your control collector uses Matrix controls, Pose generation requires a second control collector to connect the Scalar values that produce the matrix, or alternate Scalar values tied to Animator controls.
- Often, the controls on a rig that are intended to be used by the animator to animate should be used to generate poses, whereas joint matrices are more commonly used as the Driver controls. See Control Collector.
-
Select Control Collector
to highlight the collector in the
Node Editor.