
Toon Shading and Lighting Sven - Arnold for 3ds Max
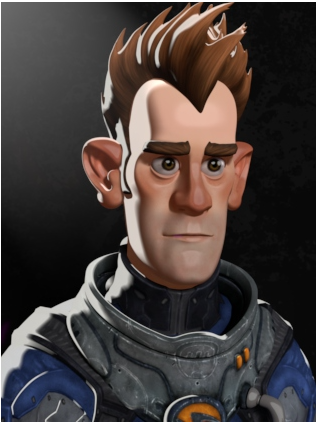
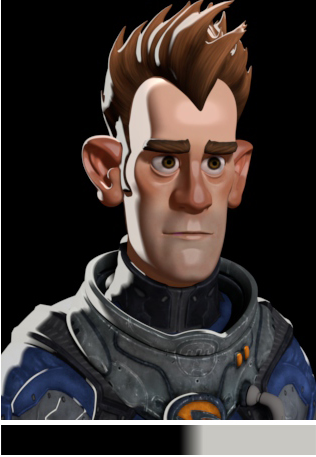
In this simple 'making of' tutorial, we will break down the steps used to render the image above using the toon shader. We will cover how to use the rim_lighting, base_tonemap, specular_tonemap, and stylized_highlight attributes of the toon shader to create a 'painterly' type portrait of our intergalactic hero Sven!
Assign Toon Shaders
- Start off by assigning
toonshaders to the head, hair, eyes, and spacesuit. Connect the relevant diffuse maps to thebase_colorof eachtoonshader.
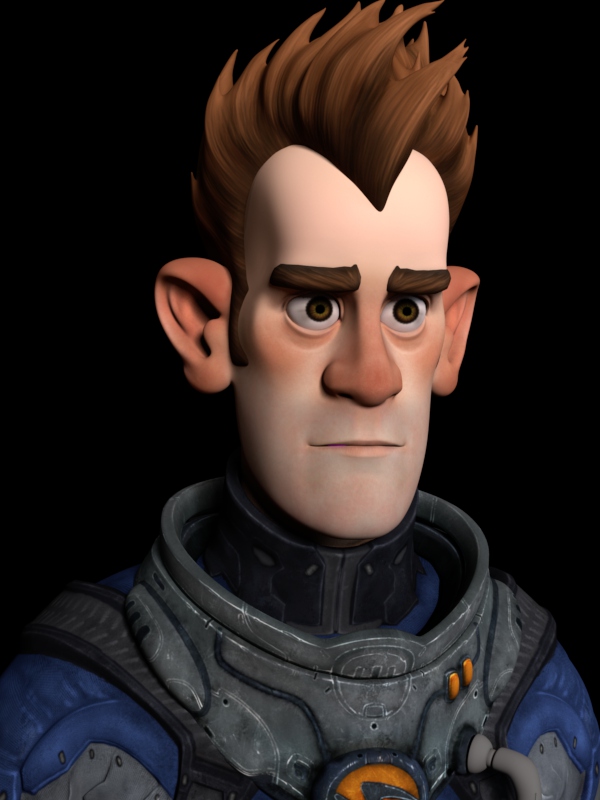 |
Base Tonemap (ramp)
- Create a ramp similar to the one below and connect it to the
base_tonemapof thetoonshader assigned to Sven's face.
ramp_rgb -> base_tonemap
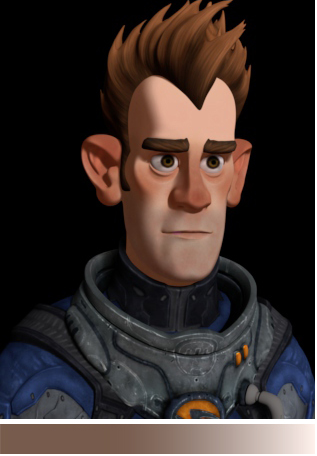
Specular Tonemap (ramp)
- Lower the
specular_weightto around 0.1 and increase thespecular_roughnessto around 0.7. - Create a ramp and connect it to
specular_tonemap.
rampRGB -> specular_tonemap
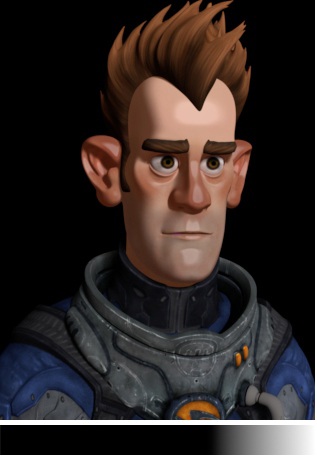
Rim Lighting
- Create a spot light and position it so that it is pointing at Sven from behind and at an angle. Add it to the Rim Lighting-> Light attribute.
- Create a ramp_rgb and connect it to rim_lighting_color.
Light -> rim_lighting
Stylized Highlight
We can use the stylized_highlight to create a cartoon-style highlight on Svens eyes.
- Create a spotlight and point it at Svens eyes. Hide the light so that it does not illuminate Sven.
- Connect a circular ramp (similar to the one below) to the
stylized_highlight_colorof the Eye shader and increase thestylized_highlight_sizeto around 0.8.
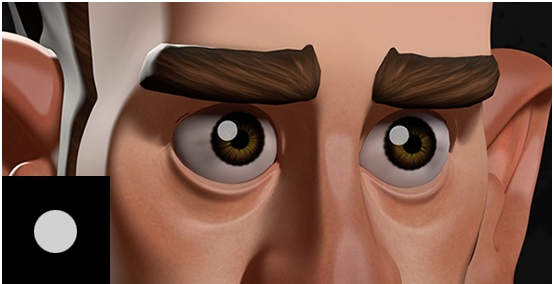
stylised_highlight (specular reflection)
Tip:
indirect_specular (and indirect_diffuse) can have a subtle effect on the appearance of the toon shading. In this case indirect _specular: 0 works better for the eye shader.
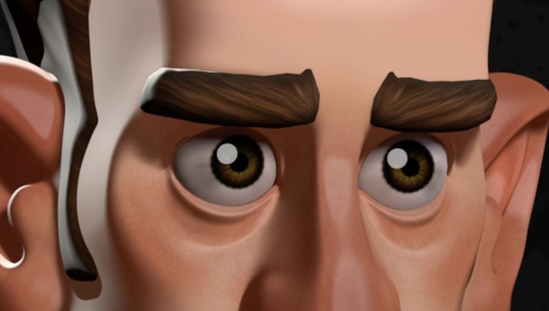
indirect_specular: 0