
Part Mapping
Pair Moldflow and structural models in the Advanced Material Exchange interface.
The first step in the Advanced Material Exchange workflow is to pair the Moldflow and structural models. After the models have been paired, you will be able to visualize the geometries side-by-side. The sections that follow describe the pairing of both single part and assembly models.
Pair Models
Click
 (Start & Learn > Information Pairing > Part Mapping).
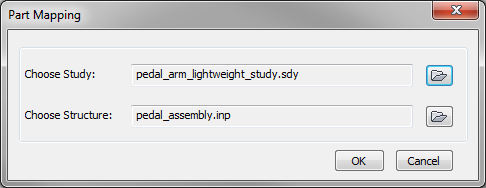
When the Part Mapping dialog appears, select the study file to be paired. Once selected, you will see a preview of your model that you can use to verify the correct model was selected. If it is the correct model, click OK.
Select the structural input file to be paired. Now you will see a preview of your structural model. If you selected a single part model, you can skip to Step 4. If you selected an assembly model, you must identify the first part you want to pair with the Moldflow study. To do this, either select the body or the body name from the preview window.
Select the unit system used to define your structural model and click OK.
Note: Structural models created in ANSYS Workbench or Inventor Nastran In-CAD will have the units automatically detected.Click OK to complete the part pairing.
After the models are paired, you may be prompted to align them. Refer to the Model Alignment section of the User's Guide for more information about how to align your models.
Notice that once the pairing is complete, the Part Mapping command is available on the Home tab. If you need to adjust the paired models or pair a new body from an assembly, you can use the Part Mapping command from the Home tab.
Pair a Different Model
If you are working with a structural assembly, you need to pair each applicable structural body to its corresponding Moldflow part.
- Click Home > Information Pairing > Part Mapping.
- When the Part Mapping dialog appears, select the new study file to be paired. The structural assembly selected during the first pairing is remembered so you don't need to specify the file again.
- After you select the study file, you will see a preview of your structural assembly in the Structure Mapping dialog. From here you can select the new body of the assembly to pair.
- Click OK to complete the part pairing.