
Docking editor windows
![]()
Editors, Listers, Tool palettes and Panels are known as editor windows and have the following properties:
- Parallel - These windows can remain on-screen while other tools are being used. They operate in parallel with the continuous tool workflow and don't interrupt it.
- Dockable - Editors can be docked to the interface and to each other.
- Persistent - The windows remain open and in the same positions when you exit and re-launch Alias.
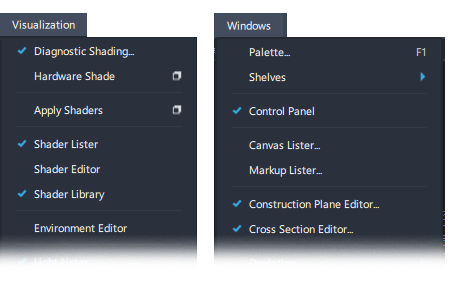
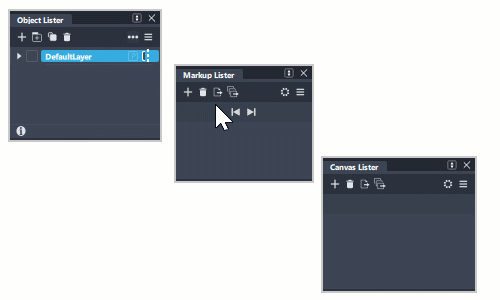
The editors that are open on the screen are shown with a blue checkmark on their menu entry.
Window types that can be docked include:
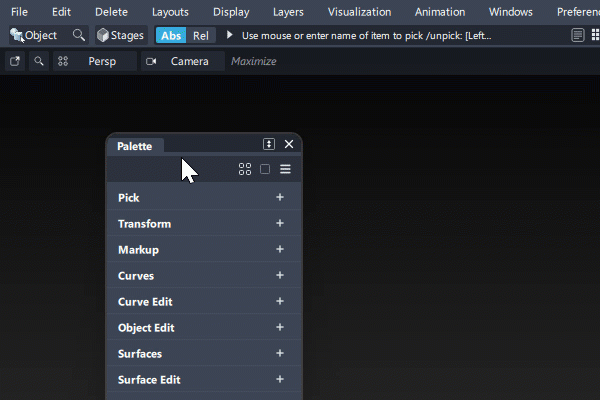
- Palette
- Shelves
- Panels
- Editors and Listers
- Toolboxes
Window types that cannot be docked include:
- Tool Option windows
- Tool Control windows
Docking to the application borders
You can dock windows along either side border and at the top and bottom borders of the application window.
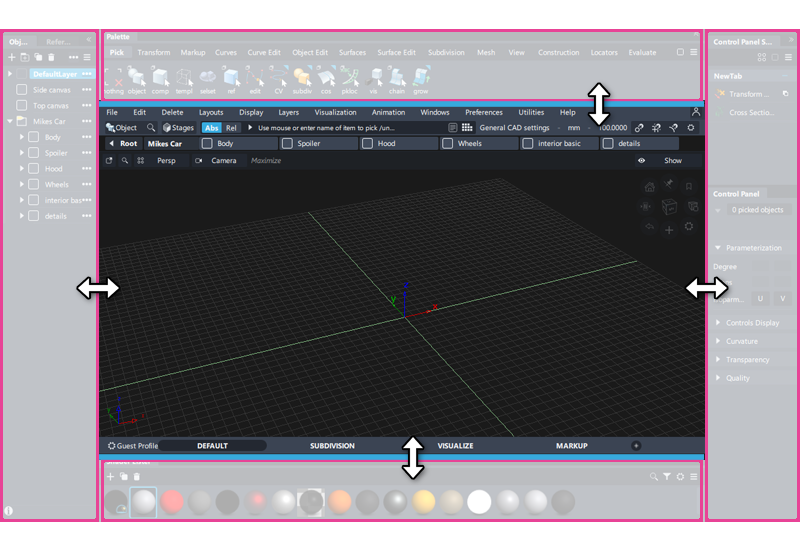
When docked to either side border (vertically):
- Windows always fill the full height of the application window, regardless of whether its a single window or a stacked window set (grouped horizontally).
- Window width can be extended up to 25% of application window.
- Window resizing is restricted to a minimum width to prevent options from being hidden.
When docked to the top or bottom borders (horizontally):
- Window length is contained within any vertical docked elements.
- The height of the window is set.
- For Tool palettes or shelves, the initial docking height is set to display a single row of icons.
Docking mouse buttons and hit zones
Editor windows must first be opened from their menu entry or assigned hotkey.
They can then be docked either to the application borders or each other by:
Click-drag on the editor header bar using either:
 Middle mouse button
Shift+ Left mouse button
Align the cursor position on the editor header bar with a dropzone until the blue dropzone target appears as a bright blue line and a dropzone icon:
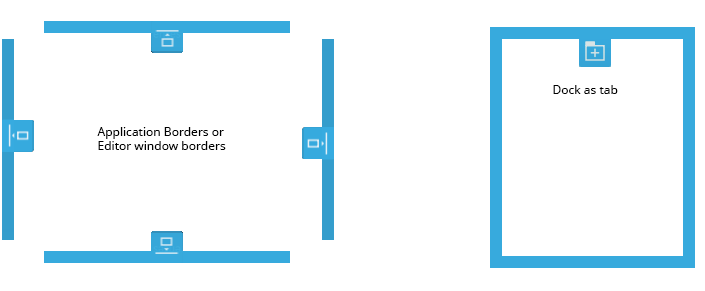
Release the mouse button to dock the window.
Docked sets splitter position
When docking two or more windows together, adjust the proportion of the docked space by click-dragging in the splitter area on the  or
or  cursor:
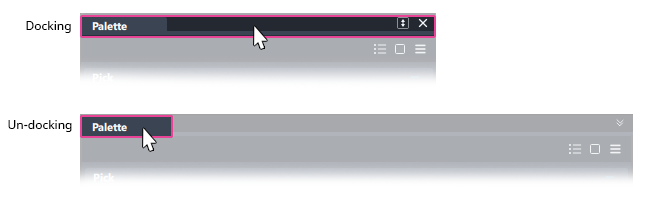
Undocking windows
To undock a window use the MMB or Shift + LMB on the title tab again and drag completely outside the docked area.
The topmost or leftmost splitter affects all the subsequent ones. So when you are tidying up the layout, working top-down or left-right gives the most predictable results.
Hide/Show and Collapse/Expand docked windows
You can quickly hide and show all docked windows, including single windows, windows sets, and floating grouped windows. When stacked window sets, meaning windows grouped from top to bottom, are docked to either side of the application border, you can also collapse and expand them. When a window is collapsed, its title bar still displays in the docked location.
Hide and show windows docked to an application border
There are several ways that you can hide single or grouped docked windows:
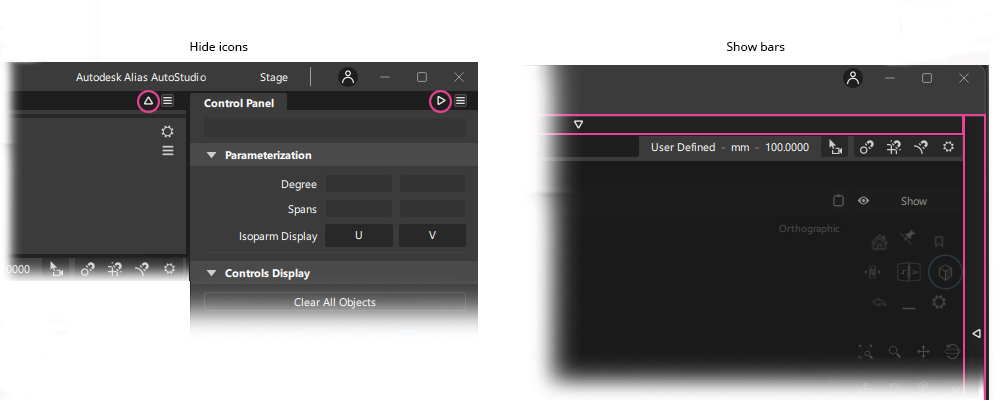
Click the Hide icon
 at the top-right corner of the window.
 Select Hide or turn on Auto Hide from the window menu (see Auto Hide docked windows).
For single windows or window sets grouped side-by-side (horizontally), double-click the window tab.
Note: For stacked window sets, double-clicking a window tab collapses the window (See Collapse and expand stacked window sets).
Show windows by clicking anywhere along the Show bar, including on the Hide icon: ![]() .
.
Auto Hide docked windows
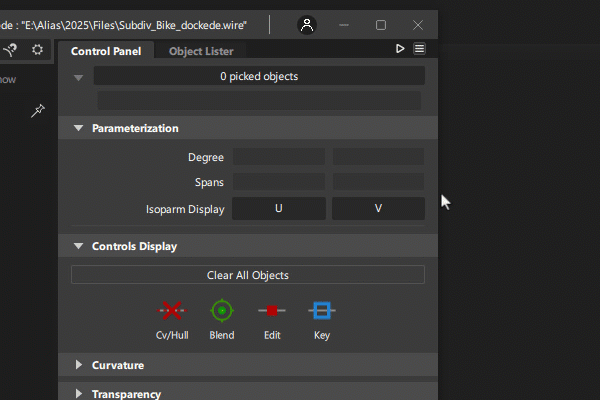
You can also auto hide windows and choose other show and hide features from the window menu ![]() . You can set a different hide option for each docked window or docked group.
. You can set a different hide option for each docked window or docked group.
Auto Hide - When on, mousing over the window border automatically hides or shows the docked windows. Also, the chevrons on the Hide Bar indicate whether Auto Hide is on or off for docked windows:
- Auto Hide on:

- Auto Hide off:

- Auto Hide on:
Show Hide Bar - When on, you can hide or show docked windows by clicking anywhere along the Hide Bar. This reduces mouse travel, allowing you to quickly hide and show docked windows. The Hide Bar is also in darker shading for better visibility.
When off, you can only show hidden window by clicking along the bar.
Hide - Click anywhere along the Hide Bar to show the window.
Close - Closes the docked window.
Hide and Show floating windows
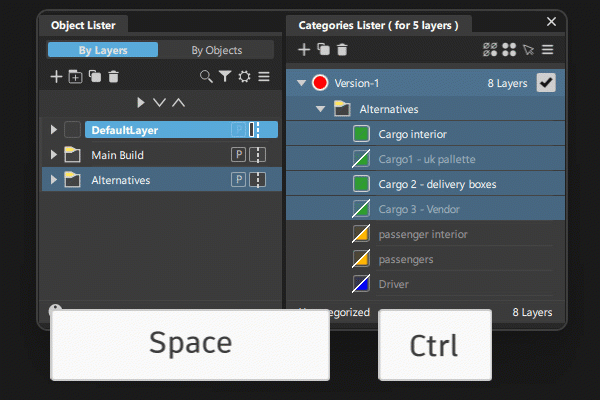
Press Ctrl + Spacebar to hide or show floating single windows and floating window groups.
Collapse and expand stacked window sets
When windows are docked as a stacked set, they can be collapsed and expanded:
- Double-clicking a tab collapses the group. All of the tabs in group remain visible.
- Single-clicking a tab expands the group. The selected tab becomes the active window.
- RMB-clicking a collapsed tab opens the window as a flyout.
Toggling docked windows
On a menu, a blue checkmark is shown alongside an editor window that is open. There is no indication whether it is docked or floating. You can toggle the windows display (hide/show) by re-selecting an open editor in the menu or by pressing an assigned hotkey.
For grouped window sets:
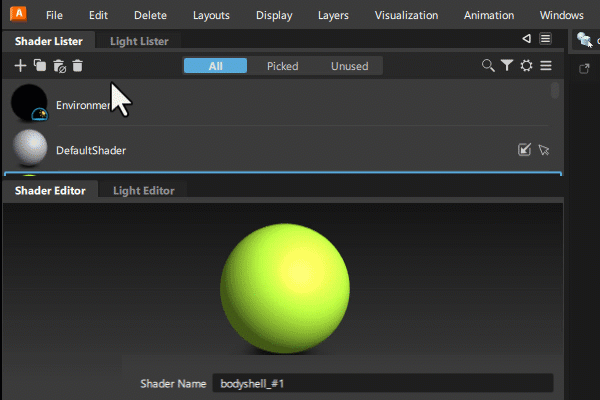
- Toggling a grouped window on and off does not affect its docked or grouped state. For example, if you dock the Shader Lister in a group and then toggle it off using its menu item or assigned hotkey, it remains grouped and docked when you toggle it back on.
- Toggling a hidden grouped window makes it active.
- Toggling an active window closes the window group.
