
Aggregated Project Model
The Project Model feature enables you to browse, compare, and analyze an aggregated view of the models in your team's selected content folders, with either the latest models consumed into your team space, or with the contents of a package you are exploring.
The Project Model feature gives a holistic view of these models, displaying the master model from each team by default. All the available 3D models and referenced files can be turned on and off to customize the aggregated view as needed.
For teams who are collaborating on a single model, the Project Model feature also combines individual versions of models.
Open the Project Model from the team space
View an aggregation of your team's work-in-progress designs with the latest models consumed into your team space.
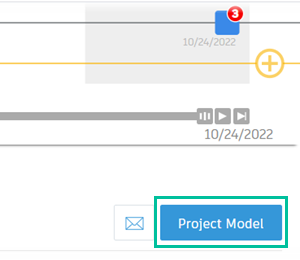
In Design Collaboration, select the Home tab to open your team space.
Tip: If you have access to multiple teams, ensure you've selected the right one from the timeline.Click Project Model:
The models are opened in the viewer, with the Teams
 tab selected by default.
Open the Project Model while exploring a package
View an aggregation of an unconsumed package with the consumed and work-in-progress data from your team. This is useful to show changes between different packages before consuming them into your team space.
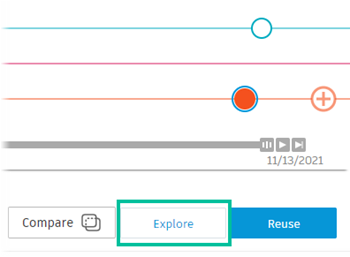
Expand the timeline and select a node that represents an unconsumed package.
Click Explore.
The package contents are opened in the Project Model view, with the Content Browser
 tab selected by default.
Navigate the Project Model
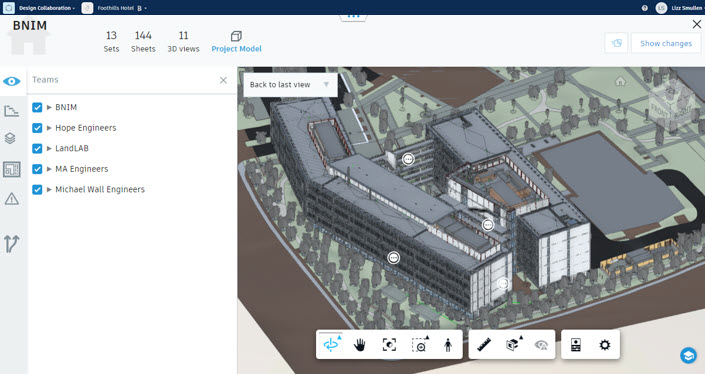
Data set courtesy of BNIM.
The panel on the left side of the viewer allows you to isolate and display the data using the following tabs and filters:
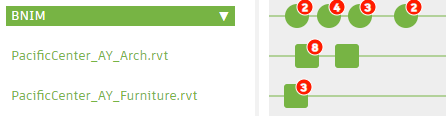
- Teams: Filter the models based on the contributing project team.
- Team Theming: Highlight models in the corresponding team color.
 Phases: Filter the model by project phases.Tip: To filter by phases, ensure that the Revit model contains phases. See Project Phasing for more information.
 Levels: Filter the models by floor levels.
To filter by levels, you must make sure the Revit model includes levels and that the Building Story checkbox for the levels is turned on. To verify the level is activated as a building story:
Open an elevation view in Revit.
From the elevation view, select a level.
In the properties palette for the selected level, make sure the Building Story checkbox is enabled.
