
Create or Modify a Part
Create a Part
- Select a similar product from the library and click Duplicate.
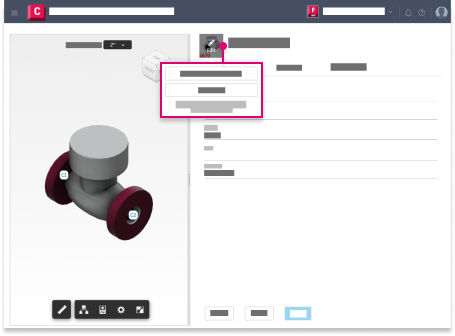
- To update the thumbnail, hover the current thumbnail image and click Edit. You can either generate an image from the 3D model or upload an image from a local file.
- Specify the information on the tabs as needed.
- Click Apply to save the changes.
Details Tab
- Click the part name field to edit the copied name.
- Specify the Brand, Range, and Alias, if needed, and the Product Number associated with the part.
Geometry Tab
In the Geometry tab, expand the Product Entries and Connectors sections to add or modify data.
Under Product Entries, you can duplicate an existing size and modify it, add a new blank row, hide unused columns for a focused view, or use the filter tool to find specific sizes.
Under Connectors, you can assign connectors to a part in the same window by selecting the appropriate connector from the drop-down list.
The geometry table supports calculations. See Calculations Table Editing.
Note: Part dimensions from the Autodesk Fabrication products have been flattened into a single geometry table. Static dependencies (referencing product listed dimensions or locked non-product listed dimensions) are redundant. As such, this data has been merged into the geometry table respectively. Dynamic dependencies (referencing unlocked non-product listed dimensions) cannot be merged into the geometry table. As a result, these dependencies are currently read-only. This change has no effect on Revit behavior.
Manufacturing Tab
Sepcify a Part Specification, Material, Material Specification, and a Finish if applicable.
Note: Use the lock buttons next to Material Specification and Finish to prevent the part specification from changing the connector, in case a different connector is assigned in the part specification.
Edit a Part
Select a part from the list and click Edit.
Tip: You can double-click a service template in the list to edit it.
Note: If you have Viewer access to the fabrication configuration and select a part, View appears in place of Edit.
Click the icons at the bottom of the part view to orbit, pan, zoom, and show dimensions.
Click the tabs on the right to modify the Details, Geometry, and Manufacturing properties.
To update the thumbnail, hover the current thumbnail image and click Edit. You can either generate an image from the 3D model or upload an image from a local file.
- Click Apply to save the changes.
Delete a Part
Select a part and click Delete.