• Help Home
  • English (US)
    1. English (US)
    2. 简体中文
    3. Deutsch
    4. Español
    5. Français
    6. Italiano
    7. 日本語
    8. Polski
    9. Português (Brasil)
    10. Русский
PowerMill
    • What's New
    • Release Notes
    • Subscription Benefits
    • Getting Started
      • Introduction
      • Start and close PowerMill
      • Cavity mold example
        • Loading the model
        • Defining the block around the die
        • Saving the project for the first time
        • Viewing the model and block
        • NC program
        • Creating a roughing toolpath
        • Creating the rest roughing toolpath
        • Closing the roughing session
        • Re-opening the project
        • Checking which entities are active
        • Creating a finishing toolpath
        • Creating the Corner Finishing toolpath
        • Writing NC programs
    • Help
    • Additive Help
    • Video Library
    • Macro Programming Guide
    • MTD User Guide
    • Toolpath Point Parameters User Guide
    • Project Server Reference Help
    • Electrode Machining Wizard
    • Simulation Analysis User Guide
    • Autodesk Installation
    Share
    • Email
    • Facebook
    • Twitter
    • LinkedIn


    Re-opening the project

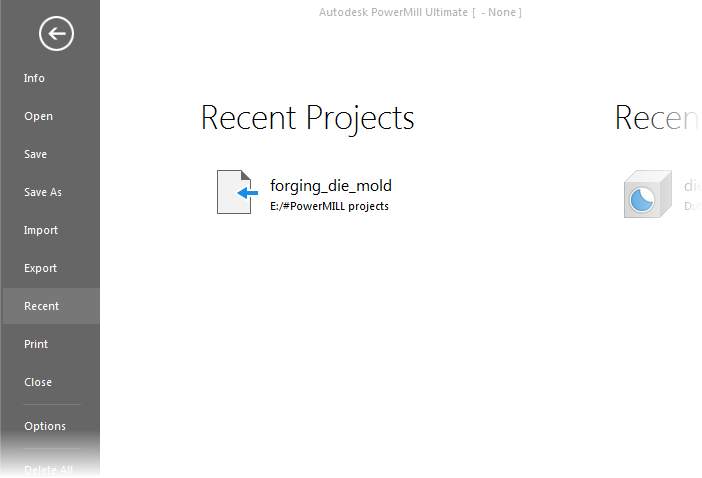
    1. Restart PowerMill; this automatically loads your colour selections from the previous session.
    2. Click File tab > Recent, and then select the project containing the forging die example:

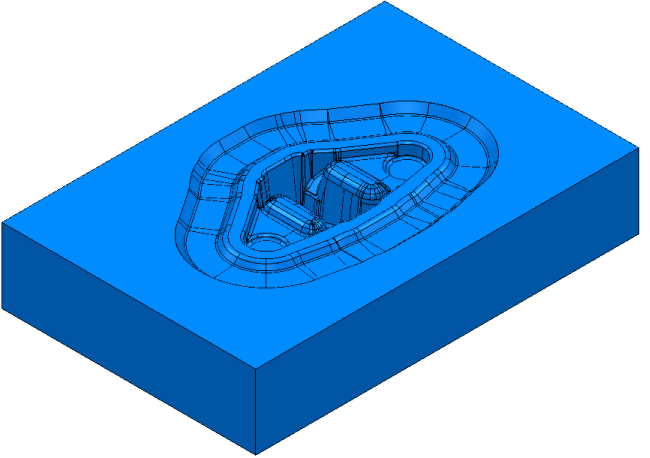
    3. When the project is reloaded, adjust the model size and orientation as required.

    Parent topic: Cavity mold example

    Was this information helpful?

    Except where otherwise noted, this work is licensed under a Creative Commons Attribution-NonCommercial-ShareAlike 3.0 Unported License. Please see the Autodesk Creative Commons FAQ for more information.

    • Privacy Statement
    • Legal Notices & Trademarks
    • Report Noncompliance
    • © 2025 Autodesk Inc. All rights reserved