
You can take:
- snapshots of all toolpaths in selected NC programs as they are currently displayed:
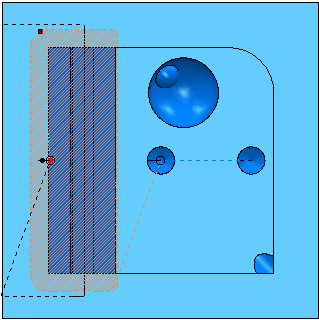
- Adjust the CAD view of the model to the required size and orientation. If desired, unshade the model. Make sure all required toolpaths are drawn. You can also
adjust colours for inactive toolpaths, if needed.
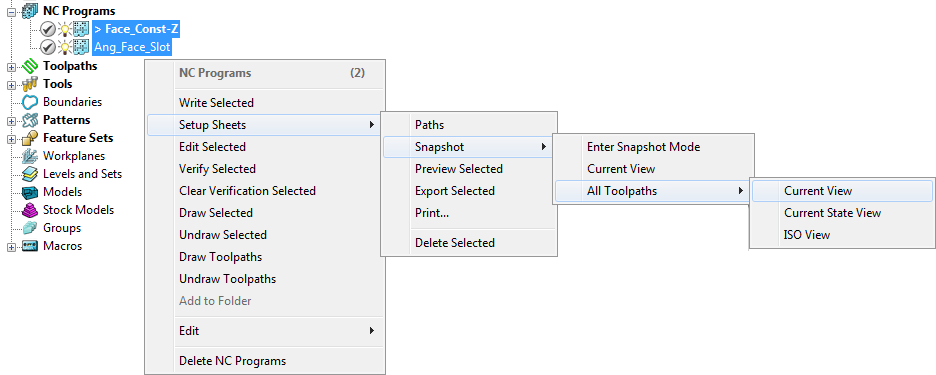
- In the Explorer, select all required NC programs and from the context menu, select
Setup Sheets > Snapshot > All Toolpaths > Current View.
- To preview an image, from the individual NC Program context menu, select the desired toolpath, and from this specific context menu select Setup Sheets > Snapshot > Preview.
- If you are not satisfied with the result, return to the Explorer, adjust the CAD view of the model, and retake the image.
- By default, the captured images are shown on the corresponding toolpath pages (the Toolpath.html template). If a snapshot does not exist, the image file ImagePlaceHolder.png is used.
- Adjust the CAD view of the model to the required size and orientation. If desired, unshade the model. Make sure all required toolpaths are drawn. You can also
adjust colours for inactive toolpaths, if needed.
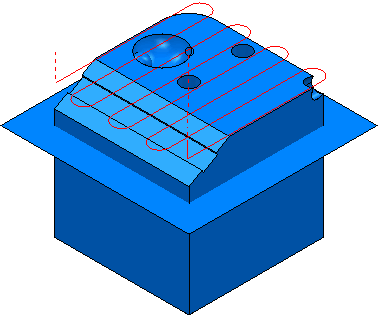
- snapshots of all toolpaths in selected NC programs with no blocks or tools drawn:
- Make sure all required toolpaths are drawn. You can also adjust the colours for inactive toolpaths, if needed.
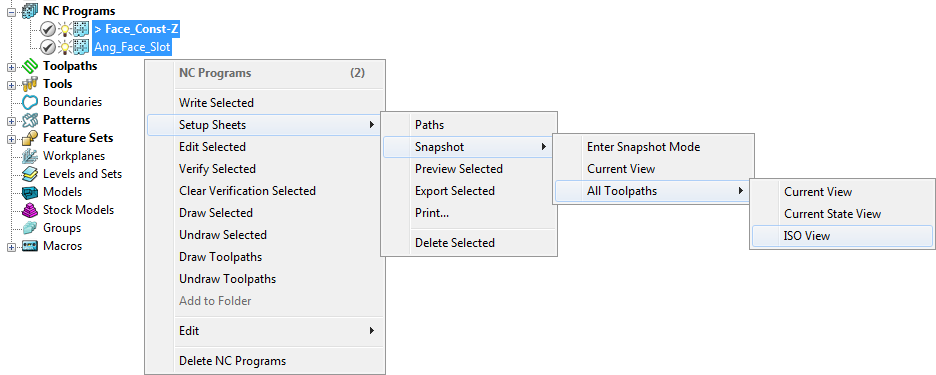
- In the Explorer, select all required NC program names, and from the context menu select
Setup Sheets > Snapshot > All Toolpaths > ISO View.
- By default, the captured images are shown on the setup sheet pages for the corresponding toolpaths (the Toolpath.html template). If a snapshot does not exist, the image file ImagePlaceHolder.png is used.
- To preview an image, from the individual NC program name select the desired toolpath, and from this specific context menu select Setup Sheets > Snapshot > Preview.
- Make sure all required toolpaths are drawn. You can also adjust the colours for inactive toolpaths, if needed.
Tip: Each created toolpath file has the
tp-prefix.