
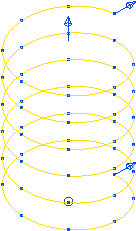
Use the Helix dialog to create a helix.
To display the Helix dialog:
- Click Curve Editor tab > Create panel > Curves > Helix, which attaches a helix to the cursor.
- Click in the graphics window to locate the centre of the base of the helix.
This dialog contains the following:
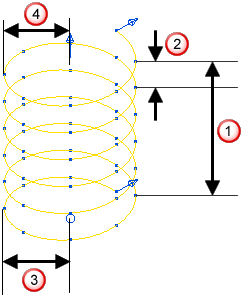
- Height
 — Enter the height of the helix.
In this case, the Base radius
 is the same as the Top radius
  .
. - Pitch
 — Enter the distance between successive turns.
 - Turns — Enter the number of revolutions in the helix.
Note: Height, Pitch, and Turns are inter-related. You can edit any two while locking the third.
 Unlocked — When displayed, you can edit the value. When unlocked, changing other values may change unlocked values.
 Locked — When displayed, you cannot edit the value. When locked, changing other values does not change locked values.
Note: Click the button to toggle between Locked and Unlocked .
and Unlocked . - Points in each turn — Enter the number of points in each revolution.
- Top radius — Enter the radius at the top of the helix.
- Base radius — Enter the radius at the bottom of the helix.
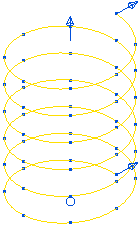
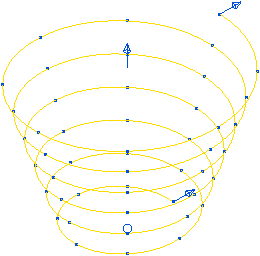
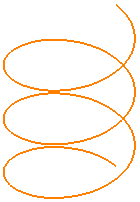
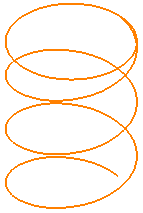
- Constant radius — When selected creates a straight helix. When deselected enables you to create a tapered helix.
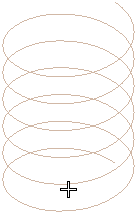
Straight helix:
Tapered helix:
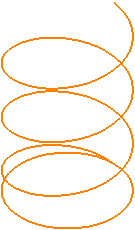
- Flip direction — Select to change from an counter-clockwise to a clockwise helix.
Selecting Flip direction converts this:
to this:
- Close top — Select to end the helix with a circle at its top.
Deselected:
Selected:
- Close base — Select to end the helix with a circle at its base.
Deselected:
Selected:
For more information, see creating a helix example.