
The following workflow describes how to create stitches on a surface using the
Array modifier. It highlights the
Surface Distribution method and uses other
Array modifier rollouts to build and tweak the array.
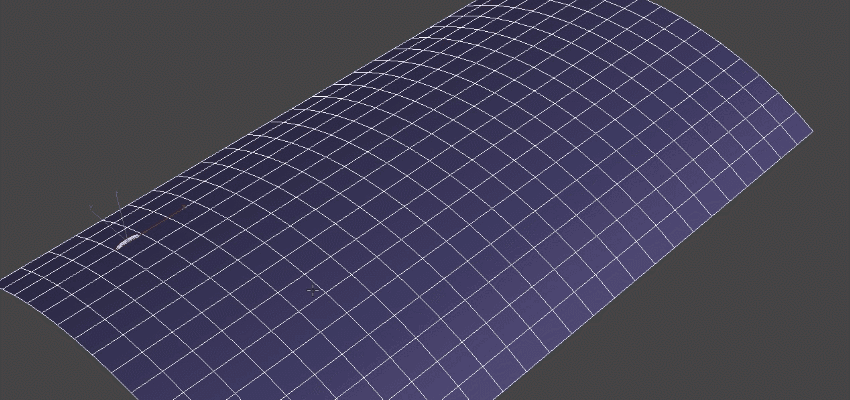
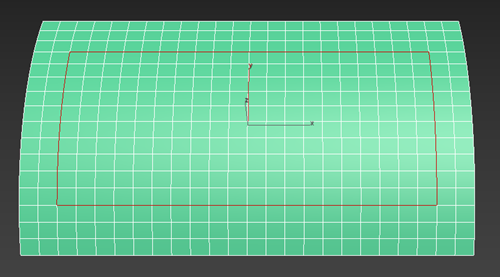
Create a surface
Let's create surface where the stiches will be applied.
- Create a plane.
- Apply a
Bend modifier to the plane.
This example uses the following parameters:
- Angle: -60.0
- Direction: 90.0
- Bend Axis: Y
- Apply an
Edit Poly modifier to the plane.
You'll use the Edit Poly modifier select edges on the plane later in this workflow.
Your plane is now ready for stitches.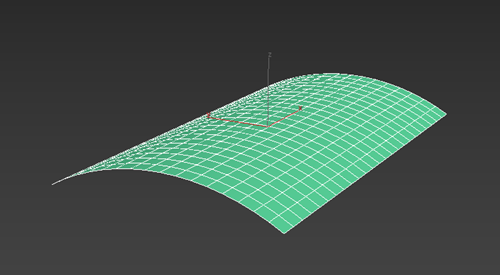
Create a stitch
You can create a circle spline and make adjustments to make it look like a single stitch.
- Create a circle spline.
- In the Modify panel, set the following parameters in the
Rendering rollout:
- Enable in Renderer: On
- Enable in Viewport: On
- Thickness: Increase or decrease this value until you've reached the desired thickness for your stitch
- Apply an Edit Spline modifier to the circle.
- On the main toolbar, turn on
Use Selection Center
 .
.
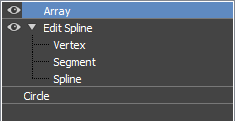
- In the Modifier stack, select
Vertex sub-object mode.

- Select two vertices in the middle of your circle.
- Scale the circle into a flattened oval.
- In
Segment sub-object mode, select half of the circle and delete it.
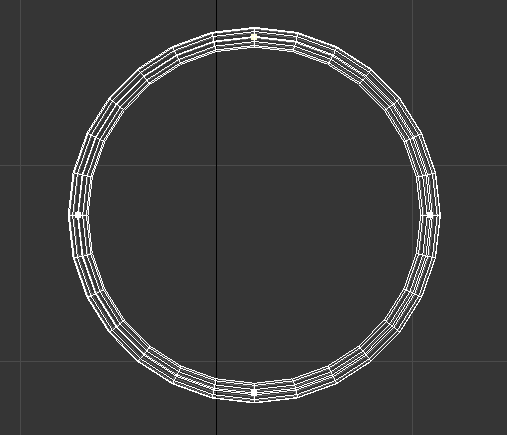
The remaining segments now look more like a single stitch.
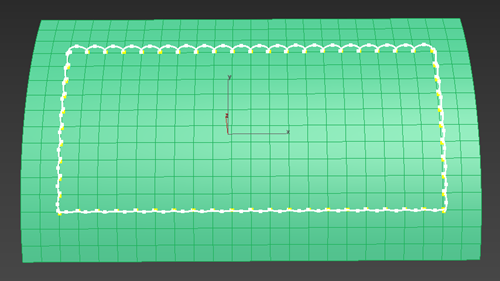
Select edges to create a path for your stiches
The Surface Distribution method creates clones using feature points (edges, faces, or vertices) of a target surface. In this example we'll make a selection of edges on the plane (the target surface).
- Select the plane.
- In the Modifier stack, select
Edge sub-object mode.

- Select edges on your plane.
- Shift-select edges to remove them from your selection until you're left with the outer edges.
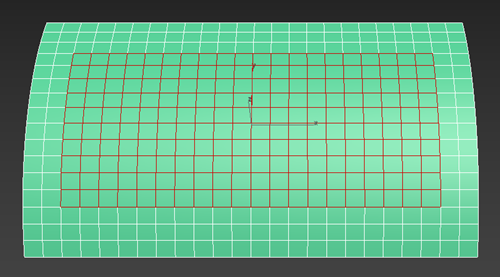
Create an array of stitches
- Select the circle (stitch).
- In the Modify panel, select
Array from the
Modifier List.
Note: Ensure that the Array modifier is at the top of the Modifier stack.
- In the
Array modifier
Distribution rollout, set the following parameters:
- Distribution method: Surface
- Layout method: Edge Center
- Pick Surface: the plane
One clone (stitch) is placed on each of the edge centers in the selection.
- In the
Array modifier
Transform rollout, set the following parameter:
- Local Rotation
X: 90
The stitches are now perpendicular to the plane.
- Local Rotation
X: 90
Adjust the stitches
Let's make further adjustments so the stitches sit closer to the surface of the plane without overlapping.
- In the Modifier stack, select your circle.

- In the Modify panel, set the following in the
Parameters rollout:
- Radius: Decrease the radius of the circle until there is no overlap between the stitches

- Radius: Decrease the radius of the circle until there is no overlap between the stitches
- In the Modifier stack, select the
Array.

- In the
Array modifier
Transform rollout, set the following parameters:
- Position Y: Reduce this value until the clones intersect the plane. In this example, this value is set to -3.0
Now the stitches sit nicely on the plane.

Make additional changes
The
Array modifier is parametric, meaning you can make changes to the original circle (stitch) or the clones after the array is created. You can try the following adjustments:
- Change the radius of the circle to make the stitches longer
- Update the edge selection on the plane. Clones are added or removed dynamically as you make changes to the selection
- Select the plane and ensure Edge sub-object mode is selected
- Ctrl-click edges to add and/or Shift-click to remove clones
