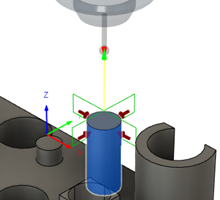
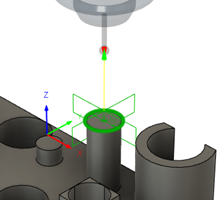
Workflow: Inspecting a geometric feature using probing
This feature is part of an extension. Extensions are a flexible way to access additional capabilities in Fusion. Learn more.
The Probe Geometry ![]() strategy lets you use the probing cycles (macros) on your CNC machine, or a probe path, to measure and verify, in-process, the geometry of critical features. The inspection results can be imported into Fusion:
strategy lets you use the probing cycles (macros) on your CNC machine, or a probe path, to measure and verify, in-process, the geometry of critical features. The inspection results can be imported into Fusion:
- From a machine-generated results file if a live connection is not available, or
- In real-time using a live connection between Fusion and the CNC machine.
Import from a machine-generated results file
Generate a Probe Geometry operation.
 Note: In the Probe Geometry dialog, ensure that the Print Results checkbox is selected.
Post process the Probe Geometry operation to create NC code, and then run the NC code on the CNC machine fitted with a probe.

(Optional) Save the inspection results as a report.
Import in real-time using a live connection
Generate a Probe Geometry operation.

Post process the Probe Geometry operation to create NC code, and then transfer the NC code to the CNC machine fitted with a probe.

Import the inspection results in real-time as the NC code runs on the CNC machine.

(Optional) Save the inspection results as a report.