
Lighting and Shading Sven - Arnold for Maya
In this tutorial, we will cover how to use the standard_surface shader to create realistic materials such as glass and metal. We will also replace the existing scene's lighting with the skydome_light in combination with a physical_sky shader to give us more control and a more realistic look. Lastly, we will add a backgr ound and render the scene.
The Maya scene file can be found here.
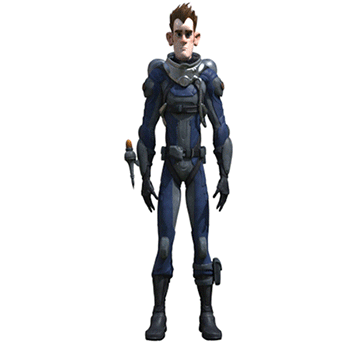
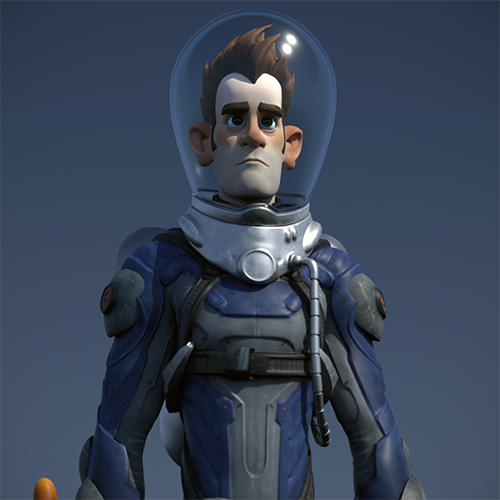
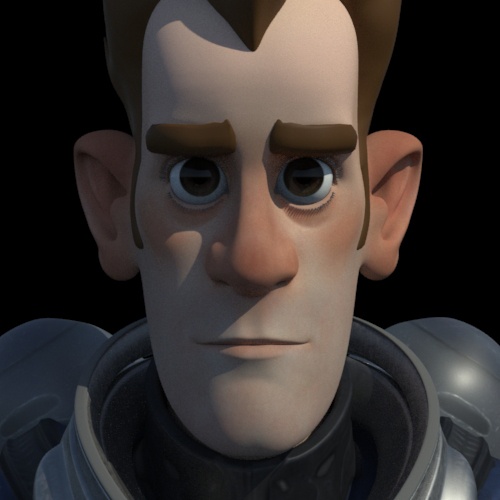
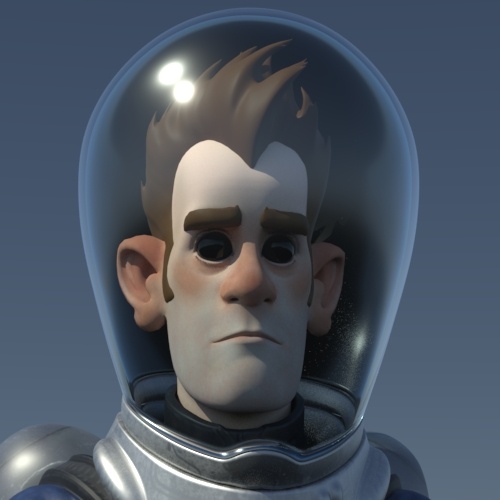
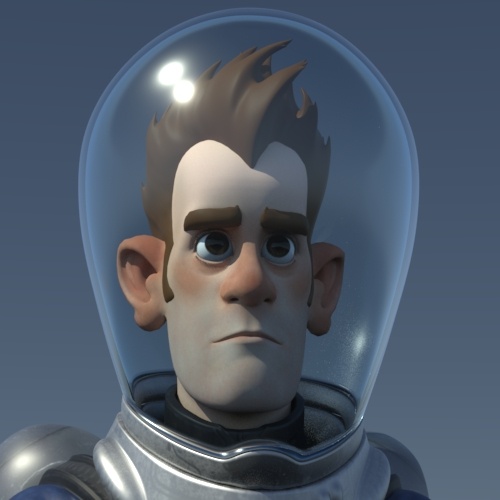
Our intergalactic hero 'Sven', whom we will be shading, lighting, and rendering with MtoA
Lighting
- Create a skydome_light - Arnold> Lights> skydome_light.
- Connect a physical_sky shader to the Color attribute of the skydome_light.
- The lighting looks a little bit dark. Try increasing the Exposure of the Skydome light by around 1 exposure stop.
 |
 |
| exposure: 0 | exposure: 1 |
- When you are happy with the lighting and are ready for final rendering, increase the number of samples to 3 in the skydome_light to reduce any shadow noise. Otherwise, keep it at 1 when test rendering with the IPR.
 |
 |
| light_samples: 1 | light_samples: 3 |
Shading
The scene contains various Blinn and Phong shaders. We want to convert these shaders to more physically accurate shaders within MtoA. Fortunately, we can use the shader Typemenu in the Attribute Editor window to convert them. We will largely be using the multi-purpose standard_surface shader.
Space Suit
Sven's space suit comprises of several Blinn shaders assigned to his arms, legs, and torso.
- Select one of the shaders and change the shader ' Type ' from Blinn to standard_surface. Maya will automatically connect the file texture to the base_color, which is what we want.
More information about Specular Fresnel can be found here.
Face
To get a realistic skin shading effect, we will use the standard_surface shader again. It has a realistic subsurface scattering attribute which suits our single color map well.
- Convert the Blinn shader that is assigned to the head to a standard_surface shader.
- Connect the color map sven_diffuse_u1_v1.1k.jpg to the subsurface_color attribute.
- Increase the subsurface.weight to 1.
Hair
For the hair, we will create a simple plastic-looking shader.
- Assign a standard_surface shader to Sven's hair and eyebrows. Connect the file texture sven_diffuse_u1_v4 to the base_color of the standard_surface shader.
Eyes
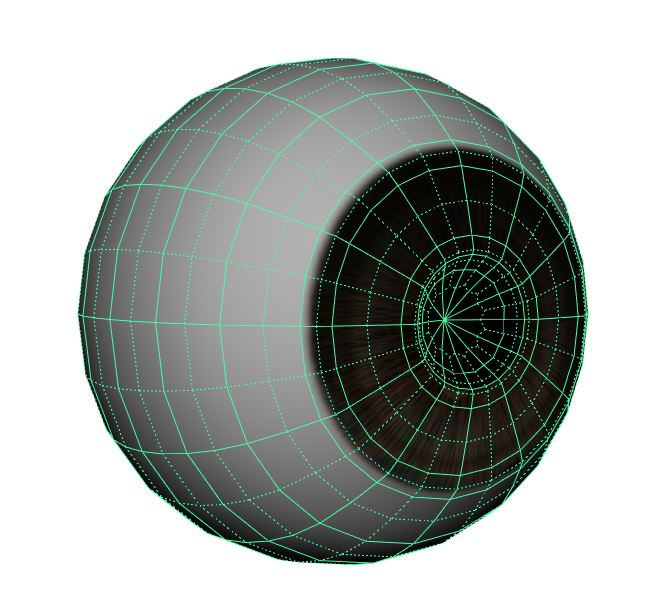
The eye geometry consists of two objects in this scene: 'Eyes' and 'Corneas'. The eye geometry sits inside the cornea geometry. Therefore the eye color should be assigned to the eyeball.
- Assign a standard_surface shader to the 'Eyes' geometry as in the image below.
- The eyeballs have a texture Sven_Eye_Color_1k_jpg. Connect it to the subsurface_color.
- Increase the susbsurface.weight to no more than 0.3.
Cornea
Cornea geometry surrounding Eye geometry
- The cornea geometry needs a wet thin film shader to surround the eyeball geometry. Assign a standard_surface shader to it. Reduce the base_weight to 0.
- Now we need to make the cornea shader transparent. Increase the transmission_weight to 1. Change the IOR to that of water (1.33).
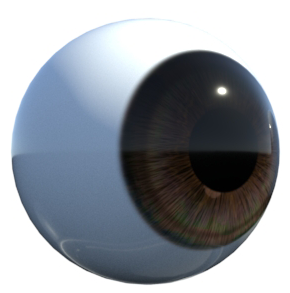
Your finished eyeball render should look like the image below.
Helmet
We will assign a glass material to the helmet. The helmet has been modeled with thickness, and the normals are facing in the right direction. This is essential when rendering realistic glass surfaces with MtoA.
More information about rendering glass surfaces can be found here.
- Assign a standard_surface shader to the helmet and rename it to 'glass'. Reduce the base_weight to 0.
- Increase the transmission_weight to 1 so that the glass is fully transparent. Change the IOR (Index of Refraction) to that of glass (1.5). If you want to add a tint color to the glass, change the transmission_color to a light color.
Info: The transmission_ray_depth is set to 8 by default. If we lower this value and render the helmet glass we can see that the eye cornea (also a refractive material) appears black. This is because the ray depth is limited and therefore cannot penetrate the glass and the cornea shader.
 |
 |
| transmission_ray_depth: 2 (eyes appear black) | transmission_ray_depth: 4 (eyes are visible through the glass) |
Helmet Collar
Let's change the shaders on Sven's collar (and air tank) to have a more 'metallic' appearance.
- Change the Blinn shader that is assigned to the 'Helmet Collar' geometry to a standard_surface shader.
- Lower the base_weight to something like 0.4.
Rendering
Skydome Light
- Create a skydome_light and connect a physical_sky to its color attribute.
Sampling
Open up sampling in the Render Settings Window. For test rendering Camera (AA) samples at 3 is fine. However, for final frame rendering, you will want to increase it to at least 5.
A simple guide to sampling can be found here.
Arnold Log
When rendering scenes with MtoA it is a good idea to get familiar with the Arnold Log in the Diagnostics tab of the Render Settings window. This log file will show you any warnings and statistics which will help you diagnose your scene file.
A guide on how to read a render log can be found here.
That's it. Congratulations, you have completed this tutorial. Now go out there and explore new worlds of rendering!