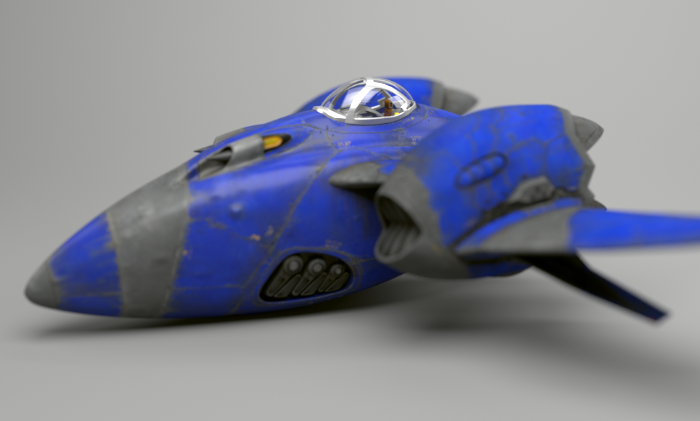
Spaceship - Arnold for Maya
In this tutorial, we will cover how to use the standard_surface Standard Surface - Arnold User Guideshader to create realistic materials such as glass and metal. We will also replace the existing scene's lighting with the skydome_light in combination with an HDR image to give us more control and a more realistic look. Lastly, we will add some jet thrust to the exhausts using a combination of spot lights and atmosphere_volume.
The Maya scene file can be downloaded here.
Shading
Import the spaceship model into the scene. It contains various Blinn and Phong shaders. We want to convert these shaders to more physically accurate shaders within MtoA. Fortunately, we can use the shader 'Type' menu in the Attribute Editor window to convert them. We will largely be using the multi-purpose standard_surface shader.
Body
- Start by converting the spaceship's 'Body' Blinn shader to a standard_surface shader. Connect the map (ship_body_diffuse.tga) to the base_color and Bump map connection (ship_body_normal.tga).
- You will also need to connect the specular and emission_color maps.
- Connect the file roughness map (ship_body_roughness.tga) to the s pecular_roughness attribute of the standard_surface shader. You can use the Maya RemapValue utility node in the scene to remap the specular_roughness value.
- The incandescent file map (ship_wings_emissive.tga) should be connected to the emission_color of the standard_surface. Increase the emission_scale to 1.
 |
 |
| emission: 0 | emission: 1 |
Glass Cockpit
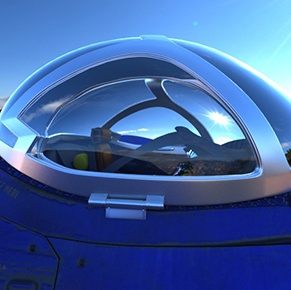
We will assign a glass material to the cockpit glass. In this scene, the glass has been modeled without thickness. This will render incorrectly because glass has a thickness in the real world and Arnold is a physically accurate renderer. Select the glass objects and extrude them slightly.
 |
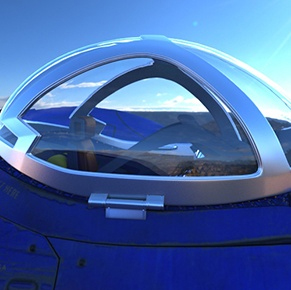 |
| Thin surface: Glass refracts improperly as a solid object. | Extruded glass: Cockpit refracts properly through the glass |
Ensure that the normals are facing in the right direction. This is essential when rendering realistic glass.
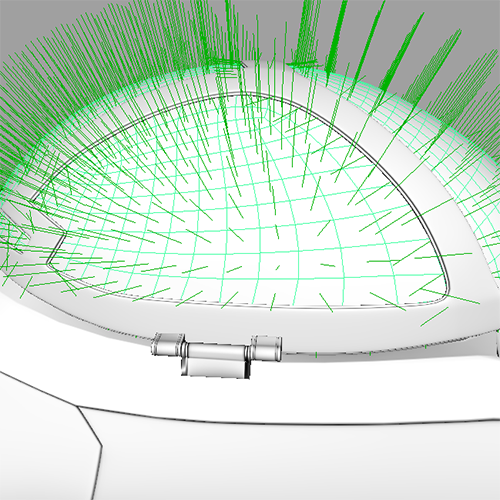
Normals pointing in the correct direction (outwards)
- Assign a standard_surface shader to the cockpit glass and rename it to 'glass'. Reduce the base_weight to 0 reduce the specular_roughness to 0.
More information about Specular Fresnel can be found here.
- Increase the transmission_weight to 1 so that the glass is fully transparent. Change the IOR (Index of Refraction) to that of glass (1.5). If you want to add a tint color to the glass, change the transmission_color to a light color.
Info: More information about rendering glass surfaces can be found here.
Lighting
Ai Skydome Light
- Create a skydome_light and connect an HDR image to its color attribute. In this case, we have used an HDR image from this site.
- When you are happy with the lighting and are ready for final rendering, increase the number of samples to 3 in the skydome_light to reduce any shadow noise. Otherwise, keep it at 1 when test rendering with the IPR.
Thrusters
We will use a Maya spot light to represent the jet's thrust emitting from the exhaust.
Spot Light
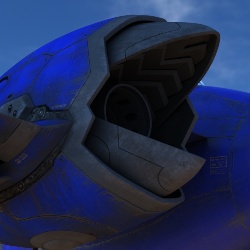
- Create a spot light and position it so that it is pointing out of the thruster as in the image below.
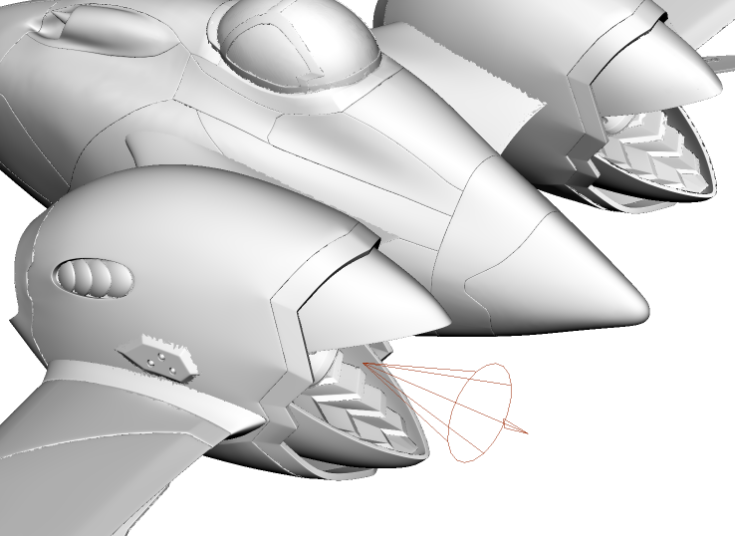
spot_light positioned inside exhaust
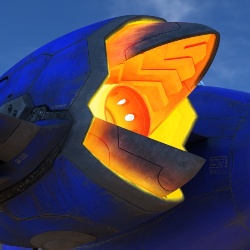
- Increase the exposure of the spot light to around 15.
- Enable color_temperature and change the temperature to around 3500. This will give the light a warmish hue.
Atmosphere Volume
To visualize the thrust effect, we must first enable atmosphere_volume.
Go to the Environment tab of the Render Settings. Connect an atmosphere_volume to the Atmosphere attribute.
You will not see any result if you render the scene. That is because the density is 0 by default. Increase it to 1 and IPR render the scene.
By default, the start of the spot light's cone is too narrow. We can increase this by using the lens_radius attribute under the Arnold tab of the spot light. Increase it to around 100.
 |
 |
| lens_radius: 0 | lens_radius: 100 |
Light Decay Filter
The exhaust thrust appears too long. We can limit the distance of the light from the spot light by using a light_decay filter.
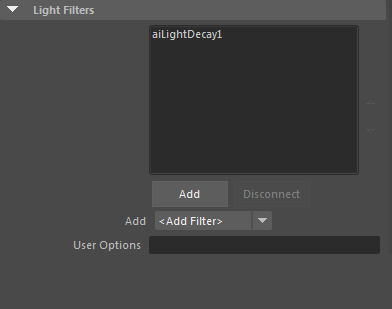
- Under the Light Filters tab, add a light_decay filter to the spot light.
- Enable use_far_attenuation and increase the far_end to around 600.
 |
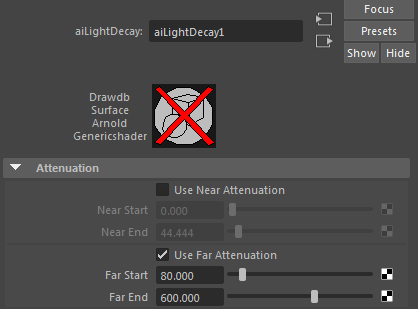 |
| light_decay filter added to spot_light | use_far_attenuation: enabled |
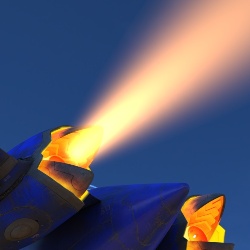
You can see the effect that adding a light_decay filter has on the attenuation of the spot light in the images below:
 |
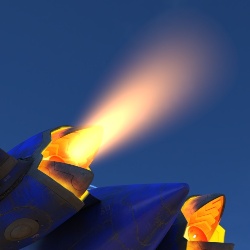 |
| far_end: 0 | far_end: 600 |
Rendering
Sampling
Open up Sampling in the Render Settings Window. For test rendering Camera (AA) samples at 3 is fine. However, for final frame rendering, you will want to increase it to at least 5.
A simple guide to sampling can be found here.
Arnold Log
When rendering scenes with MtoA, it is a good idea to get familiar with the Arnold Log in the Diagnostics tab of the Render Settings window. This log file will show you any warnings and statistics which will help you diagnose your scene file.
A guide on how to read a render log can be found here.
That's it. Congratulations, you have completed this tutorial. Now go out there and explore new worlds of rendering!