Edit, Publish, Unpublish, and Comment on Issues
Learn how to edit, publish, unpublish, and comment on issues that were created in your project.
In this article, you can learn how to:
Edit Issues
From the Issues Log, you can edit a single issue or select multiple issues to edit together.
Edit a Single Issue
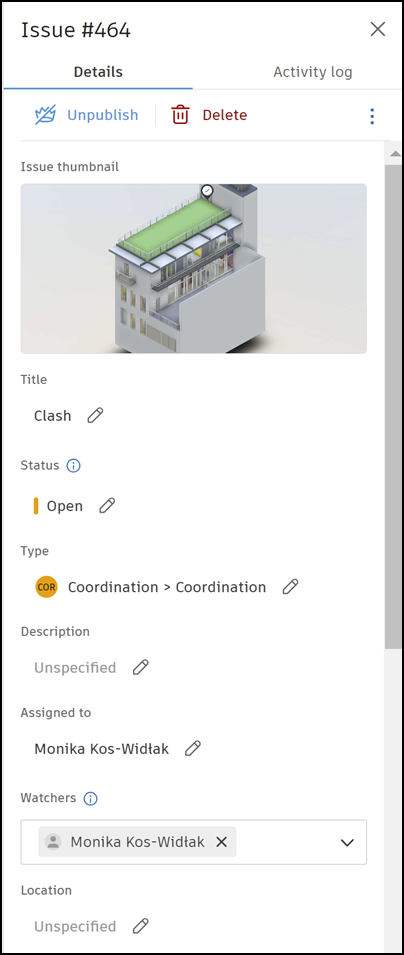
Click the relevant issue from the Issues log. A flyout panel opens to display all the issue details.

You can edit any of the issue's fields:
- Issue thumbnail (in issues placed on 3D models). See Edit issue thumbnail to learn more.
- Title
- Status
- Type
- Description
- Assigned to
- Watchers
- Location
- Location details
- GPS location
- Due date
- Start date
- Placement
- Root cause
- Any custom fields
- Attachments: You can add an attachment to the issue that you're editing.
- References: You can add references to photos, files, RFIs, assets, forms, submittals, or PCOs.
See Issue References and Attachments for more information. - Comments
Click a text field to enter your changes. Click the check mark to save.

A previously filled required field cannot be empty. Required fields are marked with an asterisk.
Editing status:
In Draft Status? All required fields complete? Result 

You cannot change the status.
When you complete the last required field, a pop-up window will appear asking if you want to update the issue status. Click Set to open and the issue status will be updated to Open automatically or click Keep as draft.

You can edit the issue status. Editing issue type:
In Draft Status? All required fields complete? Result 

A pop-up window will appear where you can complete any required fields from the new issue type. Fill out to proceed and click Save changes or click Cancel which will cancel the type change.
Edit Issue Thumbnail
When you create an issue on a 3D model in Files, an issue thumbnail is automatically generated from the current display of the issue in the viewer.
See Place Issues on 3D Models and Create Thumbnails to learn how to create and edit issue thumbnails.
To edit a thumbnail from the issue flyout panel:
Click the link in the Placement field.
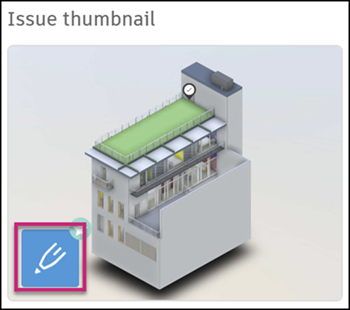
In the viewer, click the pencil icon
 in the bottom left corner of the thumbnail to activate the markup mode.
Add markups as needed.
Click Save thumbnail.
Edit Multiple Issues
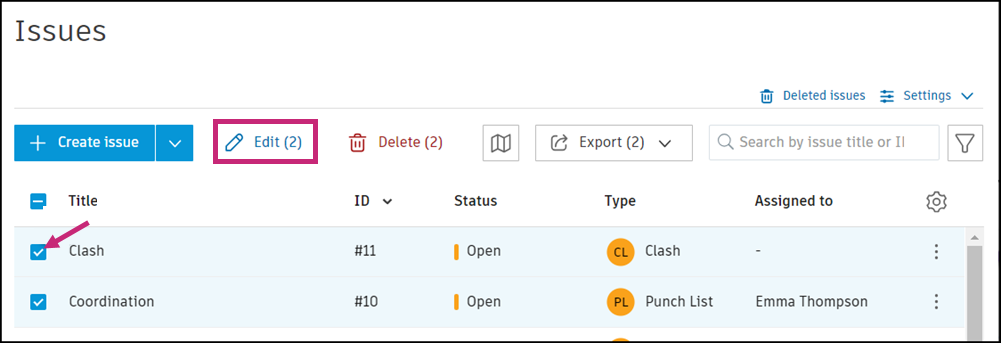
Select two or more issues using the multiselect box next to an issue's title.

Click Edit to open the issue panel.
Change any of the issue fields as desired
Click Save
Any edits that you make will apple to the multiple issues selected.
Publish and Unpublish Issues
Issues can be published or unpublished directly from the Issues log.
Click the relevant issue from the Issues log.
Once you select an issue from the Issues log, you'll be able to see if the issue is already published.
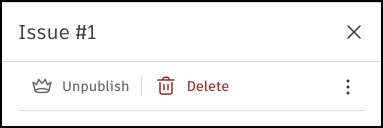
Click Publish or Unpublish and confirm the action to change its published status.

Published issues will be visible to anyone on your project with the correct permissions. If you unpublish an issue, only the issue's creator, assignee, and watchers will be able to view it in the Issues log and on the relevant sheet or model.
Regardless of whether they are the creator, assignee, or a watcher, project administrators can see all unpublished issues by extracting project data in Data Connector.
Comment on Issues
You can leave comments on any issues you have access to. Commenting gives your team a centralized place to communicate and flag information regarding an issue.
- Click the relevant issue from the Issues Log. A panel opens to display all the issue details.
- In the Comments section, click the field to type your comment. You can type the @ symbol to mention a project member, role, or company to get their attention. Type in a name or select from the drop-down menu. Only members, roles, or companies who can view are listed. The mentioned member or members will receive a notification when you submit your comment.
- Click Submit.

