
Applying Blending Curves per Surface
To adjust the blending curve:
In the Object menu of a Surface, select the Blending menu.
Select Result view from the View drop-down. This allows you to view a particular image as you adjust the curve.
To adjust the luminance curve for the front matte, select Front from the Matte option. To adjust the back matte curve, select Back. Alternatively, click a curve to select it.
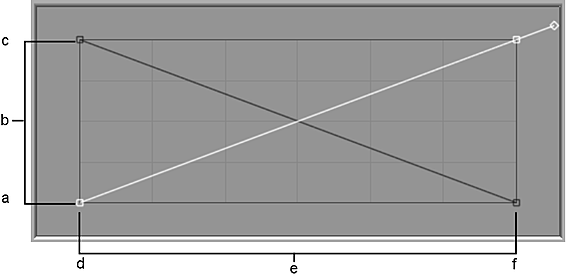
(a) 255 (White) (b) Output (remapping of luminance values) (c) 0 (Black) (d) 0 (Black) (e) Input (current luminance values) (f) 255 (White)
In Select edit mode, click a point to display its tangent handle and drag the handle to adjust the curve. Use other modes in the Tools drop-down (Add Points or Break Tangent, for example) to further adjust the curve, adding or deleting points, or breaking tangent handles as needed.
Use the options in the Keyframe drop-down to Set, Delete, or Reset keyframes. If Auto Key is enabled, a keyframe is added automatically when you adjust the blending curve.
Use the Blend Curves option to switch between the surface blend curves and the keyer blend curves. This gives you a good comparison to luminance curve work you have already done in the Keyer. When Use Keyer Blend Curves is selected, all of the other Action blend curve settings are unavailable.