
Select Fonts
The Select Font Widget
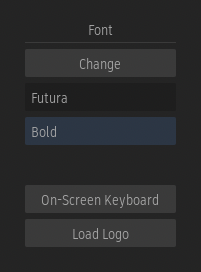
Click Change to open the Select Font widget and select a different font to be used for characters in a layer.
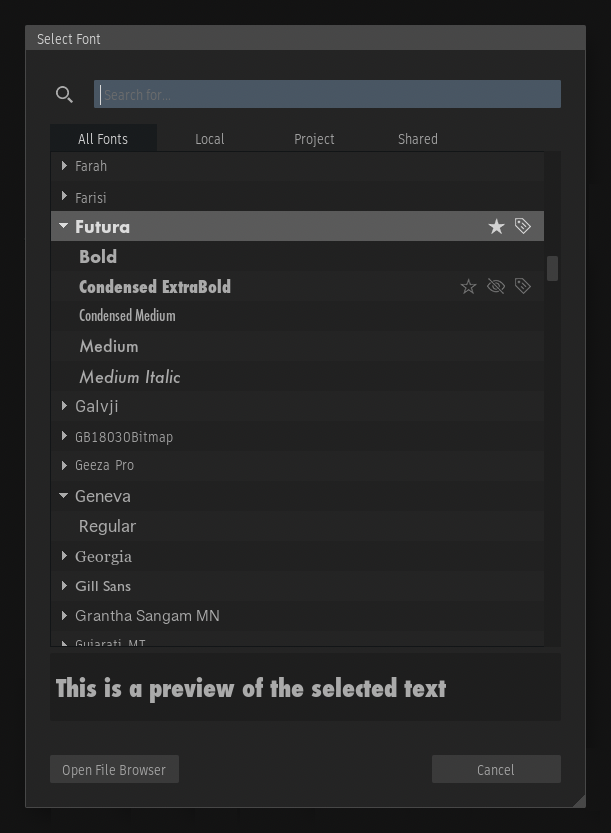
The widget appears and offers four lists to select a font from, represented using tabs:
- All Fonts: All the fonts found either on your workstation or in the network path defined in the sysconfig.cfg file.
- Local: Only the fonts found on your workstation.
- Project: The fonts defined as project-based fonts in the Project Fonts preferences.
- Shared: Only the fonts found in the network path defined in the sysconfig.cfg file.
- Favourites: Favourited fonts.

/opt/Autodesk/fonts in the sysconfig.cfg file. In the 2026 version, the Shared tab is hidden unless the sysconfig.cfg file is modified to point to a different location. As of 2026.1 Update, the tab is always visible. 
Fonts Display
By default, the font names are displayed using the font itself, providing a preview of what the font looks like. If a font does not contain the glyphs required to display its name in English, the application uses its default font to display it.
To always use the application's default font, disable the Use Font to Display Names and Style option in the gear menu located at the bottom-left of the widget.
Fonts Preview
A preview of the selected characters in a layer, displayed using either the selected font or the font under the cursor in the list, is shown at the bottom of the Select Font widget.
Choosing a Style
Click a font family name to select it and use its default style, usually Regular. Use the arrow icon to expand a font family and click on a style, such as Bold or Italic, to select it.
Searching for a Font
Use the name field at the top of the Select Font widget to filter the list by typing the name of a font.
Setting Attributes to Fonts
Fonts can be set as favourites, hidden, or given tags to facilitate filtering. This is achieved by clicking the corresponding icons inside the Select Font widget.
![]()
- Favourites: Click the star icon to set a font as a favourite. Favourite fonts appear at the top of the list, making them easier to find.
- Note: As of 2026.2 Update the favourited fonts appears in the Favourites tab.
- Note: As of 2026.2 Update the favourited fonts appears in the Favourites tab.
- Hidden: Click the eye icon to hide a font you do not want to appear in the list.
- Tags: Click the tag icon to add tags to a font. Tags are useful for filtering fonts based on user-defined words such as serif, title, or a company name.
These attributes are saved at the user level and can be managed from the Fonts tab in the User Preferences.
Using the Select Font File Browser
Click Open File Browser to open the Select Font file browser. Use the file browser to navigate to a specific location and select a font that does not appear in the Select Font widget.
Font Handling
When you create a Type Node or Timeline FX, the first font in the Project Fonts is selected by default. If no project font is defined, the Discreet font is used. When you choose a different font using the Change button, it becomes the current font, and all characters you type appear in the current font. If you edit a layer that has a different font, the current font is replaced by the font of the character at the cursor position. For example, if you are working with the Carta font and you edit text that uses Helvetica, Helvetica becomes the current font, and all subsequent text you type appears in Helvetica.
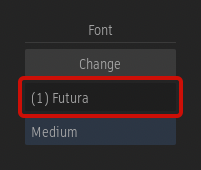
The name of the font is displayed in the Font Name button.
IMAGE
The following fonts formats are supported:
- TrueType (TTF)
- TrueType Collection (TTC)
- OpenType (OTF)
- PostScript® (Type 1, CID)
- Adobe Fonts. The font must be installed on the workstation.
Font Style
Use the Font Style drop-down to select a style for the selected font.
Missing Fonts
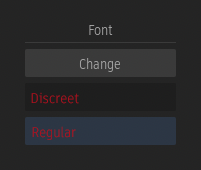
A warning message is presented when a setup is loaded, but at least one of the fonts used in the setup is either missing or the path from which the font was loaded cannot be reached.
Inside the Type tool, the name of the missing font is then displayed in red, the font used to render the setup is Discreet, and the font colour is temporarily changed to red to give you an extra warning.
Using Project-based Fonts
A set of fonts can be defined for a project in the Project Fonts preferences.
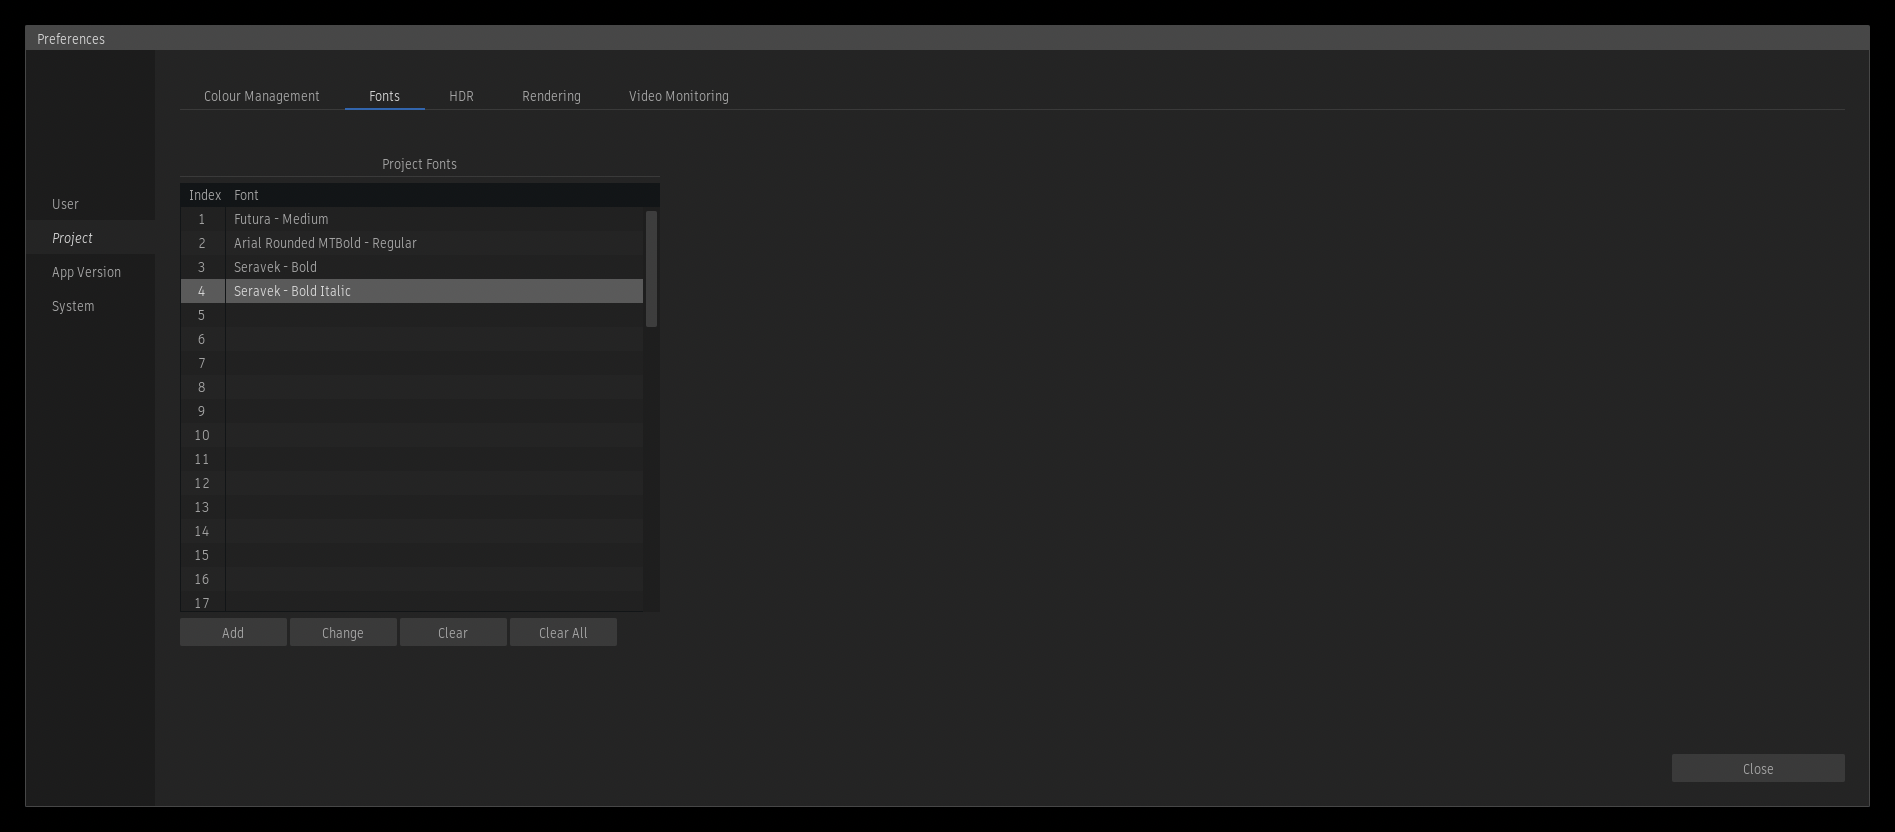
There are two main benefits to using project-based fonts:
- Find them easily in the Project tab of the Select Font widget.
- Replace a font and have the change applied to all instances of the Type tool using this font.
When a project-based font is selected in the Type tool using the Select Font widget, the application registers a link to the font defined in the Preferences rather than pointing directly to the font on the file system. This makes it possible to replace a font in all instances of the Type tool using the same project-based font across Batch Groups and Sequences. This is achieved by changing that font in the Project Fonts table of the Project Fonts preferences. A good use case for this is to create all Type effects required for a project before the final font has been received, and then update all the instances of Type once the font has been recevied.
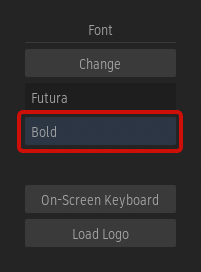
When a project font is used, its corresponding index appears before the font name in the Font section.
Loading or Restoring a Setup
A Type setup, stored on disk or in an archive, contains information about the fonts used in the setup, including whether a font was selected as a project font. When a setup containing a project font is loaded into a different project that does not have the same project fonts defined, a warning dialog appears and asks how to resolve the situation using one of the following options:
- Setup: Use the font from the setup. The font is no longer connected to a project font.
- Same Index: Use the font defined at the same index in the project fonts. The setup is loaded with a different font.
- Use Existing: Use the same font but change the index. This option appears when the font is found in the project fonts, but at a different index.
- Add Font: Add the font from the setup to the project fonts, at the same font index.