Create the Winter scenario
As we've said before, Upfront CFD is all about product evolution through multiple design iterations. So far we've worked through the process of setting up the Summer scenario. Instead of repeating that effort to create the Winter scenario, we'll simply clone the Summer scenario, and change only the settings that are different.
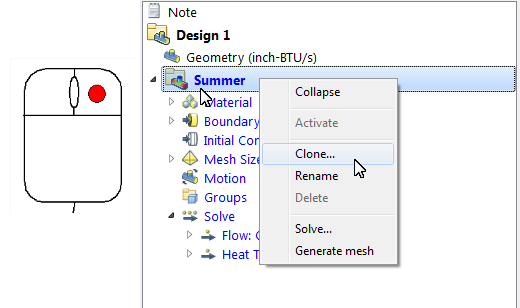
1. In the Design Study bar, right click on Summer, and click Clone...
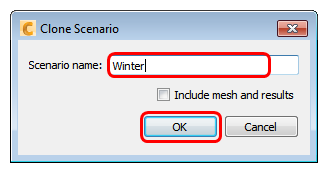
2. Enter the name Winter, and click OK.
3. In the Design Study bar, you should see the Winter scenario.

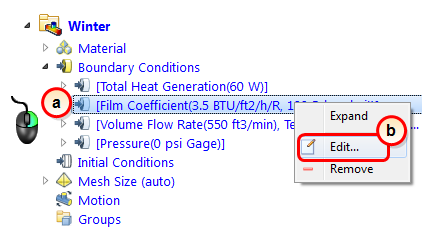
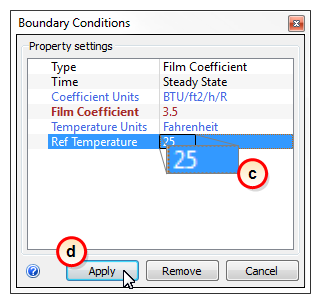
4. Change the exterior reference temperature:
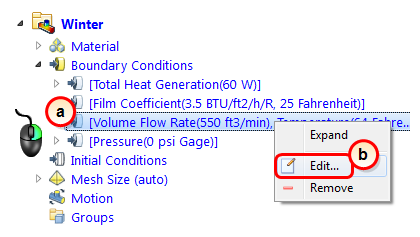
- a. Right click on Film Coefficient 3.5 BTU/ft2/h/R, 100 Fahrenheit in the Design Study bar.
- b. Click Edit...
- c. Change the Ref Temperature to 25.
- d. Click Apply.
5. Change the supply temperature:
- a. Right click on Volume Flow Rate (550 ft3/min), Temperature (64 Fahrenheit) in the Design Study bar.
- b. Click Edit...
- c. Set the Type to Temperature.
- d. Change the Temperature to 85.
- e. Click Apply.

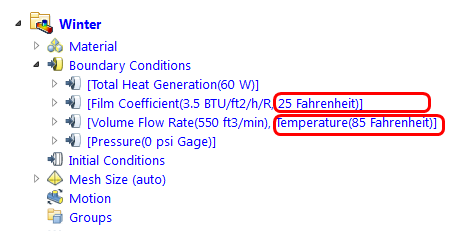
What it should look like...
The Design Study bar for the Winter scenario should contain the two updated values. All other values should be the same as in the Summer scenario: