
Set up SSO with Active Directory Federation Services (ADFS)
This section explains how to set up your SSO connection using ADFS as the identity provider, so that users can sign in to Autodesk with their organization’s email address. This connection uses SAML (Security Assertion Markup Language) to allow Autodesk to communicate with ADFS to authenticate users. To enable this communication, you will need to add metadata from ADFS to Autodesk and vice versa.
Page Contents:
To set up your SSO connection with ADFS, you’ll need to:
Extract metadata information from ADFS and input it into Autodesk.
Download Autodesk metadata and input it into ADFS.
Map Autodesk attributes to Lightweight Directory Access Protocol (LDAP) attributes on ADFS.
Begin setup in Autodesk
In Autodesk Account, go to User management > By user or By Group.
Select your team from the drop-down list and click the Team Settings ⚙️ icon in the upper right-hand corner.
Go to the section Single sign-on (SSO) and select Manage SSO.
Select Manage SSO tab > Set up connection.
You will be asked to name your connection. Enter a name that will help you easily identify the connection between your identity provider and Autodesk. The name you choose can also help differentiate between connections. The name you choose must be unique and not in use by another team or organization.
Select your identity provider from the drop-down menu.
Get metadata from ADFS
This section covers how to get metadata from ADFS that is needed to set up a SAML connection with Autodesk. You can either select:
Automatic setup to download the metadata file from ADFS and upload it to Autodesk (recommended),
Manual setup to copy and paste the information manually.
For automatic setup,
Access the ADFS server to download the ADFS metadata file.
In the AD FS Management application, under AD FS > Service > open the Endpoints folder and go to Metadata section.

Copy the FederationMetadata.xml path and add your host name to the path and paste it into a browser to download the metadata file. The path is typically
/FederationMetadata/2007-06/FederationMetadata.xml.Return to SAML connection setup in Autodesk Account and upload the file.
Confirm that the fields are filled in and click Next.
For manual setup,
Skip the manual setup steps if you chose automatic setup.
In the AD FS Management application, under AD FS > Service open the Endpoints folder. Under Metadata, right-click the Federation Metadata XML hyperlink, and select Save Link As to save the metadata file.
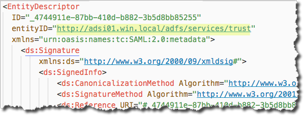
Open the metadata file in a text editor or browser, locate and note down:
The value of the entityID attribute of the EntityDescriptor tag. (This will be "Entity ID" in Autodesk Account.)
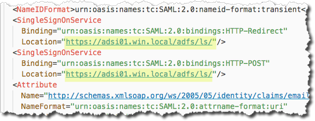
The value of the Location attribute of the SingleSignOnService tag. (This will be “Sign-on URL" in Autodesk Account.)
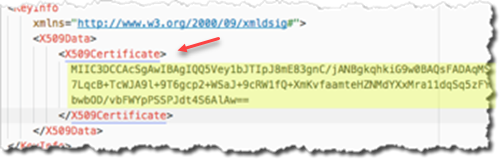
Copy the content enclosed by the X509Certificate tags under KeyDescriptor use="signing." There are two X509 certificate tags listed; usually the first tag is the signing certificate. Make sure that you select the correct tag content. You can either copy the text value or save it to a *.cer file to upload in Autodesk Account. (This is "Identity provider certificate" in Autodesk Account.)
Return to SSO connection setup in Autodesk Account to enter the information you copied from ADFS and paste into Autodesk as shown in the table.
ADFS Autodesk entityID Entity ID SingleSignOnService Sign-on URL* Signing Certificate Identity provider certificate
- Confirm that the fields are filled in and click Next in Autodesk Account.
*Binding refers to the mechanism used to transmit authentication data between the identity provider and service provider (Autodesk). There are two binding methods: Post and Redirect.
The Post method is recommended, and is selected by default. This method transmits SAML messages within an HTML form using base64-encoded content. Because messages are encoded, it is more secure than the Redirect method, and is recommended as a security best practice.
The Redirect method transmits SAML messages encoded as HTTP URL parameters. The response is part of the URL and may be captured and exposed in various logs, making this method less secure than the Post method.
Add Autodesk metadata to ADFS
This step allows your identity provider to connect back to Autodesk for user authentication.
- In Autodesk Account, select Download to download the Autodesk metadata XML file. You will upload this file to ADFS in the next step.
- Return to ADFS.
The instructions in this section match the AD FS Management snap-in version 10.0.0.0. If you are running a different version, use these instructions only as a guideline.
- Launch the Add Relying Party Trust Wizard. To start the wizard:
a. From the Server Manager, Go to Tools > AD FS Management.
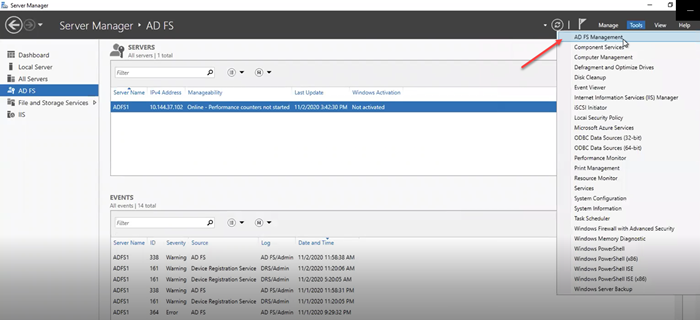
b. Launch the AD FS Management tool.
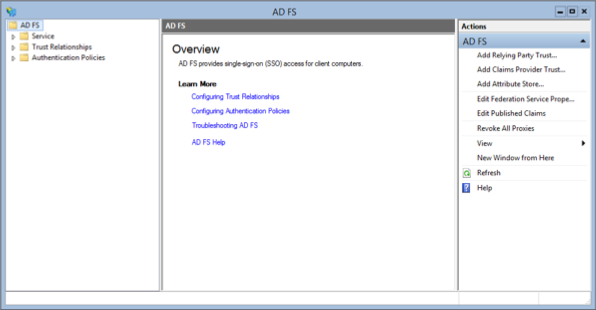
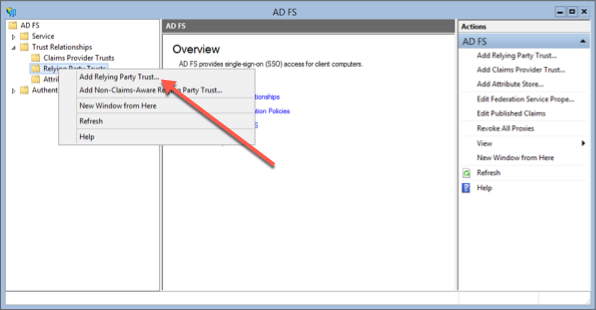
c. In the navigation pane, select ADFS > Trust Relationships and right-click Relying Party Trusts.
d. Click Add Relying Party Trust.
Select "Claims aware" and click Start.

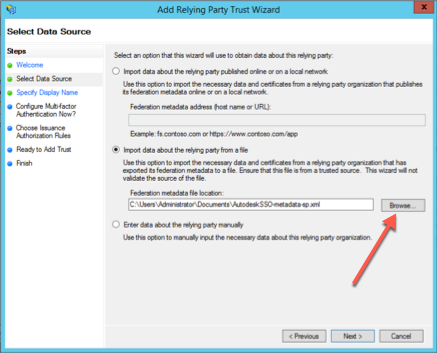
Select
Import data about the relying party from a file.
Click Browse and select the file "AutodeskSSO-metadata.xml". Click Next.
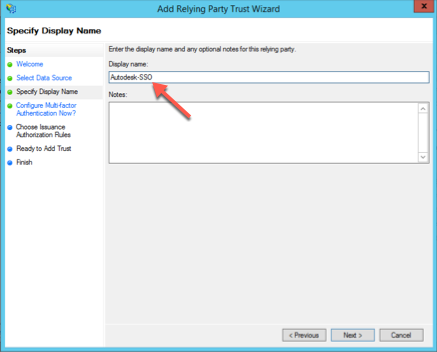
Under Display name, enter Autodesk-SSO and click Next.
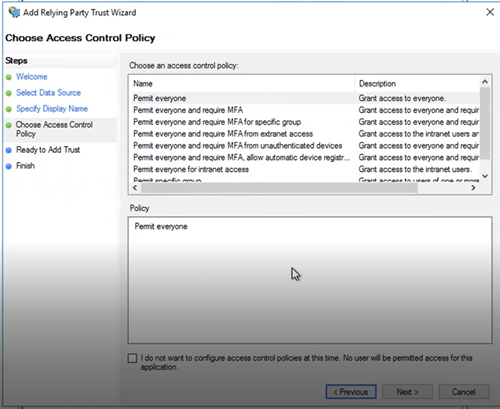
Under Access Control Policy, select "Permit everyone" and click Next.
Check the information listed on the Encryption and Signature tabs and verify that it is in order, and click Next.
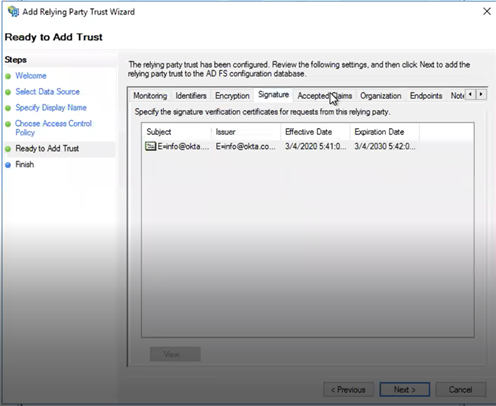
Click the View button and verify the Certificate Revocation List (CRL).
Uncheck the "Configure claims issuance policy for this application" check-box and click Close. You’ll see a message that the relying party trust was successfully added.

Map Attributes
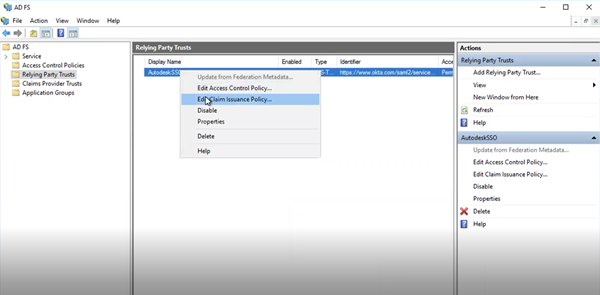
To map attributes, use the Edit Claim Issuance Policy wizard.
Right-click the connection you just created, and select "Edit Claim Issuance Policy" from the menu that is displayed.
Click Add Rule.
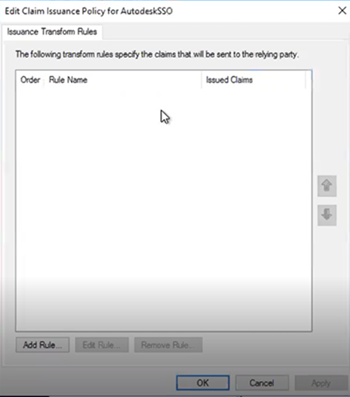
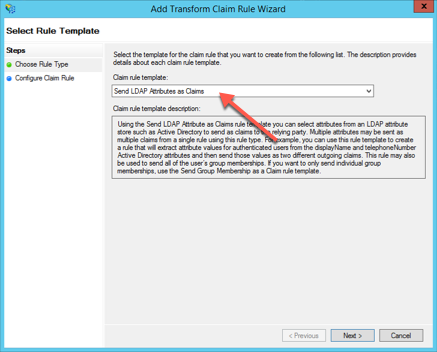
From the Claim rule template drop-down, select "Send LDAP Attributes as Claims", and click Next.
In the Claim Rule Name box, specify a name.
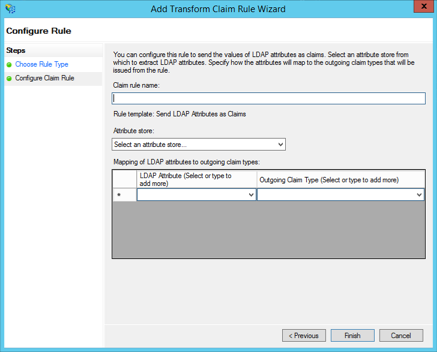
In section "Attribute store", select "Active Directory" from the drop-down menu.
Under Mapping of LDAP attributes to outgoing claim types, map attributes as shown in the table below:
LDAP Attribute Outgoing Claim Type Given-Name firstName Surname lastName E-mail-Addresses email objectGUID objectGUID User-Principal-Name/Email-Addresses1 Name ID
1 It is recommended to use User-Principal-Name (UPN) for the Name ID as it provides a more stable identifier. However, if UPN is not configured in your organization, you can use E-Mail-Addresses as an alternative, noting that email addresses may change over time.
These attribute labels are strictly case-sensitive and if mapped differently or hold invalid characters, the authentication will fail. Hence, ensure that you have entered the correct syntax of labels as stated in the table.
- After you confirm that the attributes are mapped correctly, return to Autodesk Account and click Next.
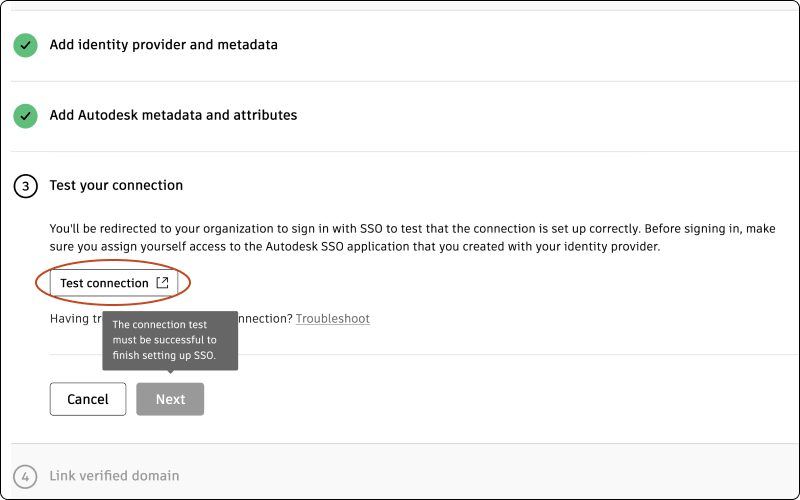
Test your connection
Before testing the connection, make sure you assign yourself access to the Autodesk SSO application that you created with your identity provider.
Click Test connection to be redirected to your organization's SSO sign-in page. (If you are not redirected, see Troubleshooting).
Sign in to make sure that the connection between your identity provider and Autodesk is set up correctly. If the test is successful, you will see the message “Connection Test Result: Success” and a list of properties.
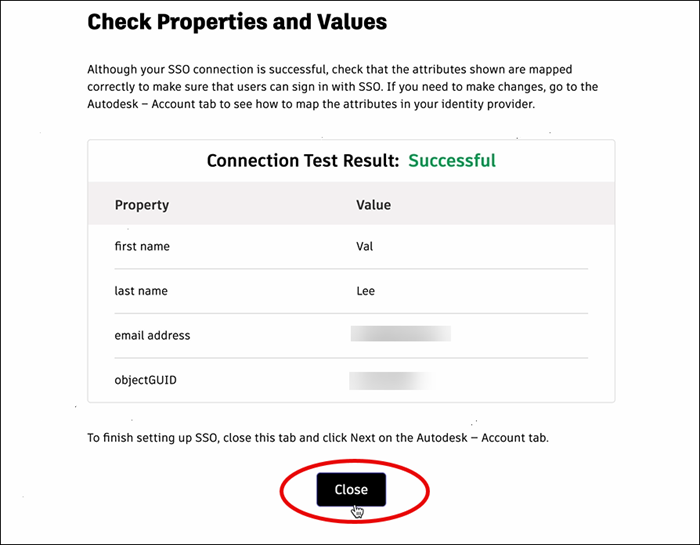
Confirm that the attributes have mapped correctly by comparing the Property and Value columns. The property “first name” should appear next to the user’s first name, “last name” should appear next to the user’s last name, and so on. If you need to make changes, return to the previous step (Mapping attributes) and re-map the attributes.
Once you have confirmed that attributes are mapped correctly, return to the Autodesk Account tab and click Next.
Note:In order to proceed to step 4, which involves linking a verified domain, it is crucial that your connection is tested successfully.
Link verified domains
You will see a list of your verified domains. Select one or more verified domains to link to your connection.

Click Save connection to complete the setup.
If a domain is not verified, you can still save the connection and link it later in Manage SSO.
If you have not finished verifying domains, go to Add and verify domains to complete the process. Once you have finished linking domains, return to Manage SSO to test and turn on SSO.
| Attribute Names (Friendly Names) | Correct Label Syntax to Map |
|---|---|
| First Name | firstName |
| Last Name | lastName |
| Email Address | |
| Object GUID | objectGUID |
| User-Principal-Name/Email-Addresses | Name ID |
- ObjectGUID is an Attribute-Name which represents a Universally Unique Identifier
- Name ID is must-have attribute that needs to be provided by ADFS during the SAML transaction
Previous: Set up your connection
Next: Test and turn on SSO