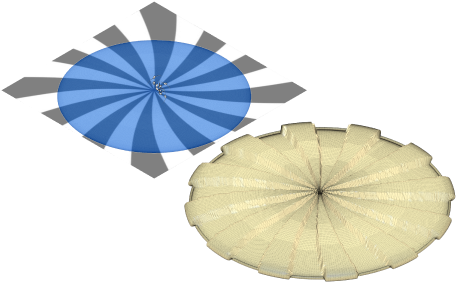
Extrude texture on a mesh body
Use the Extrude Texture tool to add texture a mesh body from an image in Fusion.

In the Design workspace, on the Mesh tab, select Modify > Extrude Texture
 .
.The Extrude Texture dialog displays.
In the canvas, select mesh faces, face groups, or a mesh body to add texture to.
In the dialog, locate and select an Image to use for the texture.
The image and the texture extrude on the mesh selection displays in the canvas. Tip: Use a black and white or grayscale image for best results.
Adjust the image Opacity to make the texture extrude more visible in the canvas.
Select a Projection Type:
- Planar
- Box
- Spherical
- Cylindrical
Select an Extrude Type to define the behavior for the white and black displacement and adjust their associated settings:
- Symmetric
 : Lets you specify unique inputs for black and white extrude distances.
- Extrude Distance: Specify the maximum extrude distance.
- Asymmetric
 : Lets you specify a single extrude distance. By default, black extrudes away from the selected geometry and white areas extrude into the selected area.
- White Point: Specify the maximum distance to set the height or depth for white areas in the texture image. Enter a positive value to extrude away from the selected geometry or a negative value to cut into it.
- Black Point: Specify the maximum distance to set the height or depth for black areas in the texture image. Enter a positive value to extrude away from the selected geometry or a negative value to cut into it.
- Symmetric
Optionally, click Flip
 to invert the image and flip the black and white extrude directions.
Specify the Blend Distance to determine the transition between the texture to the selection boundary.
Optionally, enter an Offset distance to create a clearance between the texture and the selection boundary.
Optionally, check Preview to show the texture extrude in the canvas.
Optionally, check Repeat to repeat the texture in a grid pattern across the selected geometry.
In the Image Transform section, adjust the positioning, angle, and scale of the image to change the size and placement of the texture.
Click OK.
The textured mesh body displays in the canvas.
Tips
- Use Select > Mesh Selection Palette to select specific areas on a mesh body to texture.
