
Plan and track tasks
Create tasks to properly plan, assign, and track all related activities for a change order. This approach ensures organized execution and helps you monitor progress throughout the change process.
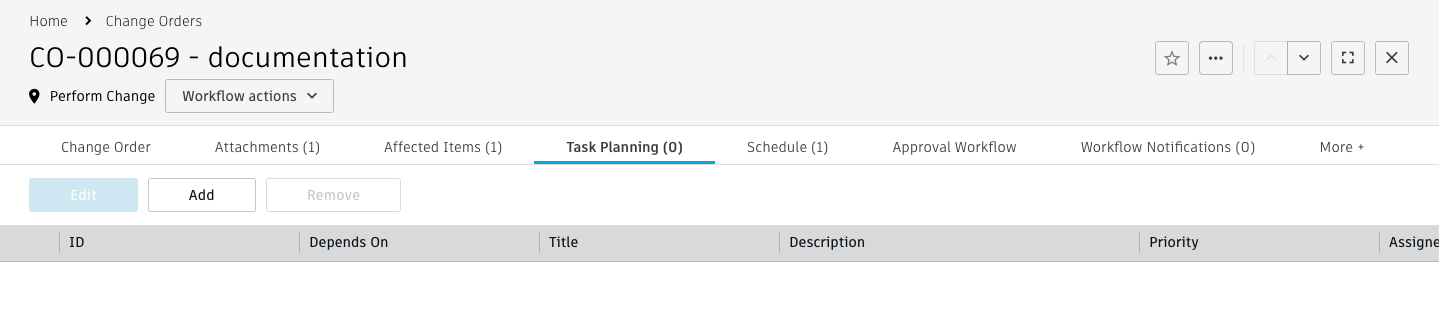
Set up your task planning
Go to the Task Planning tab in your change order.
The tab may already include predefined activities from your selected change approval template.
Review any existing template entries and modify them as needed.
You can add, remove, or adjust activities to ensure successful completion of your specific change.
Define your change activities
Create a new row in the Task Planning tab.
Enter the required information:
- ID: Provide an alphanumeric identifier for the activity.
- Assignee: Select who will be responsible for this task.
- Target Completion Date: Set when this activity should be finished.
Optionally, set up task dependencies:
- Use the Depends On column to specify which tasks must finish before this one can start.
- This helps establish the proper sequence for your activities.
Optionally, link relevant items:
- Use Reference Items to connect supporting materials.
- Use Items To Change to specify what will be modified.
The system automatically copies these linked items to the generated change tasks when you move to the Perform Change state.
Optionally, configure review requirements:
- Select a reviewer if the task needs approval before completion.
- Specify planned effort to track estimated versus actual work time.
Generate change tasks
Once you've defined all your activities, create the actual change tasks that people will work on.
Move your change order to the Perform Change status.
Select the Initiate Tasks workflow action.
The system automatically processes your task planning information and:
- Calculates target start dates based on completion dates and dependencies.
- Determines target duration and remaining days for each task.
- Creates individual change tasks in the Change Tasks workspace with clear numbering (
<CT> - <CR number> - <ID> – <Title>). - Links these tasks in the Task column of your Task Planning tab.
- Adds all tasks to the Schedule tab with their calculated dates.
Complete change tasks
After generating tasks, assignees can begin working on them following the dependency order you established.
How task assignment works
- The system immediately assigns tasks without dependencies to their assignees.
- Assignees receive email notifications and see tasks in their My Outstanding Work list.
- Tasks with dependencies wait until their prerequisite tasks are complete.
- The change order won't proceed until all tasks are finished.
Monitor task completion
As people complete their work:
Watch for automatic status updates when all tasks finish.
The change order moves to Results Review status for you to review outcomes.
Add more tasks if needed:
- Add new entries to the Task Planning tab.
- Use Initiate Additional Tasks to create them.
- Use Update Tasks to modify existing tasks or add new ones to the schedule.
Important considerations
- The Task Planning tab only shows tasks that are still due—completed tasks are automatically removed.
- You cannot use Submit to CCB (Fast Track) if you have active tasks in the planning tab.
- If you need fast-track approval, either let tasks complete naturally or clear the Task Planning table.
Track change progress
Stay informed about your change implementation progress using the built-in tracking features.
View overall progress
Check the Schedule tab to see all change tasks and their current status.
Review the Tasks Progress field in the Status section of the main tab.
Monitor detailed activity
The system automatically tracks all task activity in the Change Tasks Activity Log within the Follow-Up & Change Tasks Tracking section:
- Task acknowledgments and completions are logged with timestamps.
- Comments from the Follow-Up & Status Updates section are recorded.
- Each entry shows the task name, number, status, responsible person, and date.
- Only the latest activity appears for each task to keep the log focused.
Cancel a change order
If your change order is no longer needed, you can cancel it to prevent further actions.
Go to your change order.
Select the cancellation option from the workflow actions.
Provide cancellation details when prompted.
The system cancels the change order and any associated tasks.
All cancellation information is captured in the Cancellation Details section:
- Canceled In Status – The status when cancellation occurred.
- Canceled By – Your name as the person who canceled it.
- Cancellation Date – When the cancellation took place.
- Cancellation Comments – Any explanatory comments you provided.