Create a single chain link
- Create a rectangle spline.
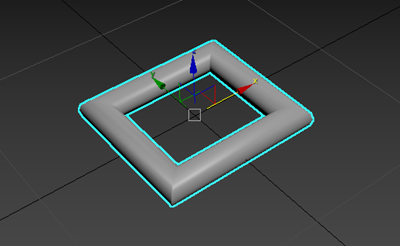
This rectangle represents a single link in the chain.
- In the
Modify panel, set the following in the
Rendering rollout:
- Enable in Renderer: On
- Enable in Viewport: On
- Thickness: Increase or decrease this value until you've reached the desired thickness for your link
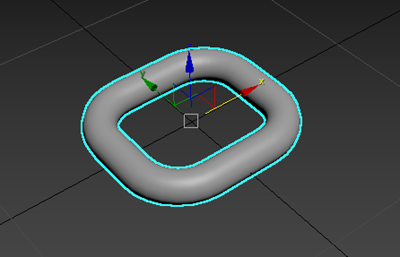
- In the
Parameter rollout, increase
Corner Radius until your rectangle has rounded corners. In the following example,
Corner Radius is set to 1.0.
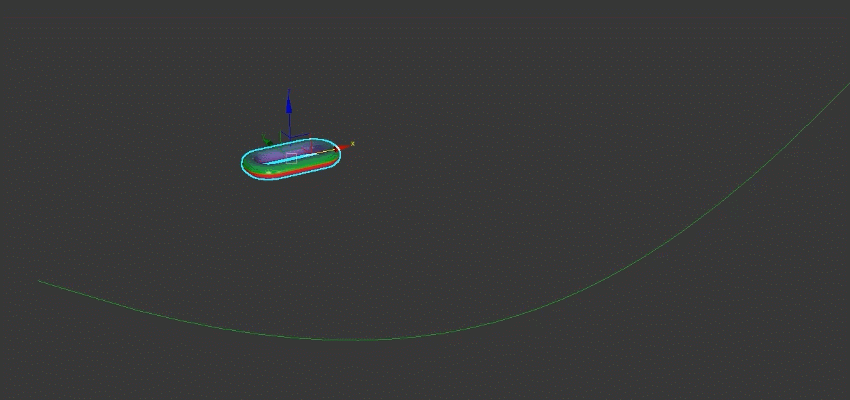
Create a path for the chain links to follow
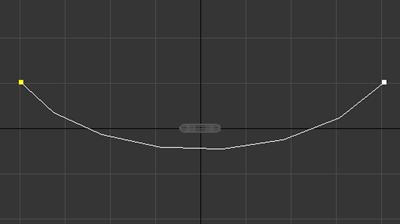
In this example, a line creates the shape of the chain.
- Create a line.
In this example, the line is named Line001.
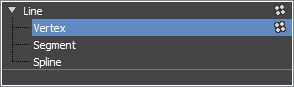
- In the Modify panel, enable
Vertex
sub-object selection.
- In the viewport, select each of Line001's vertices and use the tangent handles to add a curve to Line001.
 Tip: If tangent handles don't appear in the viewport, right-click the vertex and select Bezier from the shortcut menu that appears.
 - In the modifier stack, select
Line.
Create an array of chain links
Applying an Array modifier to the rectangle lets you quickly create clones to form a chain.
- Select the rectangle in your scene.
- In the Modify panel, select Array from the Modifier List.
- In the
Distribution rollout, set the following:
- Distribution method: Spline
- Layout method: Fill
- Pick Spline: Click to select Line001.
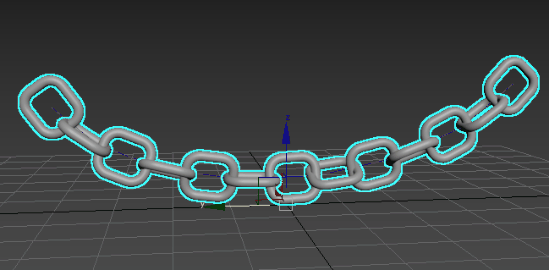
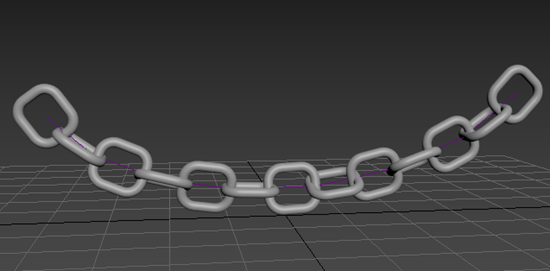
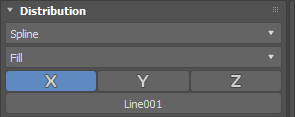 Chain links are distributed along Line001 from end to end.
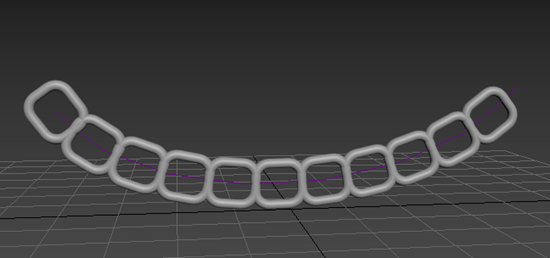
Adjust the chain link placement
You can use several Array Modifier rollouts to make adjustments to the chain, so the links hang more organically.
- In the
Local Rotation section of the
Transform rollout, set the following:
- Local Rotation method: Alternating
- X: 90
Now the links are attached, but further adjustments are needed so they intersect.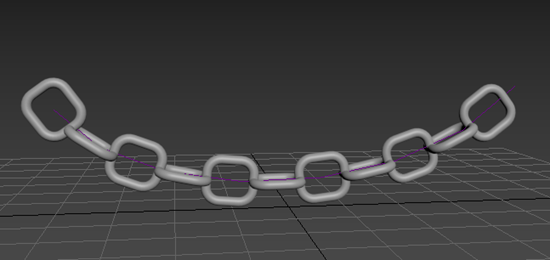
- In the
Distribution rollout, set
Offset to 0.9.
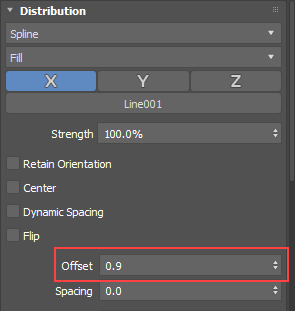 The Offset parameter controls the distance to the next clone. Decreasing this value causes the links to intersect.
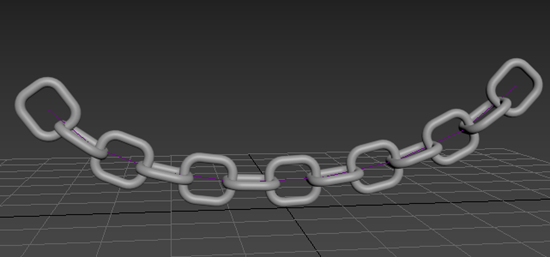
- In the
Randomization rollout, set
Rotation X to 20.
Now the chain is hanging organically.
Make additional changes
- Increase or decrease the thickness of the links
When you adjust the thickness of the original link, the other clones are also updated.
- Increase or decrease the length of the chain
Using the Fill layout method ensures that clones are created along the length of the spline. Clones are added or removed dynamically as you make changes to the spline. Decreasing the length of the spline decreases the number of clones and increasing the length of the spline increases the number of clones.