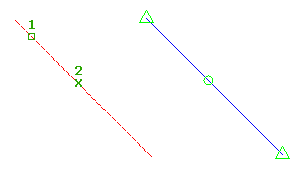
Use the Insert Level Point command to insert a level point on a feature line.
Specify a location, distance, or increments at which to insert multiple points. When a single point is inserted, you can specify the level.

To insert a feature line level point by selecting a location
-
Click

 Find.
Find.
- Select the feature line or other object.
- Click to select the location along the feature line to insert the level point.
- Specify the level by entering a value. Or enter Surface to obtain the level from a surface. If only one surface is in the drawing it is selected automatically.
- Select another point or specify a distance to insert another point.
To insert a feature line level point by specifying a distance
-
Click

 Find.
Find.
- Select the feature line or other object.
- Enter Distance.
- Select an existing point on the feature line to specify the start of the distance. If you select a point other than the start or end point, you must then select the direction.
- Enter a distance to define the location of the level point.
- Do one of the following to define the level of the point:
- Enter a gradient.
- Enter Slope and enter a slope.
- Enter Level and enter a level. Or enter Surface to obtain the level from a surface.
- Enter Difference and enter a level difference.
To insert multiple level points at an increment
-
Click

 Find.
Find.
- Select the feature line or other object.
- Enter Increment.
- Enter a value to define the length of the increment. Points are placed equidistant along the feature line using the specified increment. Note: Using this option, you are not prompted for levels. The points are automatically assigned the level that exists at their location on the feature line.