
Link Documents and Add Areas
Documents can be linked to the locations created in a project's location hierarchy.
Link a document and define an area associated to a location. New issues created that have a pushpin in the area automatically populate the location field.
To link documents to locations:
Start by linking a floorplan document to a floor. The rooms or other sublocations can be mapped from that document.
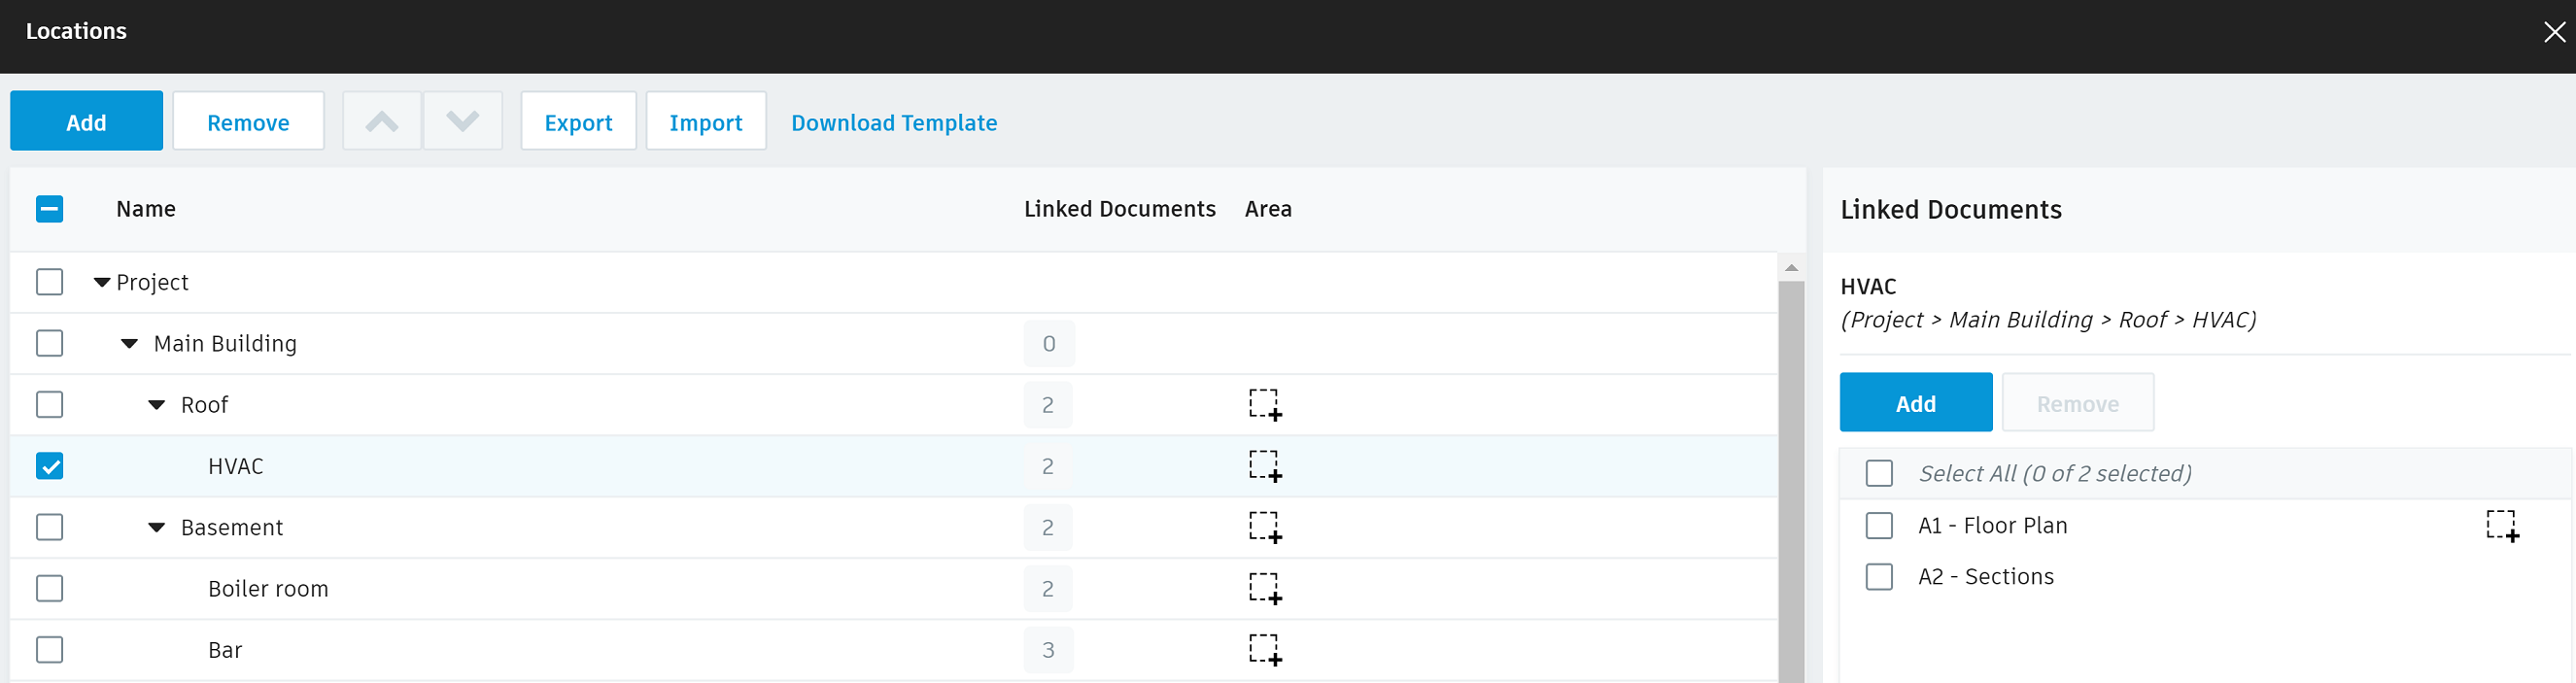
- Select the location area to define in your document(s).
- Click Add in the Linked Documents section.
- Select the relevant document(s). To link the document to the sub-locations, select Also link documents to sub-locations.
- Click Add.
Click the document name in the linked documents section. The document will open ready to define an area in the location selected.
Select the floor name in the Locations and drag the cursor to draw a rectangle around the floor area.
Select a sub location name. Define the area with either a rectangle or multiple sided polygon.
- Rectangle: Click and drag the cursor to draw a rectangle over the location area.
- Polygon: Right click inside a rectangle and click Insert Vertex. To remove any vertices, right click the relevant vertex and click Remove Vertex.
Work through each location area in the document to ensure they have all been defined.
Click Done to go back to Locations. Click close to leave Locations and go back to the Project Admin homepage.
Modifying Locations
You can drag a vertex or an edge if it is not in the proper place. You can also add vertices to make the drawing of complex shapes easier.
- Right click to add vertices.
- Drag sliders to move sides.