
Create Issues in Design Collaboration
Create an issue directly from the Design Collaboration module.
Issues can be created on your team's WIP content, shared and consumed content.
To create an issue:
Open a 2D sheet or 3D view.
From the toolbar on the left, click the Issues icon
 .
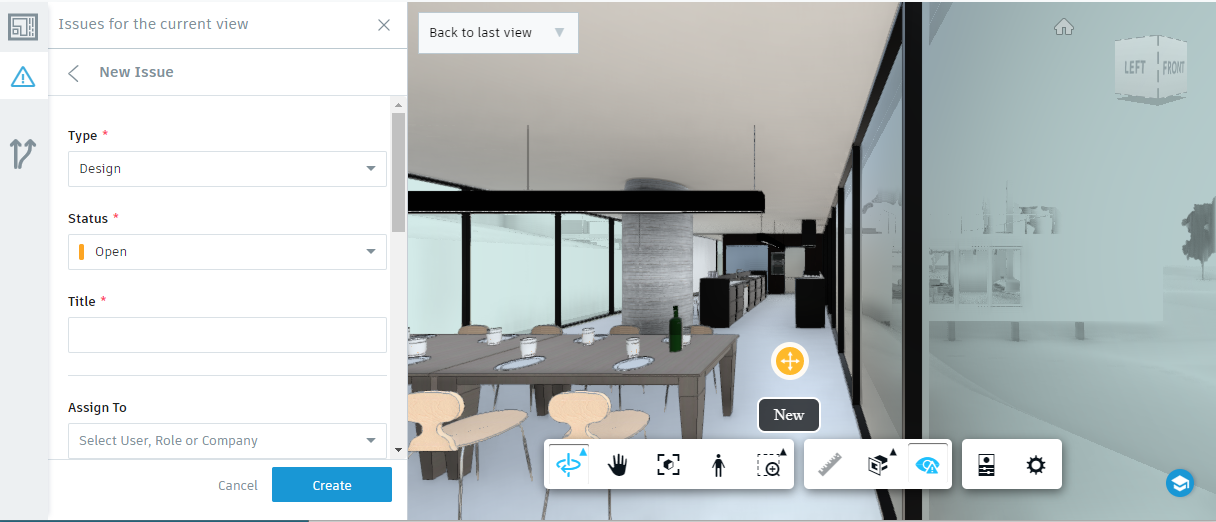
.Click Create Issue at the bottom of the Issues panel in the Content Browser.
Click a location on the sheet or view to place the issue pushpin. If necessary, click and drag the pushpin to adjust its location.
Note: The location field automatically populates if the pushpin is placed in an area defined by a project administrator. Moving the pushpin to an undefined location will clear the location field.Specify the issue Status and enter a Title. By default, the issue Type is set to Design and the issue Status is set to OPEN. You may modify these required fields as necessary.
Tip: When creating an issue, you can set the issue status to Draft before saving it. When ready to assign, set to Open.Optionally, add a description and specify the assignee, location, location details, root cause, and due date.
Tip: You can assign by users, roles, or companies. Assignees will receive an email notification with a link to the issue. Learn how to control your issue email notifications.Click Create.
Public versus Private Issues
Issues are classified as either public or private depending on the shared status of the associated document and the originator of the issue. Private issues can only be seen by your own team.
| Document status | Issue originator | |
|---|---|---|
| Issue created by my team | Issue created by another team | |
| Document created by my team, but not shared | Private, only my team can see | N/A |
| Document created and shared by my team | Public | Public |
| Document created and shared by another team | Public | Public |
| Document created by another team, but not shared | N/A | Private, only visible to team who created both the document and the issue |