InfoAsset Manager allows the inclusion of a user defined logo in printouts of the following views:
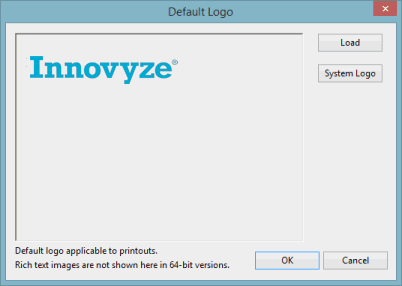
A default logo to be used in the printouts of these views can be set in the InfoAsset Manager via the Default Logo dialog. The logo can be loaded from a Rich Text (.rtf) file, or the InfoAsset Manager default can be used.
To set the default logo
- Select Database management
 Default logo from the File menu. This displays the
Default Logo dialog.
- Select the file containing the logo to be used as a default:
- Click Load to search for an .rtf file using a Windows Open Dialog.
- Click System Logo to set the InfoAsset Manager logo as the default.
- Click OK to accept changes.

Note: If the database global settings are protected, only database owners will be able to make changes to the Default Logo. (See
User Permissions for more information).
