Having opened the database, it is now time to create a model group.
Open the model group:
- From the
Window menu, choose
New Explorer window.
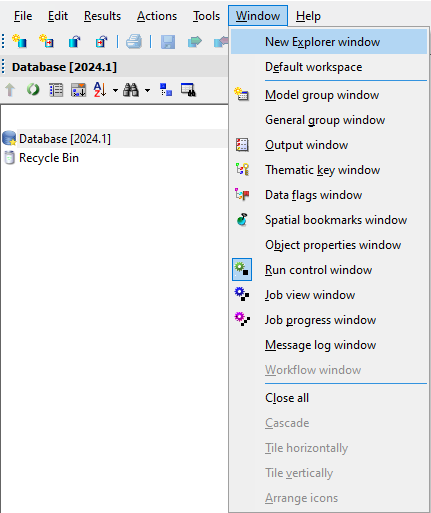
The Explorer window is displayed.
The window contains a Database icon with below it possibly a number of model group icons.
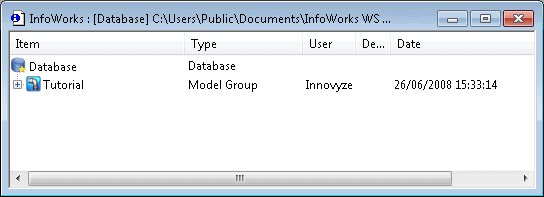
- Click the
 button to the left of the Tutorial
icon. A number of other model groups are displayed.
There is a single database icon, which will contain one or more model groups, each of which may contain further model groups and various other types of icon.
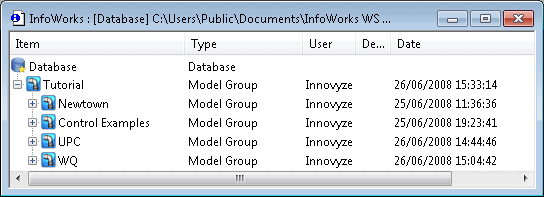
- Right-click the Tutorial icon and select New | Model Group from the context menu. The New Name - Model Group dialog is displayed.
- Type 'Newtown' as the model group name. Check the
Generate sub-groups box. It is recommended, for the purpose of this tutorial, to also tick the
Auto name sub-groups checkbox. This will automatically add a structure of auto-named subgroups to the new group. Click
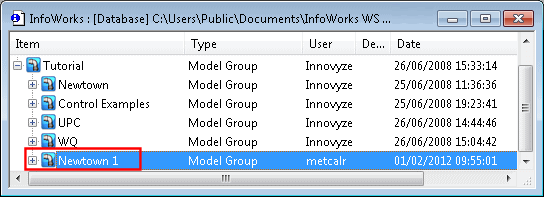
OK. If necessary, use the scroll bar to display the bottom of the Explorer window. Model group names must be unique, so if the name you have typed in already exists, you will need to use a different name (for example 'Newtown 1').

- The new model group should have been included as the last item in the
Tutorial.The model data is held in a number of subgroups within the model group. There is a different type of subgroup for each type of data. You can either create the subgroups as you need them or (as in this case) you can allow the system to generate a set of default subgroups. The subgroups are given default names, which you can change later if you wish. If the model group is in the wrong place, you will need to delete all of the subgroups by clicking the icons and pressing the
Delete key. You will then be able to delete the model group. Create another group in the required location.
- Right-click the
Newtown model group icon and choose
Open. The
Model Group window
opens on the left of the screen. The Model Group window displays a similar hierarchical view to the Explorer window but only one model group is shown.
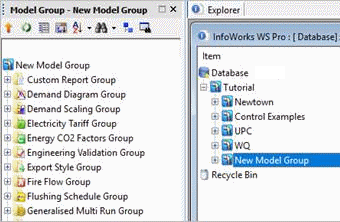
- Close the
Explorer window by clicking the
 button in the top right corner of the window. (You may have to drag the window's title bar to the left in order to see the button.)
- Drag the edge of the
Model Group window
to the right so that the names of the objects in the Newtown model group are fully visible. You have now created a model group to hold your data. The contents of the model group will be displayed in the Model Group window.
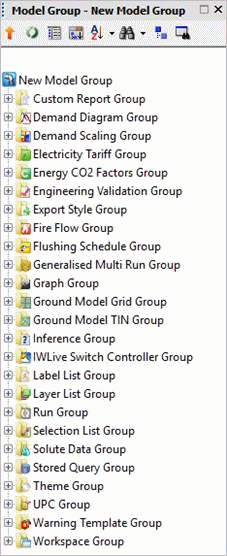
- Once the model group has been set up, the user has a choice between importing some network data or editing the network. In our example, our network being empty, we are going to import some network data.
Tip:
If the model group is in the wrong place, delete each subgroup by clicking the icon and pressing the Delete key; you will then be able to delete the model group in the same way.

About on-premise and cloud database
