
Quickstart Pack tutorial: Create the runner system
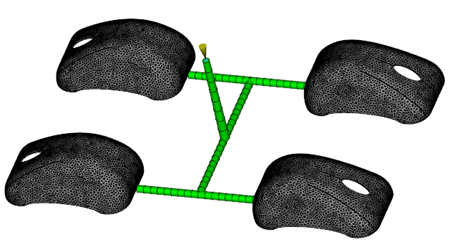
In this task, you will use the Runner System Wizard to create a geometrically balanced runner system.
Click
 (Geometry tab > Create panel > Runner System).
Specify the runner system as outlined.
Click Center of Gates.
Click Gate Plane, then click Next.
Enter 5.5 mm as the orifice.
Enter 80 mm as the Length.
Enter 1.5 as the Included angle.
Enter 6 mm as the runner diameter, then click Next.
Enter 2 mm as the Orifice.
Enter 0 as the included angle.
Enter 1 mm as the Length, then click Finish.
Zoom up on one of the gates.
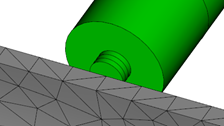
Activate the Select tool.
Select one element in the gate, as shown.

Click
 (Geometry > Properties > Edit).
Select Edit properties of selected elements only, then click OK.
If you had selected Edit properties of the entire taper section, the changes you make would apply only to the elements in this gate. A few steps later you will assign the edited properties to all similar elements which will change all four gates at once.
Set the Cross-section to Rectangular.
Set the Shape to Non-tapered.
Click Edit dimensions, set the Width to 2 mm and Height to 1 mm, and click OK .
Select the Assign to all entities that share the this property check-box.
Click OK
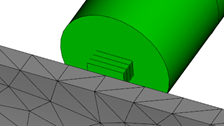
The shape of all four gates has changed as shown.
Save the model.