
These kernels set variable thickness parameters in the skins of the part
- Expand the
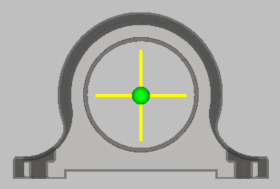
Skin Kernels tree, and in the first kernel, try the following values, but you may need to modify them for the position of your model:
- Position: use default X, Y, and Z values to place the kernel at the center of the large hole.
- Size: 20, 0, 20
- Peak: 4
- Kernel Type: Gaussian

- Right-click .
- Right-click . A second Skin Kernel is created, with the same settings.
- Click the second Skin Kernel and set the following values:
- Position: 10, 16.875 (default), 36.775 (default)
- Size: 6, 6, 0
- Peak: 2
- Create a third Skin Kernel by right-clicking the second one > Copy Skin Kernel Settings, then right-click Skin Kernels and > Paste Skin Kernel Settings.
- In the new third Skin Kernel, change the
Position X value to
103.
If you click Skin Kernels, you should see all three skin kernels, with the smaller side ones aligned in a horizontal plane, and the large center one oriented vertically.
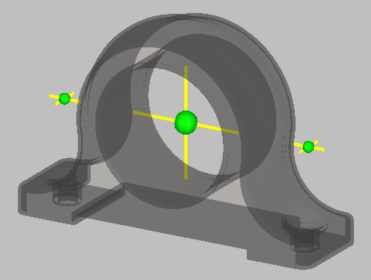
Feel free to adjust Position values if the kernels do not appear to be symmetrically placed.