
General Viewing Options
When one or more fragments are selected, you can change viewing options in the tabsheet:
- Show Part: When enabled, the part is hidden from the view. This is helpful to view the fragments in greater detail.
- Show Base Area: When enabled, the X-Y plane of the grid is displayed beneath the part.
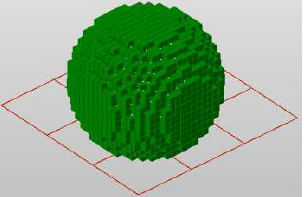
- Show Cell Preview: When enabled, you can visualize how structure cells are inserted into the selected fragments. The structure cells are represented with a red grid to make it easy to see how the cells fit into the fragments and determine which section of the part a structure is inserted.
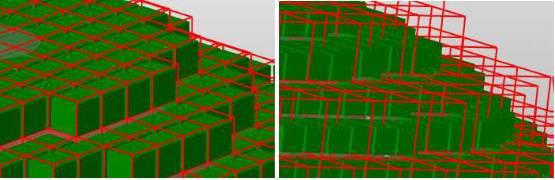
When structure cells are larger than grid cells, you can use the Translation to shift the structure cells by one grid cell in the direction of the three axis.
Hide and Show Fragments
To view fragments with transparency:
- In the View section, activate the Enable Transparency check box in the tabsheet.
- In the Fragment section, select the Transparent radio button.
This visualization option is indicated by a ghost icon in the project tree and enables you to see fragments in the core of parts without completely hiding the fragments in front of it. You can simultaneously see fragments in the foreground and in the background.
There are additional options in the toolbar for showing and hiding fragments:
 Show All
 Hide All
 Invert Visibility
 Show Selected
 Show Not Selected
 Set Selected Visible
 Set Selected Invisible
Fragment Names and Colors
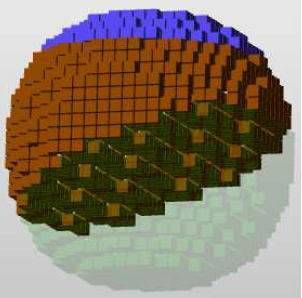
The names of the fragments are standardized according to the operations from which the fragments result. You can change that name in the tabsheet by entering your preferred name into the field at the top.
Colors are automatically assigned to create a visual contrast between fragments. Right-click a fragment and choose Change Color to change the default color.