
- Click to reset the view.
- Click . It turns green and changes to On.
- To see the differences between toolpaths more easily, click:
- .
- .
- In the Explorer, right-click the NC program
Cavity_Mold, and select
Simulate from Start from the context menu.
The NC program is automatically selected in the , and the Simulation Controls panel buttons are enabled.
- Click
, and allow the simulation to run through to the end.
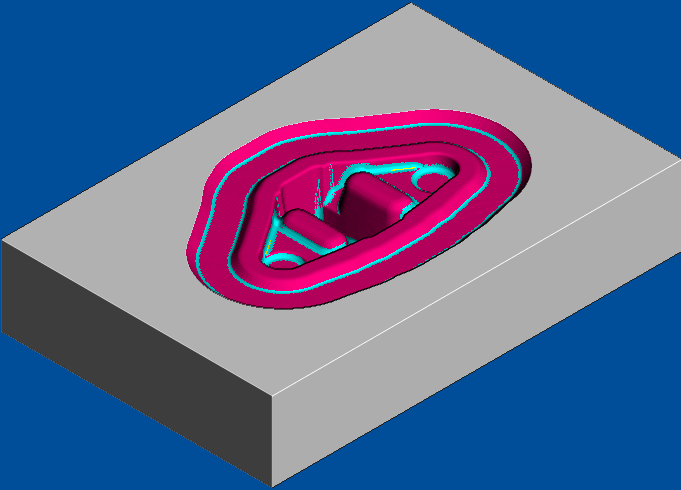
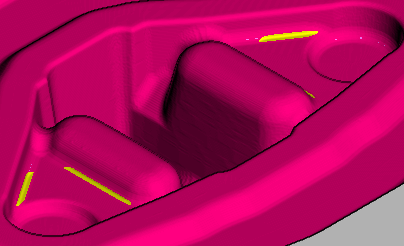
- Zoom into the machined areas to view the cleaning up of the non-tangential surfaces.
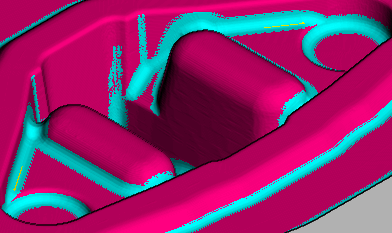
This compares the previous finishing toolpath which left some material in the corners.
- Click , and select Yes to stop the simulation. The On button changes to Off and the standard PowerMill graphics window is displayed.