
If you generate toolpaths using a model which then changes, you can update the toolpaths without regenerating them.
This is best shown by example using the Cowling.dgk model in the Examples folder.
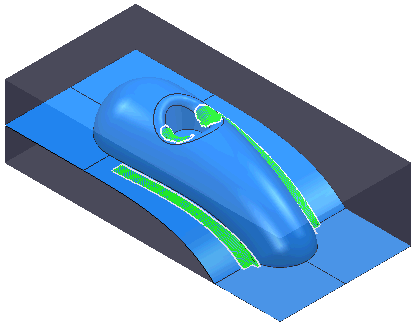
This examples uses a Block and some Tools, Toolpaths, and Boundaries, with some toolpaths can be limited to a boundary.
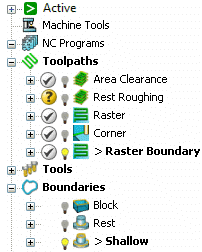
This project contains three different types of boundaries:
- Block —Boundary.
- Rest — Locked boundary. This is used to create the Corner toolpath.
- Shallow — Locked boundary. This is used to create the Raster Boundary toolpath, but it has also been edited.
To update toolpaths when the model changes:
- In the Explorer, from the Models context menu, select Delete All to delete the model.
- From the
Toolpaths context menu, select
Invalidate All. In the
PowerMill Query dialog that appears, click
Yes to invalidate all toolpaths. The toolpaths are all updated with the
Calculator
 symbol and are deleted from the graphics window.
- From the
Boundaries context menu, select
Invalidate All. In the
PowerMill Query dialog that appears, click
Yes to invalidate all boundaries.
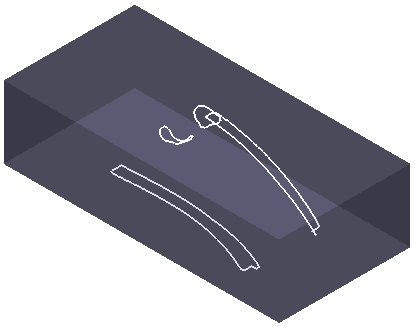
The boundaries are updated with the Calculator
symbol but are still displayed. Except that, any edited boundary (in this case
Shallow) is not invalidated as there is no way of re-creating an edited boundary automatically.
- Click File tab > Import > Model to import the model.
- From the
Toolpaths context menu, select
Batch Process
to recalculate all toolpaths. This operation also calculates any boundaries that are needed to create the toolpaths. In this case,
Rest
boundary is calculated as it is used to create the
Corner
toolpath.
- Re-calculate the boundaries by selecting Batch Process from the Boundaries context menu. This re-calculates Block boundary (the only uncalculated boundary).
Note: You can update only minor modifications to the model in this way. You cannot change the block when using this technique.