Explore the interface
The Upchain Generic plugin is used as a bridge between your CAD files and Upchain. It enables you to preview and import CAD files into Upchain without the need for native CAD software – ideal for non-CAD users. Additionally, if you are using CAD software that Autodesk does not support, you can import your CAD files into Upchain using the Upchain Generic plugin.
Plugin overview
The Upchain Generic plugin has four main sections: the folder explorer, the file selector, the Upchain sidebar, and the viewer.
Folder explorer – displays all the folders on your machine. Selecting a folder in this section will display the list of that folder’s files in the file selector.
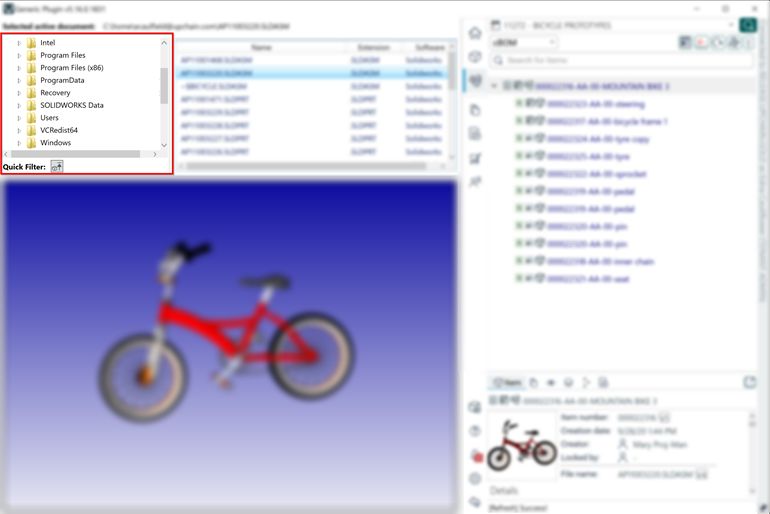 Tip: Click the Quick Filter icon to filter out any items that are not top assemblies, making it easier to find parent files.
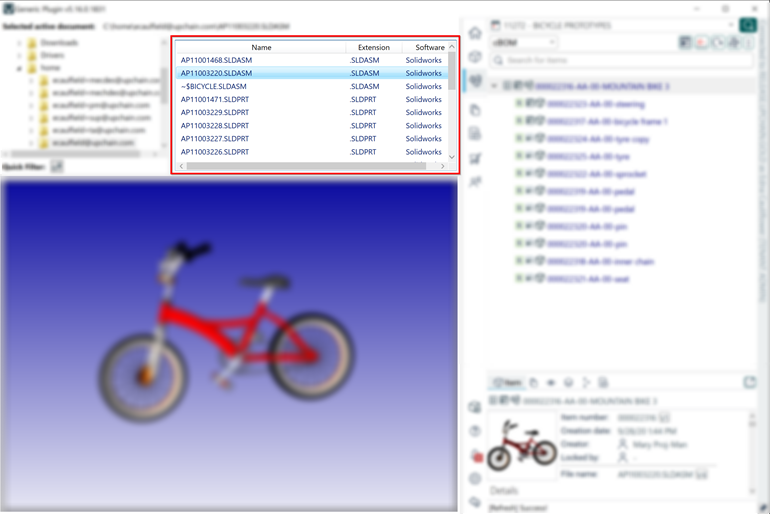
File selector – is populated with content once you select a folder in the file explorer. All files in the selected folder are displayed. Clicking a CAD file displays a preview of its model in the viewer.
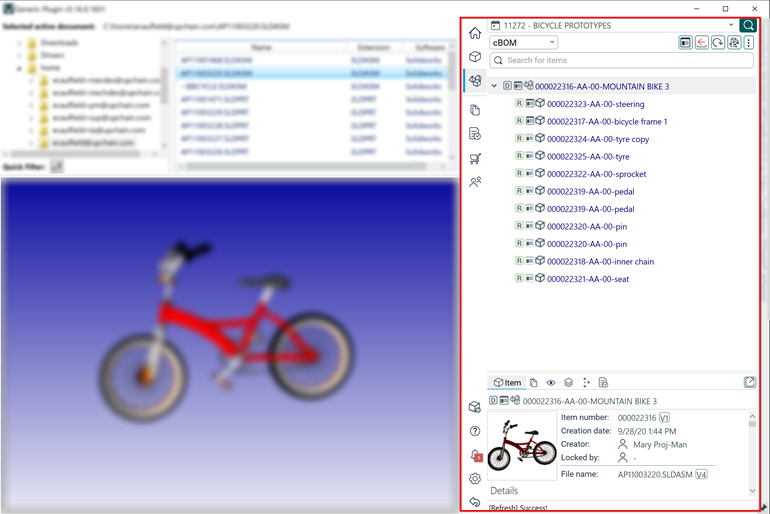
Upchain sidebar – is where you find Upchain information regarding projects and items. After logging in, you can browse your Upchain projects, as well as perform actions on BOM items.
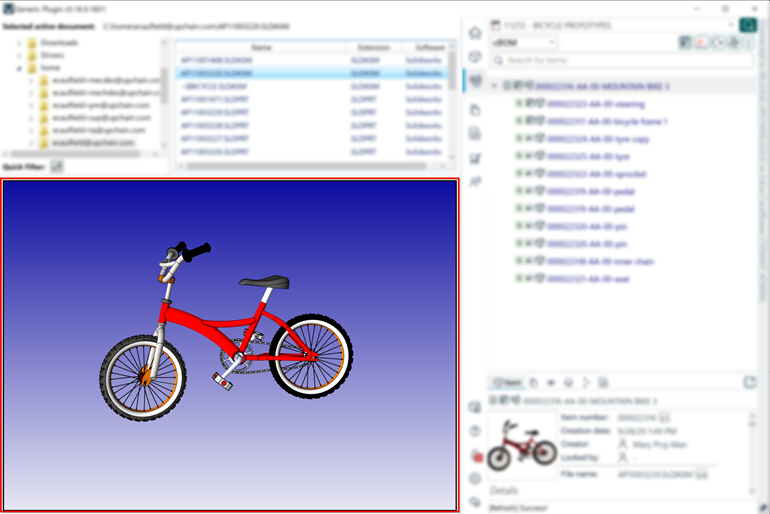
Viewer – displays a 3D preview model of the currently-selected CAD file.
Explore the Upchain sidebar
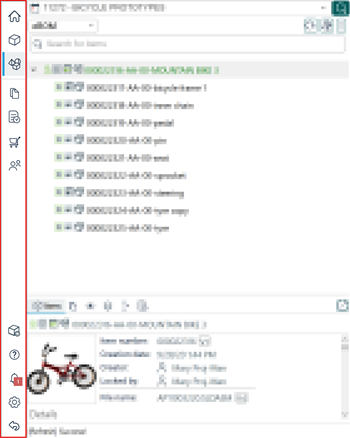
The Upchain Generic plugin sidebar interface is divided into four main areas: the menu bar, the context selector, the working pane, and the status bar.
Menu bar – is used to change the view you see in the working pane. The top of the menu bar contains various view options, some of which are only available when you have a project selected in the context selector. The bottom of the menu bar contains other actions and options pertaining to the plugin.
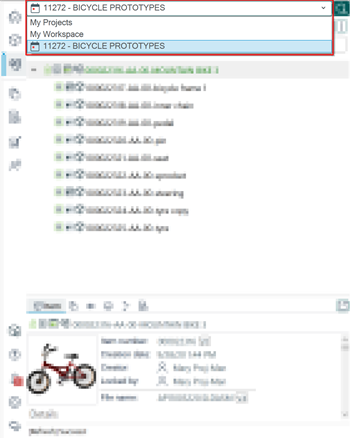
Context selector – is used for navigating between your workspace and projects. Click the context selector to view a drop-down of all available options. projects appear in the context selector after you have selected them to work with previously.
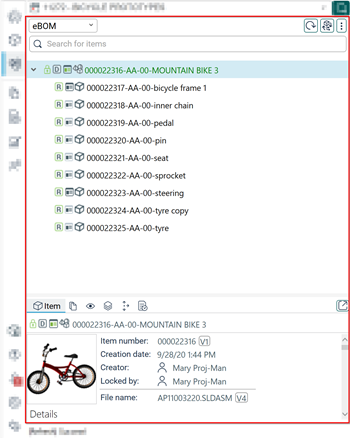
Working pane – displays all the information pertaining to your current view.
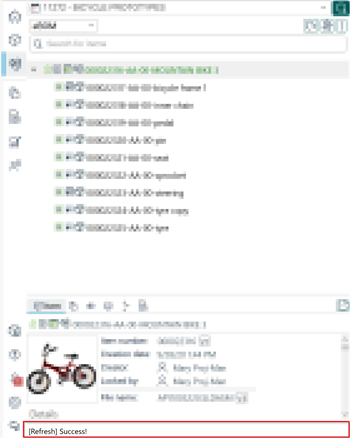
Status bar – displays all status and progress messages. This is where you will find all important messages, as well as reminders to refresh data when needed.
Menu bar views
There are seven views you can switch between in the Upchain sidebar: home view, item view, BOM view, documents view, activities view, cart view, and team view. The latter four views are only available when you have a project selected in the context selector.
 Home view – displays either your workspace, all your projects, or the dashboard of the currently-select project.
 Item view – displays information about the currently-selected item. This view will be blank if the item is not registered.
 BOM view – displays the currently-selected item’s cBOM or eBOM, or the project BOM.
 Documents view – displays all the documents in the currently-selected project.
 My Assignments view – displays all the engineering change activities (word orders) assigned to you in the currently-selected project.
 Cart view – displays all the items in your cart.
 Team view – displays a list of all team members in the currently-selected project.
Additional menu bar options
There are five additional options you can access in the menu bar: recent attribute changes, help, notifications, settings, and signing out.
 Recent attribute changes – displays a list of all recently-changed CAD attributes.
 Help – takes you to Upchain help.
 Notifications – displays all recent notifications.
 Settings – opens the plugin settings toolbar.
 Sign out – signs you out of the plugin.
The working pane
The working pane is where you see the information displayed for your chosen view. For example, in the cBOM view, the working pane shows the same structure of CAD files as in the CAD program you are using. If any CAD file is already mapped to an Upchain item, that item is displayed. If a CAD file still isn't mapped to an Upchain item, it shows only the names of your CAD files (assemblies and components).
Right-clicking on any item or file in the tree drop-down menu opens the available actions.
Depending on the status of an item or CAD file, different colors are used in the tree:
- Black (not registered): Non-registered item - this means that the item has not yet been created in the Upchain database, or uploaded to the Upchain vault.
- Black (item): The item (including any drawings or models associated with the item) is not currently checked out by anyone.
- Green: An item (including any drawings or models associated with the item) has been checked out by you from Upchain and is available for modification. The item is also ‘locked' in Upchain so other users cannot check it out and edit it.
- Green (phantom): phantom file – the part file is registered in the Upchain vault, but not associated with an item.
- Blue font (item or file): This indicates that the file belongs to a different CAD software version.
- Red ribbon: The cBOM part doesn’t have an eBOM counterpart and vice versa.
- Blue ribbon: If an item has a dark blue background, this indicates that it was downloaded as read-only, but a user was able to change the local file version. If an item has a light blue background, this indicates that it is selected in the CAD program.
- Attention icon (!): The file is not the latest version.
For more information on the icons and symbols you see throughout the Generic plugin, click here.
The lower pane
The lower pane displays more information based on the selected view from the menu bar. For cBOM/eBOM view, it shows detailed attribute information of the item and its eBOM, associated CAD, and/or associated documents for the selected object from the working pane. Simply click an item to load its details in the lower pane.
The lower pane in cBOM/eBOM views changes depending on which tab is selected. These are the available tabs:
 Item tab - Displays an item's attributes. When an item is put into edit mode, you can edit those attributes.
 Document tab - provides all documents associated with the selected item including emails, design documents, translations, and drawings. You can download a document from this tab.
 preview tab - Displays a preview of the model and drawing. Double-click the model preview to open it in the 3D Viewer. Double-click the drawing preview to open it in the PDF Viewer. Click Download to download the model or drawing.
 Categorization - Displays the categories to which this item has been added, as well as allowing you to add and remove the item from the categories.
 Where used - Displays where your selected item is used, including other projects and assemblies. This is very useful for impact analysis — how edits to this item may affect other projects and designs used throughout your organization. If an item has been copied (cloned or replaced) from another item, the Genealogy will show which item it was originally copied from.
 Assignments - Shows all business processes (Bp) with which the item is associated. Click a Bp to load it into the Web application.
My workspace
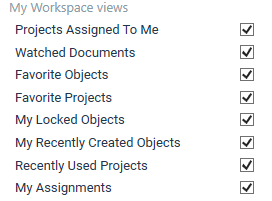
My Workspace is a dashboard for the Generic plugin that you can configure to show you the most relevant information. For example, you may want to include the Favorite projects section so that you can quickly access those projects, or My Assignments to view all tasks you have been assigned across all of your projects. Click the expand/collapse icons (
 ) to the right of each section heading to expand and collapse each section.
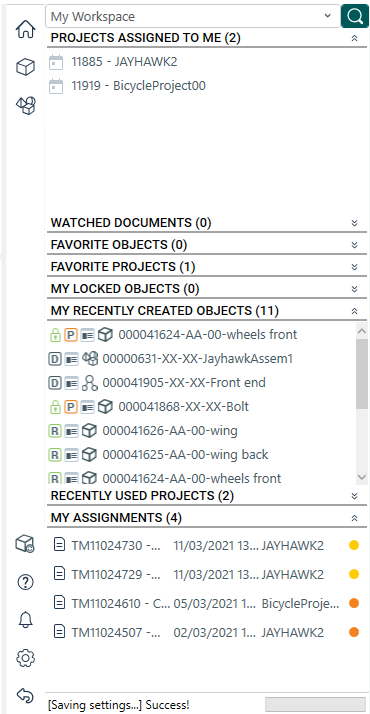
The first time you view My Workspace, it will be empty, so you can configure your Workspace in the Generic plugin settings ( ) from the menu bar.
My projects
The My projects section lists your Favorite projects, projects of which you are a team member, and All projects that you have access to. Click the expand/collapse icons (
 ) to the right of each section heading to expand and collapse each section.
A project that has an Effective Date set show this symbol beside it ( ). A project that does not have an Effective Date set shows this symbol beside it (
 ). This then affects what filters are available to you in the project BOM and the Download windows.
You can locate a specific project using the search bar along the top of the My projects section. You can search using the project name or number.
Project selection and project dashboard
Selecting a project means you can begin working within the context of that project. This affects what views are available to you in the menu bar.
To select a project:
- From My Workspace or My projects sections, locate the project you wish to work with. Remember you can use the search function on the My projects section to locate a project.
- Click the project.
Your selected project is now shown in the context selector and the project Dashboard is displayed.
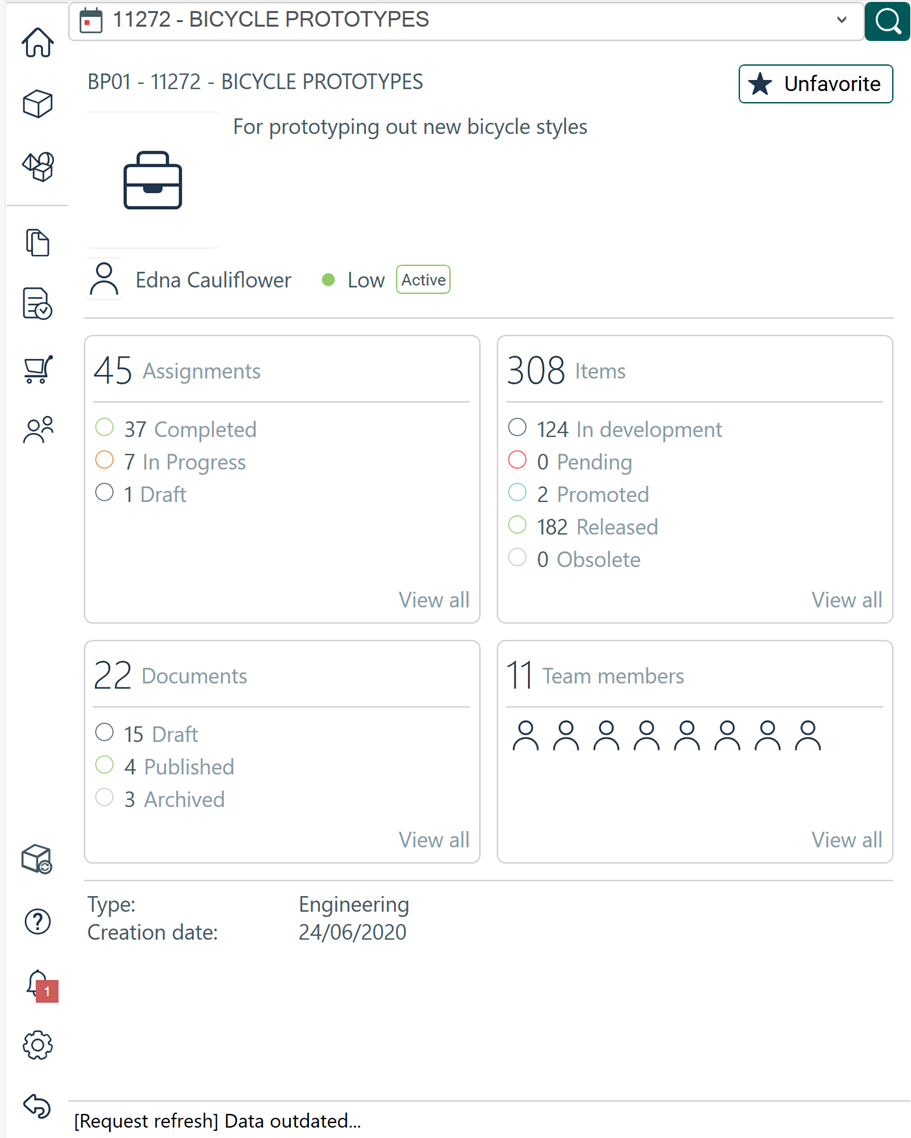
The project dashboard gives you a summary of all relevant information about the project including its name, number, total assignments, items, project documents, and team members. Click the View All link to load the relevant view into the working pane.
