
Activity 2: Complete change tasks
This feature is part of an extension. Extensions are a flexible way to access additional capabilities in Fusion. Learn more.
The Change Tasks workspace manages all the change tasks in your site. Change tasks are generated from a change request or change order and capture specific units of work that must be completed to achieve the goal of its parent change process. In this activity, you'll carry out tasks that have been specified as part of this change request.
- It is assumed that you are performing these tutorials in your production environment. Therefore, we recommend that you read through the relevant help pages and activities so that you know what the result will be before creating or modifying anything.
- A change template is mandatory when creating a change request and change order. Therefore, in order for you to complete this and subsequent tutorials, you must either be given access to create your own change template or use one that someone else has created. The change coordinator must then assist you in completing your tutorials. Speak to your team and administrator to determine the best approach for you.
- The activities in this tutorial assume the chosen change template matches the one created in Admin Tutorial 4.
Prerequisites
Before you can complete this activity, you must complete Activity 1 so that you have tasks assigned to you.
Steps
Locate and review your first task:
CT-<CR number>-CR01-Identify and assess impact of change.Option 1: Open the change request > Task Planning tab and click the task link in the far-right column.
Option 2: Open the change request > Schedule tab and click the task in the table.
Option 3: Open the main dashboard and locate the task in your My Outstanding Work list.

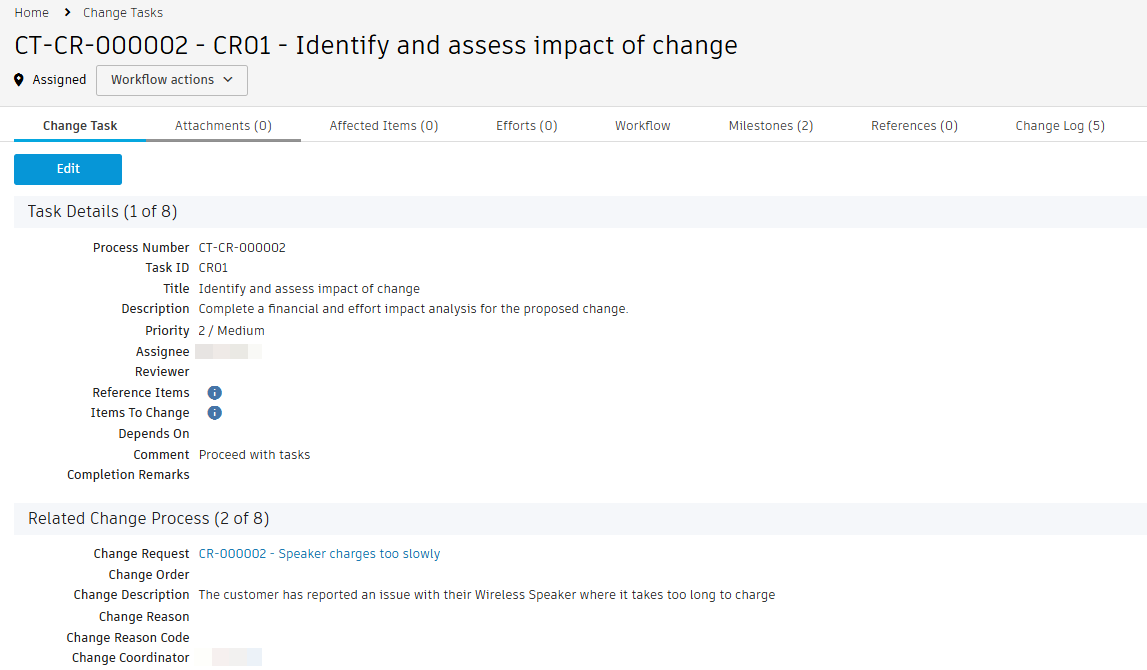
Explore each section and notice the information that has been entered into the task already.
Notice that this task is in the Assigned state because it was generated from a change request and already had an assignee (you).
Review the information in each section of the main tab.
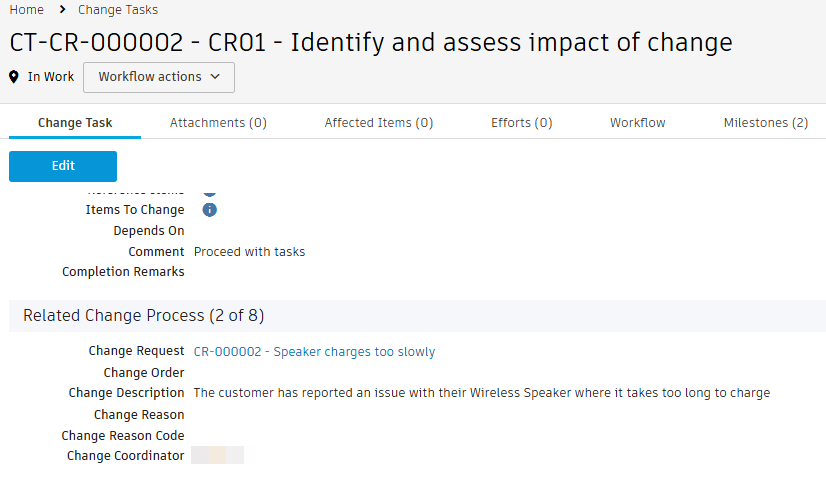
Begin work on the task.
Click the Workflow Actions drop-down and select Acknowledge.

The task is now in the In Work state.
Complete the review and impact analysis.
From the Related Change Process section, click the link to the change request.
On the change request, click Edit.
In the Financial Impact Assessment section, enter some values for each line in the table. For these tutorials, it doesn't matter what you enter here.
In the Effort Assessment section, enter some values for each line in the table. For these tutorials, it doesn't matter what you enter here.
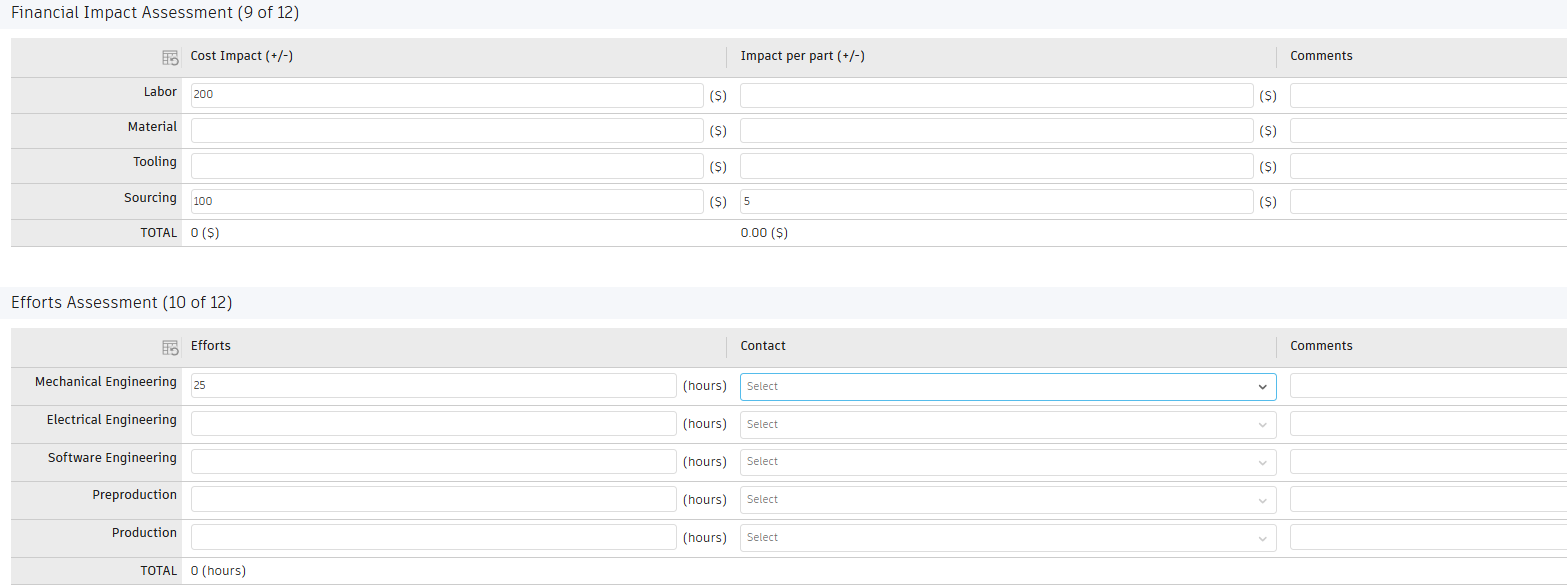
Click Save.
Note: Total efforts are copied to the resulting change order as the target effort should a change order be created from this CR.
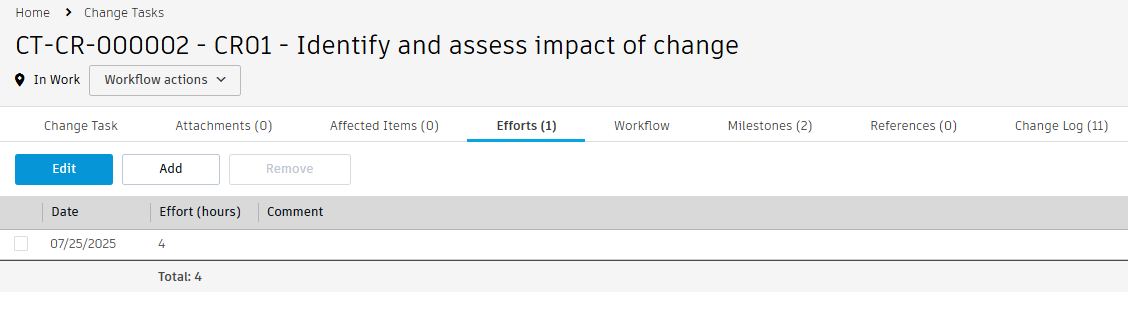
As you work on a task, you can optionally enter how much time you spent on it in the Efforts tab of the task.
From the Task Planning or Schedule tab of the CR, click the link to return to the task.
In the Efforts tab of the task, click Add.
Enter a value in hours for the time spent on the task (for example, 2).
Click Save.
Complete the first task.
Option 1: from the Workflow tab, click the Complete Task transition and enter any comments.
Option 2: From the Workflow Actions drop-down, select Complete Task and enter any comments.
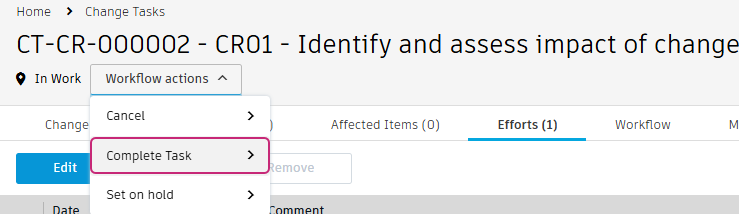 Note: Workflow action comments are stored in the Comments Log in the Workflow Comments History section of the Change Task tab.
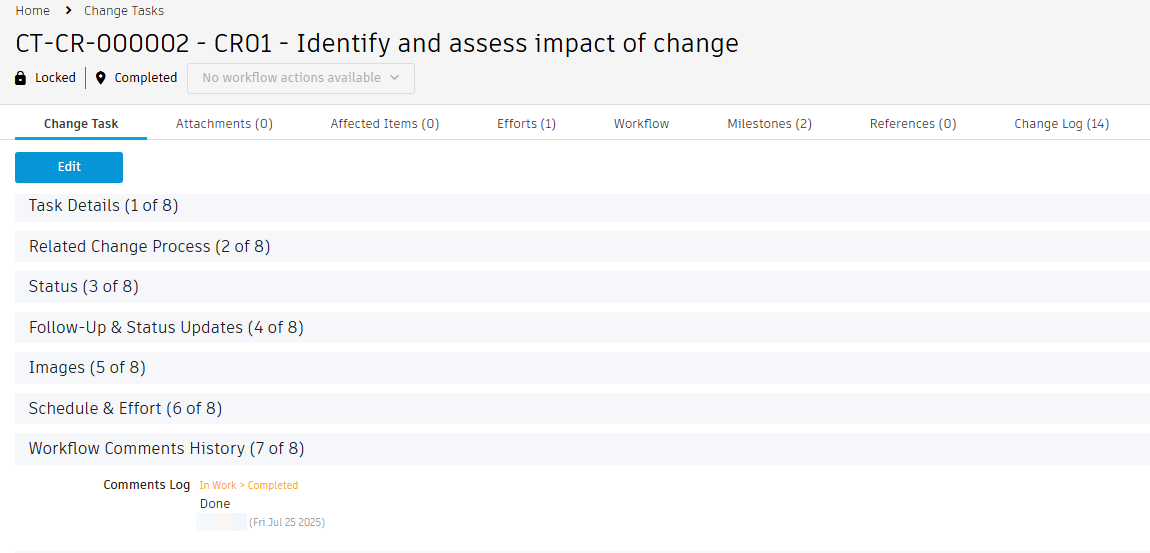
On the change request, notice that the first task has been removed from the Task Planning tab. On the Schedule tab, the first task now shows as Complete.

 Note: You may need to hide the Gantt Chart view or resize the columns to see the task status.
Complete the second task.
Because task
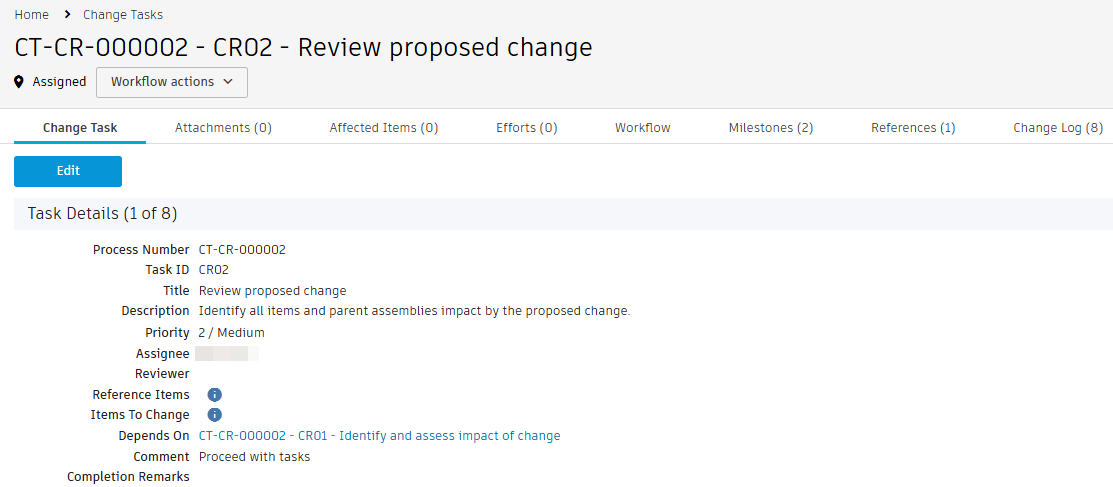
CT-<CR number>-CR02-Review proposed changedepended on the first task, it is automatically moved to the Assigned state once the first task was completed. You'll find it in your My Outstanding Work list on the main dashboard.
Review the information in each section of the main tab. Notice there is a link to the first task in the Depends On field as well as in the References tab.

Acknowledge the task.
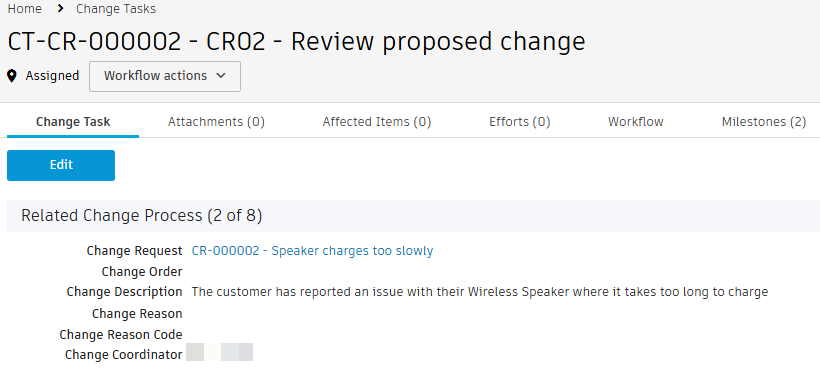
This task involves reviewing all information entered on the change request. You can find a link to it in the Related Change Process section.
Complete the task and enter any additional comments as you see fit.

Notice the change request has now automatically transitioned back to the Review & Impact Analysis state since all the tasks have been completed.
Send the change request for review by the Change Control Board (CCB).
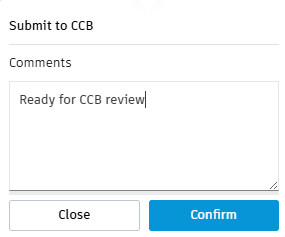
Option 1: From the Workflow tab, click the Submit to CCB transition.
Option 2: From the Workflow Actions drop-down, select Submit to CCB.
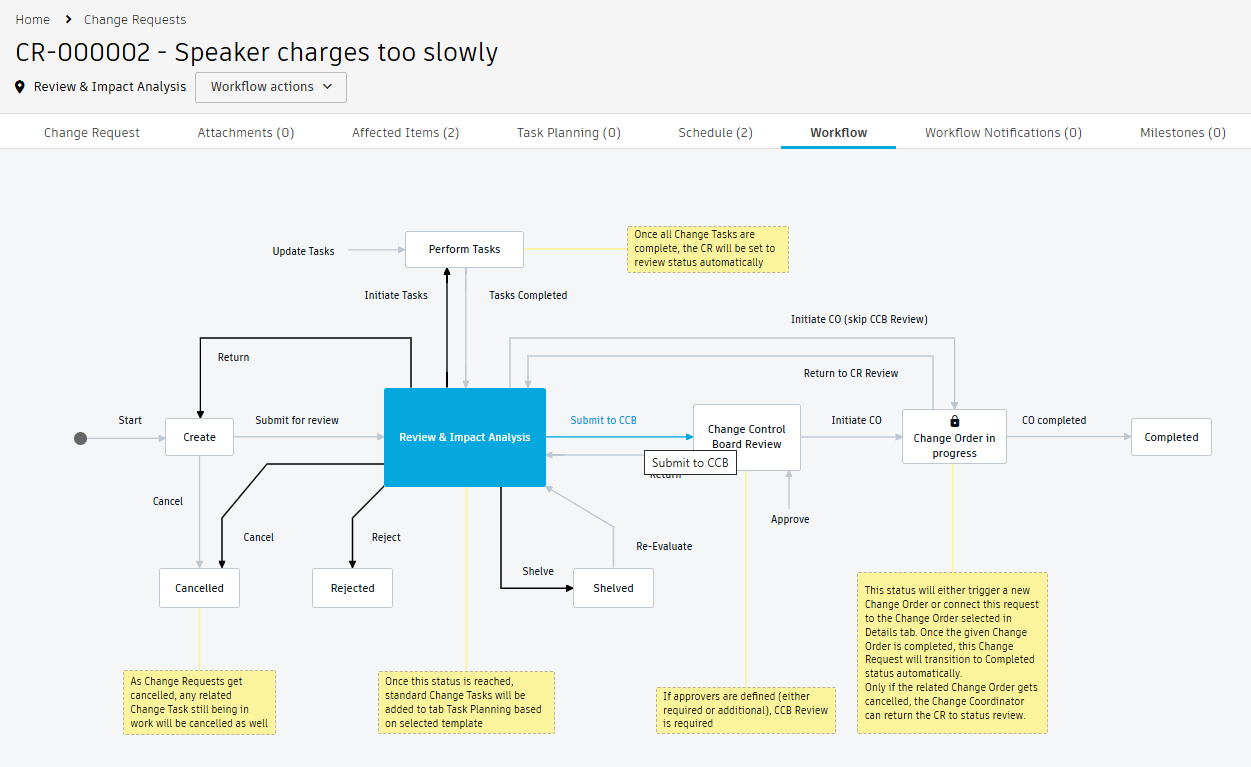
This sends the CR to the Change Control Board Review state where the change control board reviews all information entered into the CR and determines if a change is required.
Activity 2 summary
In this activity you explored the tasks that are generated from a change request and completed each one. You then submitted a completed CR for review.