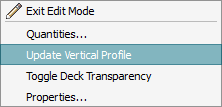
Select an entire bridge to review and modify bridge start and end stations, bridge type, number of piers, pier placement and deck style, adjust clearance, change the design standard and complete other design objectives.
- Left-click on the bridge once to select the design road containing the bridge. The Roadway asset card will display.
- Click on the bridge a second time to select the bridge. The Bridge asset card will display.
Note: You can also work with bridge components such as Girders, Girder Groups, Piers, Pier Foundations, and Abutments.
- Select a girder group to review and modify material properties or adjust gap and spacing for your girder group.
See: Work with Girder Groups.
- Select an individual girder to review and modify individual girder styles from a catalog of precast girder styles, adjust offsets, or review girder schematics.
See: Work with Girders.
- Select a pier, pier foundation, or abutment to review and modify that component or group of components.
- Select a girder group to review and modify material properties or adjust gap and spacing for your girder group.
| Bridge Asset Card | |
|---|---|
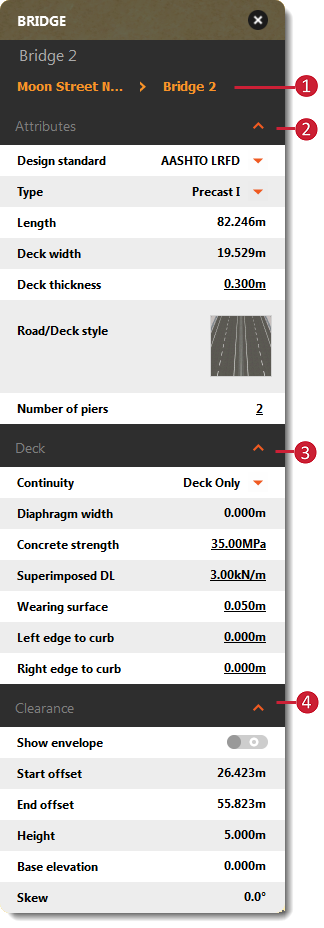 |
|
Additional Information
Bridges are surface layers in the Model Explorer, and information about them appears on the Properties Palette. Information such as the number of bridges added, total length of bridges added, and details about individual bridges in your model appears in the Bridges section of the Proposals Manager.
Watch the Bridge Design Video Playlist for more information.