The following tools appear on the XGen shelf and in the Generate > Interactive Groom Tools menu. Press Shift + RMB to quickly switch between Interactive Grooming Tools using the marking menu. Right-click to access the marking menu for the selected tool. For a list of common settings associated with these tools, see Common Brush Settings.
| Tool Name | Purpose | Example |
|---|---|---|
|
Density  |
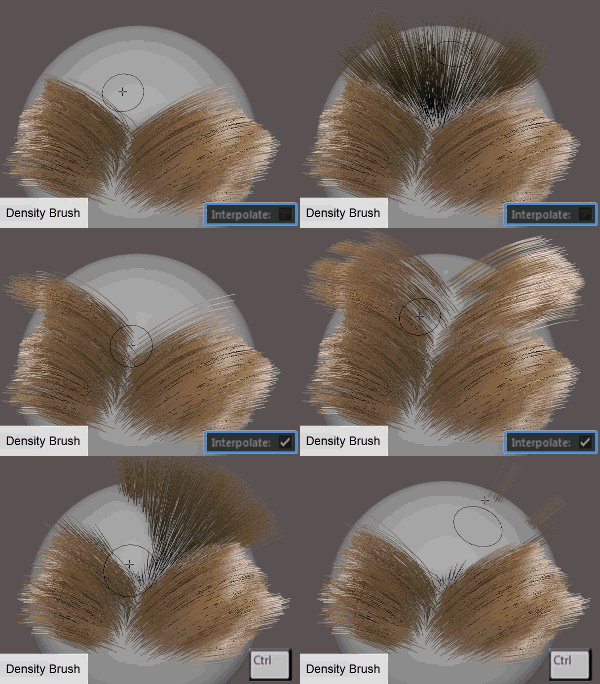
Adds, removes, or redistributes hairs (units/ face) on the areas under the brush radius. Use this tool to thin or thicken hair in specific areas as needed. Density brush strokes set density values locally on the surface of the mesh. These values are saved to the description_base node rather than to sculpt layers. This means the Density brush cannot be layered or blended using sculpt layers. See description_base node attributes. See also Control the density of the hairs and Density Brush Settings. |
 |
Place
 |
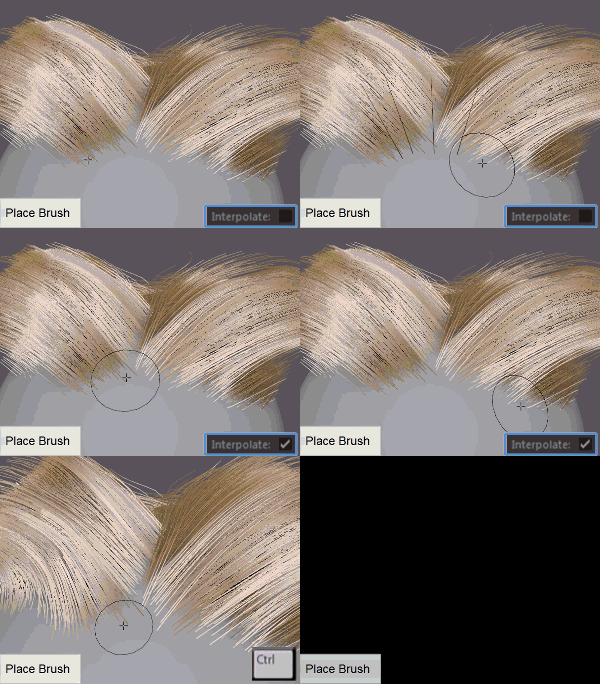
Places single hair strands on the surface of the character mesh. Use this tool when you need to precisely position individual hairs. See Place Brush Settings. |
 |
|
Length  |
Lengthens or shortens hairs uniformly without modifying their shape. You can set minimum and maximum values to limit the final length applied by the brush strokes. This brush scales the hairs length locally. You can scale hair globally using the Scale modifier. |
 |
|
Cut  |
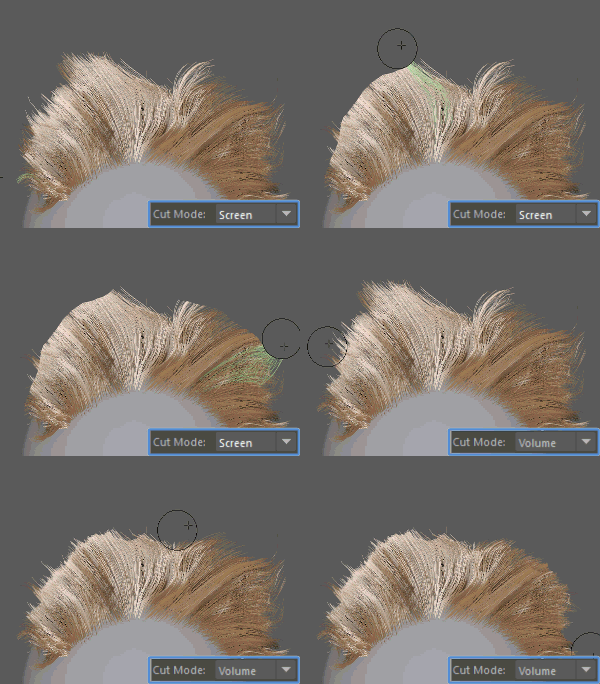
Trims hairs that intersect with the brush radius. See Cut Brush Settings. |
 |
|
Width  |
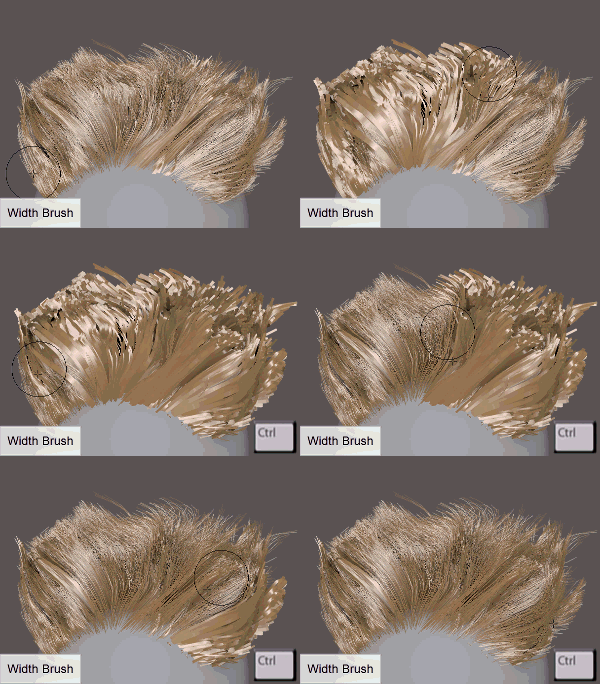
Scales the width of hairs without modifying their shape. This tool is also useful for thinning hair and for smoothing transitions along hairlines. The Width brush sets width per-CV values on the hairs. These values are saved to the descriptionShape node rather than to sculpt layers. This means Width cannot be layered or blended using sculpt layers. See descriptionShape node attributes. e See also Width Brush Settings. |
 |
|
Twist  |
Lets you rotate the CV's along the length of splines and guides without affecting the overall curvature or shape of the hair. This tool is designed for workflows that convert the final grooms to Maya geometry such as grooming games characters. Use the Twist brush to rotate and align each segment of individual hairs or guides so that the resulting polygon strips properly cover the character mesh surface at all angles. Before using the Twist brush, turn off the description's Face Camera attribute. See Prepare a groom for conversion to geometry and Twist Brush Settings. |
|
|
Comb  |
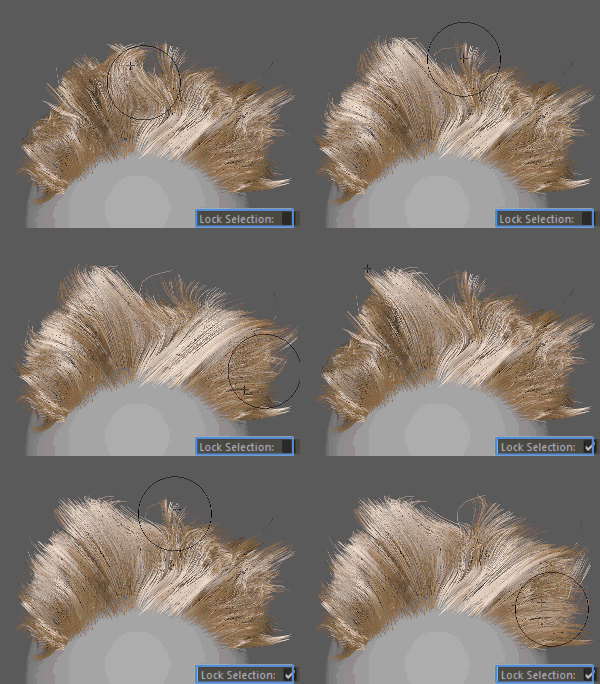
Changes the orientation and bend of hairs in the direction of the brush stroke. Hairs in the brush radius are affected as you drag. This tool is useful for both sketching out the base shape and style of the hair as well as for making subtle final touch-ups to the groom. See Comb Brush Settings. |
 |
|
Grab  |
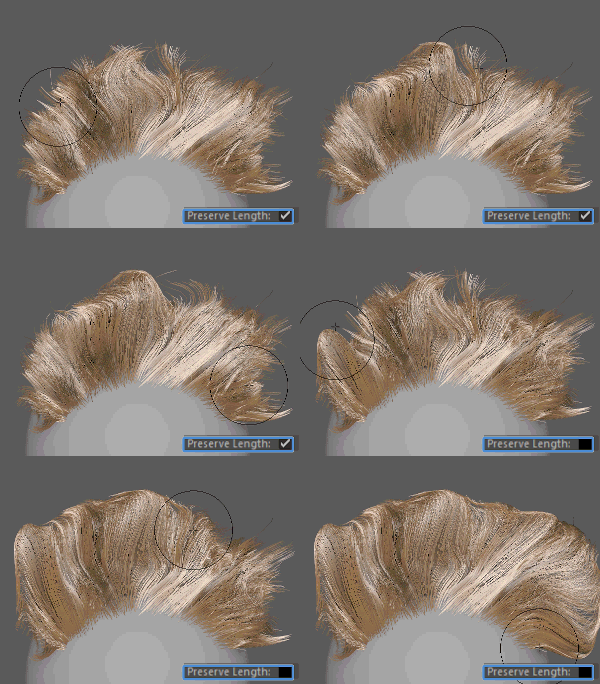
Selects and moves hairs based on the direction and distance you drag. The selection automatically locks to the hair CVs within the brush radius when you click. Only these hairs are affected by the stroke. Use this tool to shape hair by pulling or pushing a selection of hairs. This tool is useful for both sketching out the base shape and style of the hair as well as for making subtle final touch-ups to the groom. |
 |
|
Smooth  |
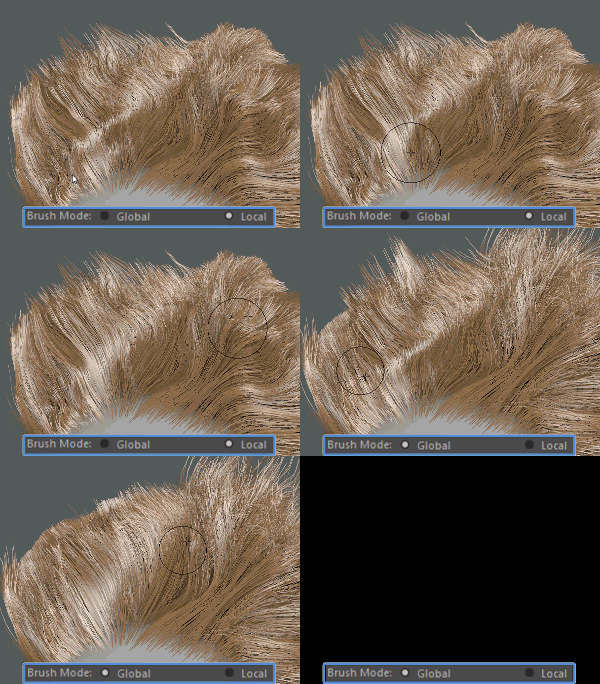
Applies smoothing to hairs in the brush radius by averaging the CV offsets. This creates a hair straightening effect in the direction of the brush stroke. You can smooth the hairs globally, which affects all hairs in relation to each other, or locally, which applies the effect to the hairs individually. Use this tool to straighten and blend the orientation of hairs, and to create smooth transitions between long and short hairs. Press Shift activate the Smooth tool when another interactive groom tool is already active. |
 |
|
Noise  |
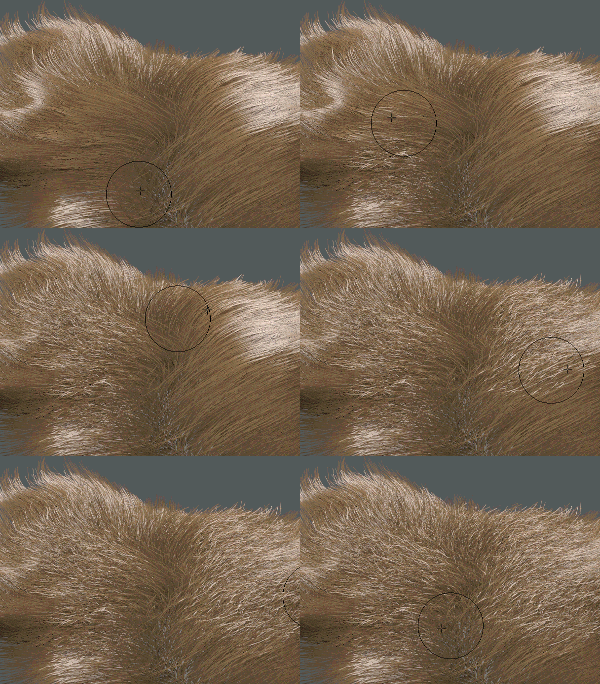
Applies a 3D noise effect along the length of hair strands in the brush radius. Use this tool to add variation to the orientation of the hairs, which breaks up the uniform look of the hair and creates texture. See Noise Brush Settings. |
 |
|
Clump  |
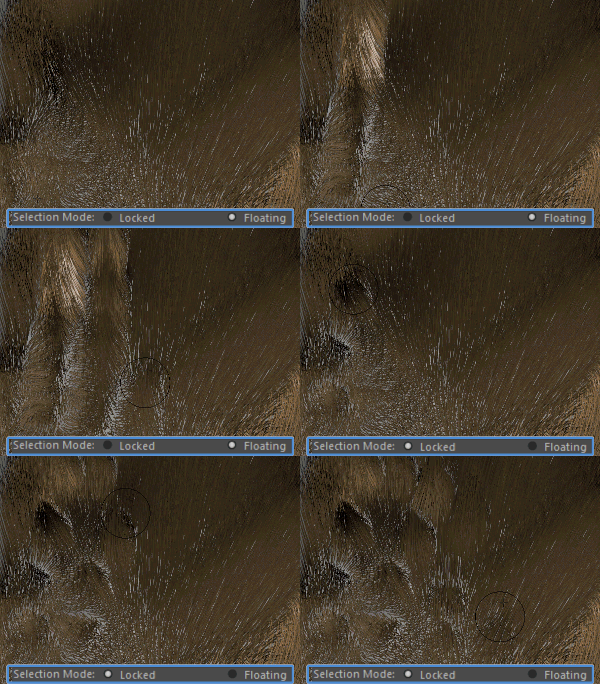
Creates hair clumps by pulling hairs towards a centralized hair within the brush radius. Clumping hair can break up its uniform flow, making it look more realistic. The clumping effect is additive with each stroke. The more you groom an area, the greater the clumping effect. Use this brush in Locked mode to create hair clumps from a locked selection of hair. Use it in Floating to clump hairs along the stroke as the brush moves across the surface of the mesh. See Clump Brush Setting. |
 |
|
Part  |
Pushes hairs away from each other either by rotating them away from the axis or by pushing them away from the center of the stroke. Use this tool for creating part lines or breaking up the flow of hairs in fur, such as where skin folds and rubs together. See Part Brush Settings. |
 |
|
Freeze  |
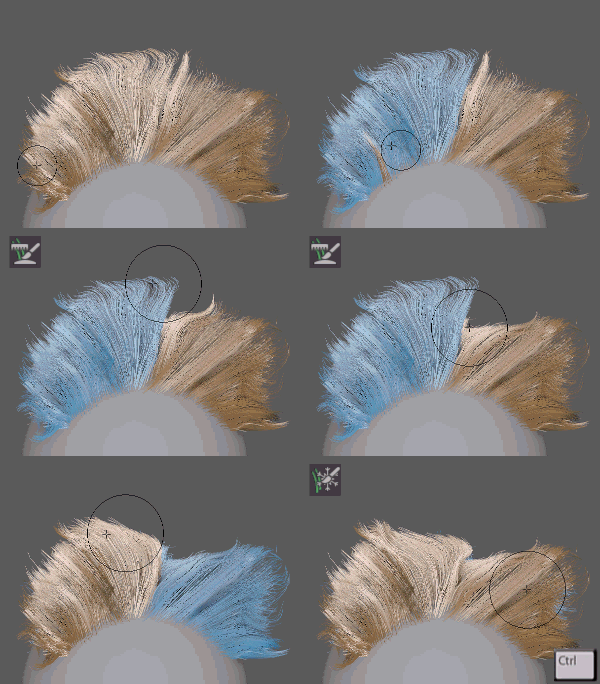
Locks CVs on hair strands so they cannot be modified by other grooming tools. Hair with frozen CVs display in blue. Use this tool to isolate areas that you do not want affected by brush strokes. This makes it easier to groom hairs in specific regions while avoiding nearby hairs. The effect of the Freeze brush is global to, so it cannot be layered or blended using sculpt layers. |
 |
|
Select  |
Selects hair strands by painting. Use this tool to select the hair strands you want to show or hide in the scene. This tool selects hair globally, so you cannot layer or blend its effect using sculpt layers. |
 |