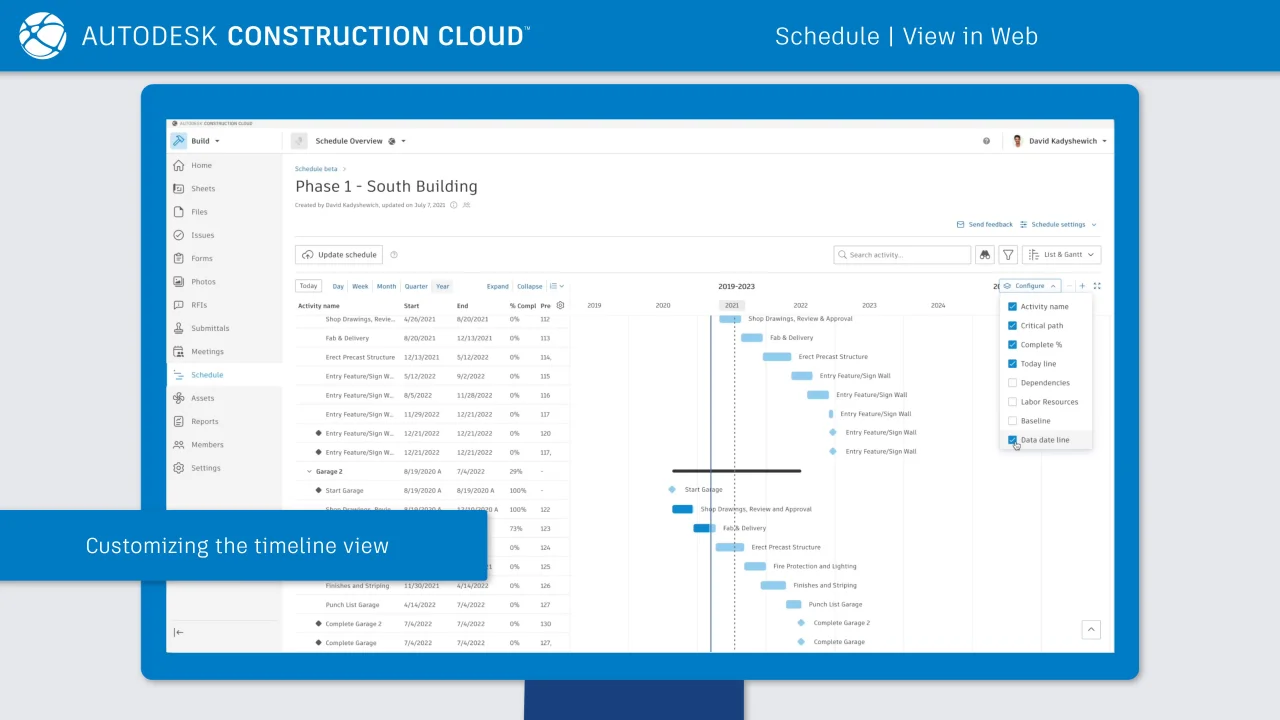
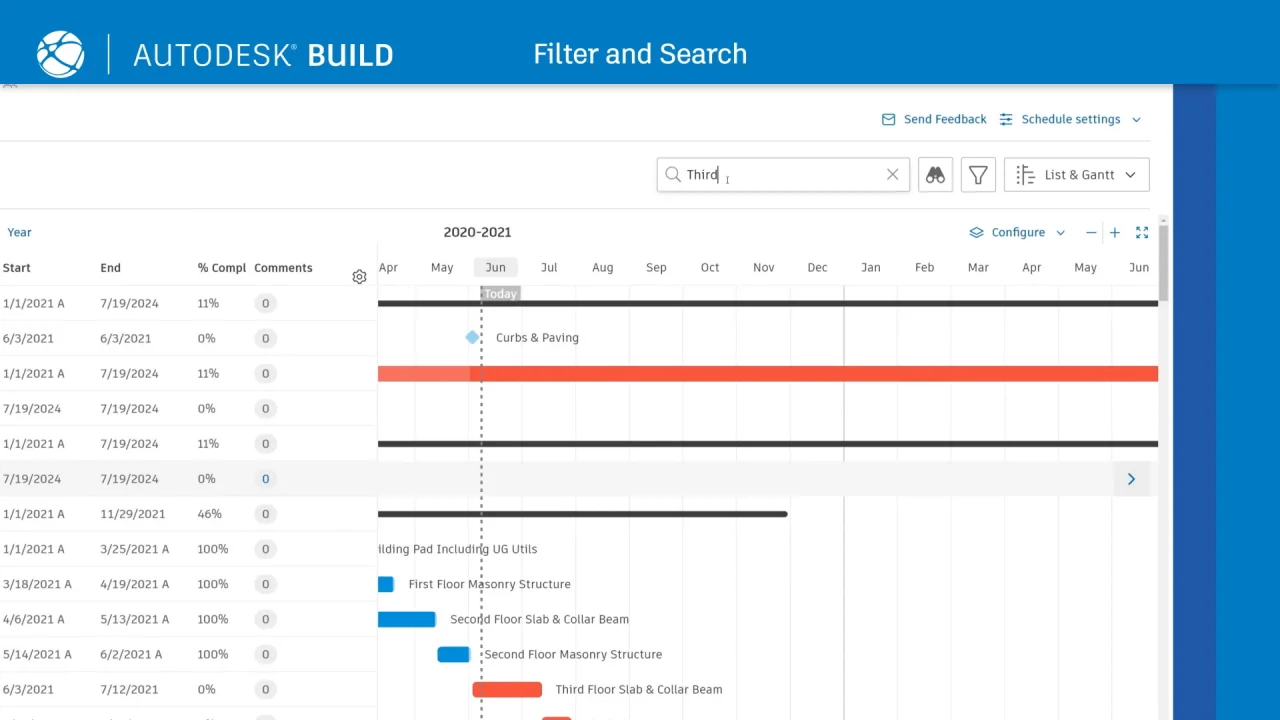
The default view for the schedule is List & Gantt. To view a schedule:
- Click Schedule from the left navigation to open the Schedule tool.
- In the Schedule tool home page, navigate to the Schedule section where all the schedules are listed. You can use filters to display only the schedules.
- Click on a schedule to open it.
- Click the List & Gantt menu to switch to a single Gantt or List view.
The Schedule tool dashboard supports sorting, and grid or list view of available schedules.
Viewing schedules on the Autodesk Construction Cloud app for iOS and Android
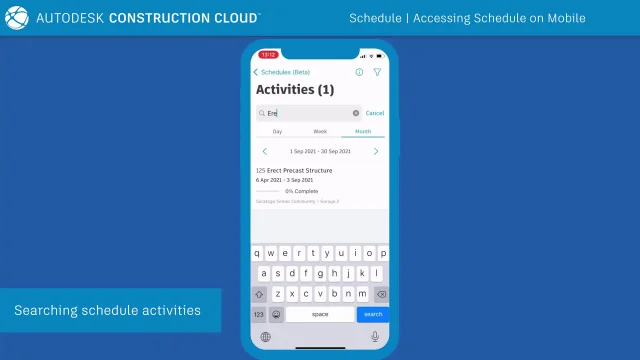
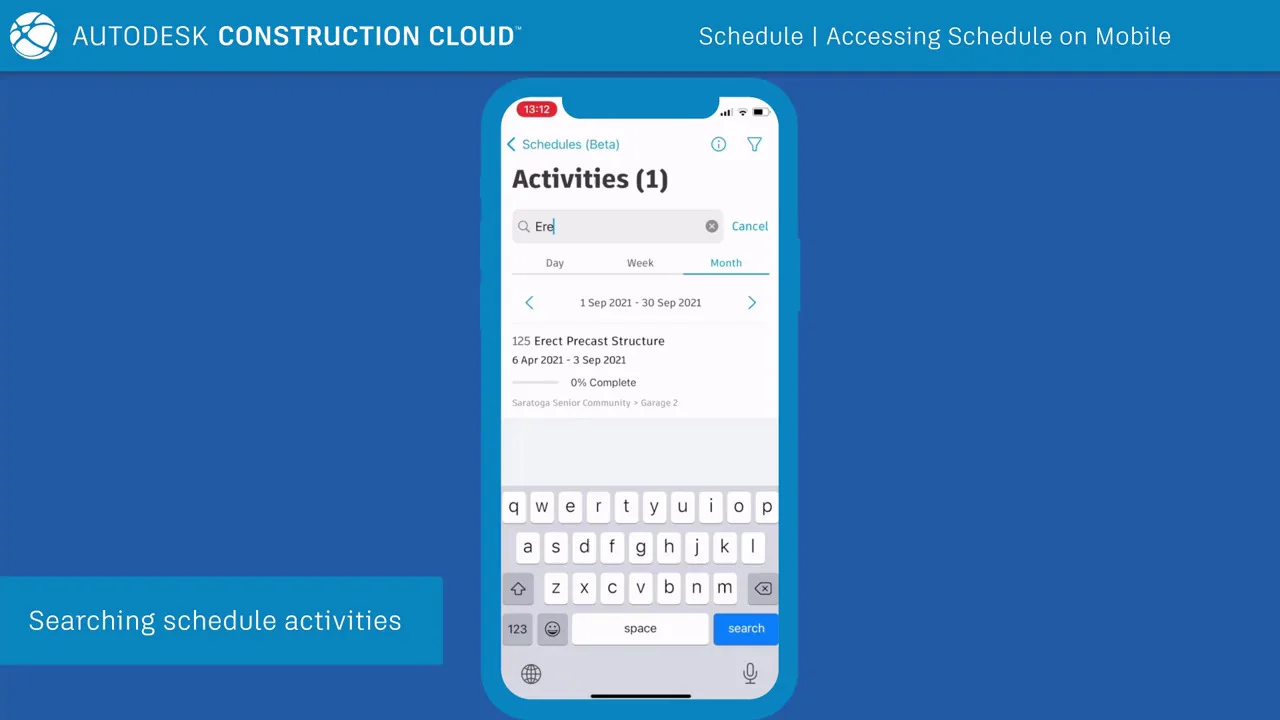
To view a schedule on mobile, click the More menu and choose Schedule.
The Autodesk Construction Cloud app allows you to view, open and add a schedule's item references.
The Autodesk Construction Cloud app also allows filtering schedule by resource, viewing suggestions, adding suggestions and adding comments.
Sharing schedules
To share a schedule from the Schedule tool dashboard:
- Click
 on the schedule thumbnail.
 - Click Share.
- Copy the link and share it or select email recipients and add message text (optional).
To share a schedule from Gantt View:
- Click a schedule to open.
- Click Share button in the top, right corner of the schedule view.
- Copy the link and share it or select email recipients and add message text (optional).
- Tick Include active filters checkbox to share the current view.
Working with a Gantt View
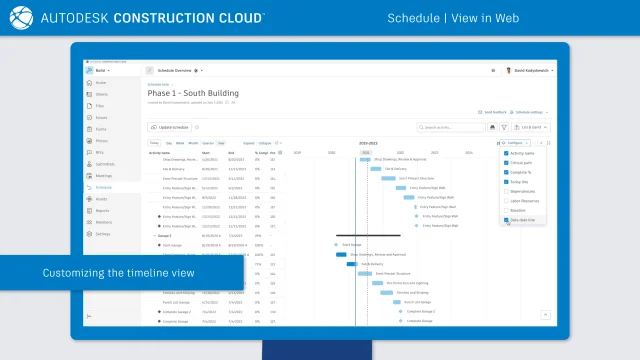
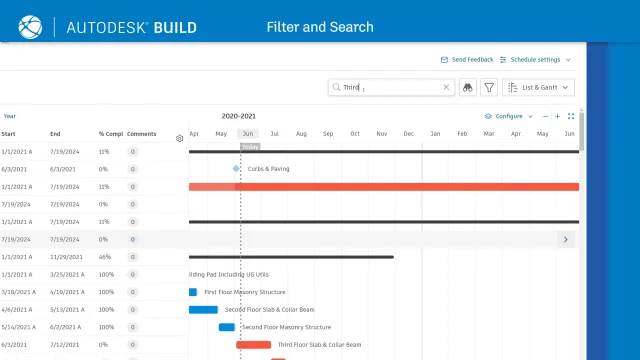
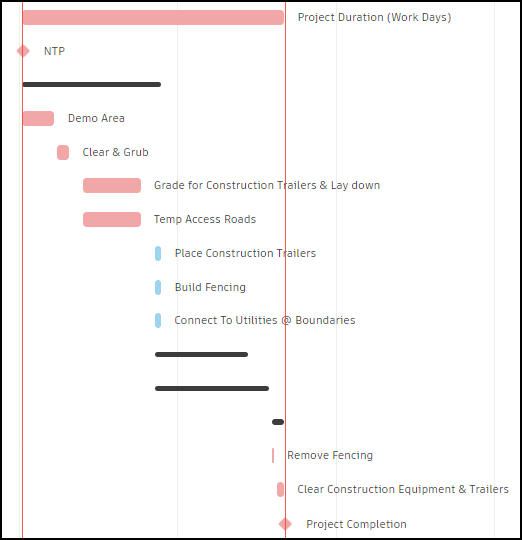
The Gantt or List & Gantt views show a classic Gantt chart view of the schedule. Different colors and shapes represent specific activities or milestones:
- Blue shapes = Non-critical activities
- Red shapes = Critical activities
- Narrow black bars = Text summary activities
- Light gray bars = Baseline
- Diamond shapes = Milestones
- Dotted vertical line = Today
- Solid vertical blue or red line = Milestone line
Adjust the period of the schedule by zooming in or out or by selecting a pre-set time range.
Click
 to zoom into or out of the schedule.
Click a pre-set view to display a specific time range on the schedule.
- Today
- Day
- Week
- Month
- Quarter
- Year
Click
 to expand the size of the schedule on the screen.
Configure the view of the Gantt chart by turning on or off certain schedule data. To do so:
- Click
 .
. - Select or deselect the checkboxes to configure what data is displayed.
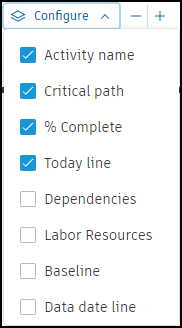
Any change in settings is saved for the next time schedule is opened.
Hover the cursor over the activity bar to show a preview of the activity. The preview includes the:
- Start date
- Finish date
- % complete
- Labor resources
See the Activity Details, Comments, and References section to learn more about the detailed data associated with an activity.
Working with a List View
The List or List & Gantt views show the schedule in a line-item style view without a graphical visualization.
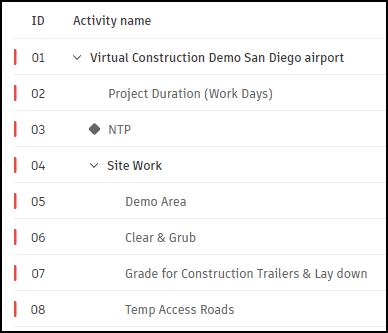
Click the
 icon to select which columns of data are displayed in the list.
Click Expand to quickly expand all grouped activities.
Click Collapse to collapse all grouped activities.
Click
 and choose a level. Activities are expanded down to the selected level.
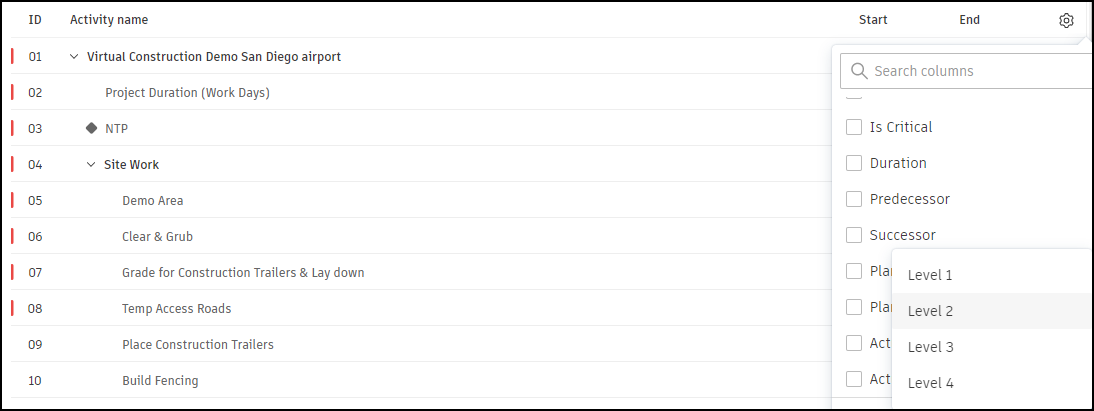 Tip: You can also expand
 or collapse
  individual grouped activities.
Click
 or
or  to adjust the density of the rows.
Sort activities by name, dates, % complete, duration, remaining duration, labor resources or critical status.
Any change in settings is saved for the next time schedule is opened.
Activity Details, Comments, and References
The Activity Details Panel provides you with details of any scheduled activity. It also offers the functionality to add plans to the respective activity or add activities to existing plans.

To add plan to activity:
- Click New plan button.
- Enter a name for the plan.
- Modify plan settings, such as access and permissions.
- Click Create plan.
Click any activity to open the details panel and see all the data relating to that activity. This includes comments and any references added to the activity. To add comments:
Scroll to the bottom of the Details panel for the activity.
Add a comment and press the Enter or Return key.
Use @ to mention a project member. The mentioned member will receive an email notification.
You can also add and view comments and references for each activity using the Autodesk Construction Cloud mobile application.
Add references to any activity to connect system information to the schedule:
With the Details panel still open, switch to the References tab.
Click the Add references menu and choose a reference type from:
- Files
- Photos
- Issues
- Sheets
- Assets
- Forms
- Submittals
- Spec Sections
- RFIs
- Cost
- Schedule
Select the specific references to add and click Add.
References associated with each activity are visible in the References tab of the panel. Click any reference to open it.
If necessary, delete the references. As you update the schedule, references are preserved.
Date Misalignment
Dates in the schedule can differ from the dates in the connected plans. This difference usually occurs due to:
- A change in the task date within the plan.
- A change in the activity date when the schedule is updated with a new version.
- A difference in non-working days between the imported schedule and the plan.
Date differences are indicated when a connected task has dates that do not match the linked schedule activity. The indications will appear as an alert in both the plan and the schedule, as well as in the swimlane view, where the misalignment of the range will be visible.
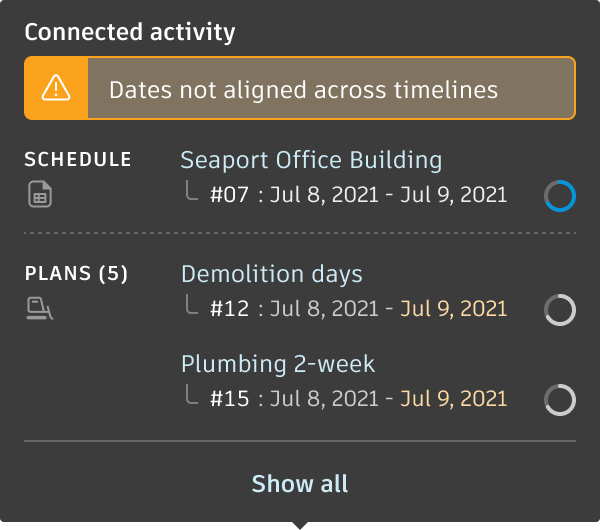
By hovering or clicking your cursor over the "Dates differ across timelines" alert icon ![]() , you can see:
, you can see:
- Schedule name
- Activity dates
- All connected plans
- All connected task dates are marked as differing
You may configure the appearance of the alerts in the plan configurations.

