DataExchange
Get Exchange
The Get Exchange node consists of two options, one is to Load a Data Exchange from Autodesk Docs and view its information as an object in the output and the other is to Create an empty Data Exchange and save it in Autodesk Docs.
Click the Get Exchange node from the DataExchange library.
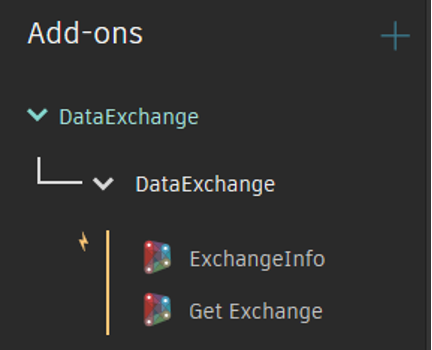
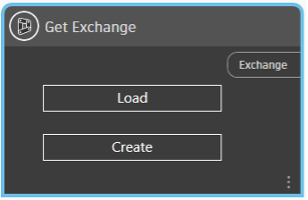
The Get Exchange node will get placed on the canvas.
Choose:
| Supported Input Type | Expected Output |
|---|---|
| Data Exchange from Autodesk Docs on Load button click. | Data Exchange as an object. |
Click the Load button.
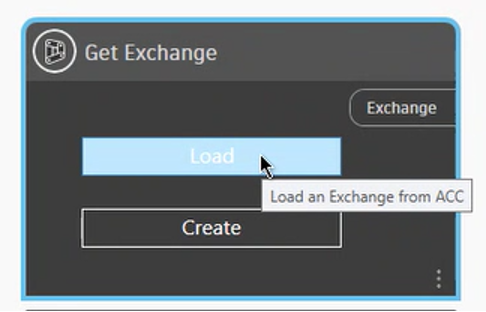
You will be prompted to sign in to the Autodesk Docs. Sign in using your Autodesk credentials.
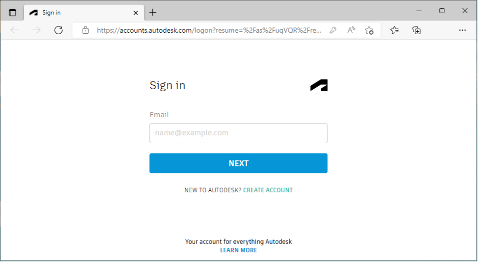
Upon successful Sign in, you will be asked to return to the Dynamo application.
The Connector interface opens.
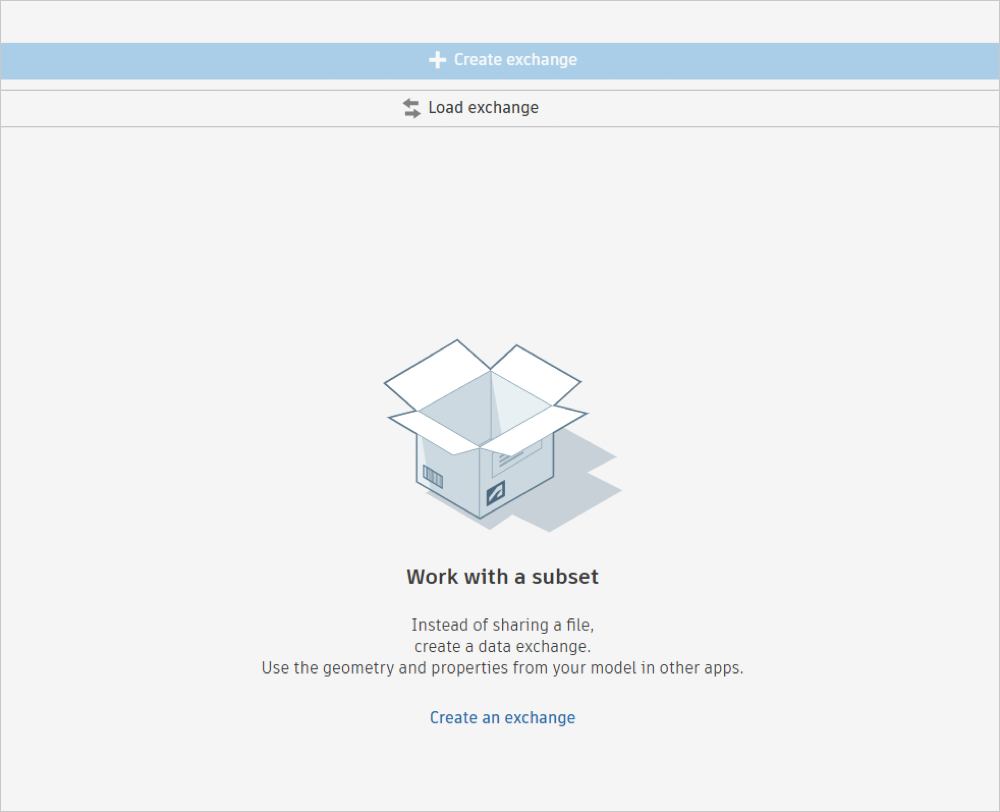
Click Load Data Exchanges and this opens another window that consists of a list of the Data Exchanges that are available in Autodesk Docs. You can also switch between different projects from the Project drop-down list.
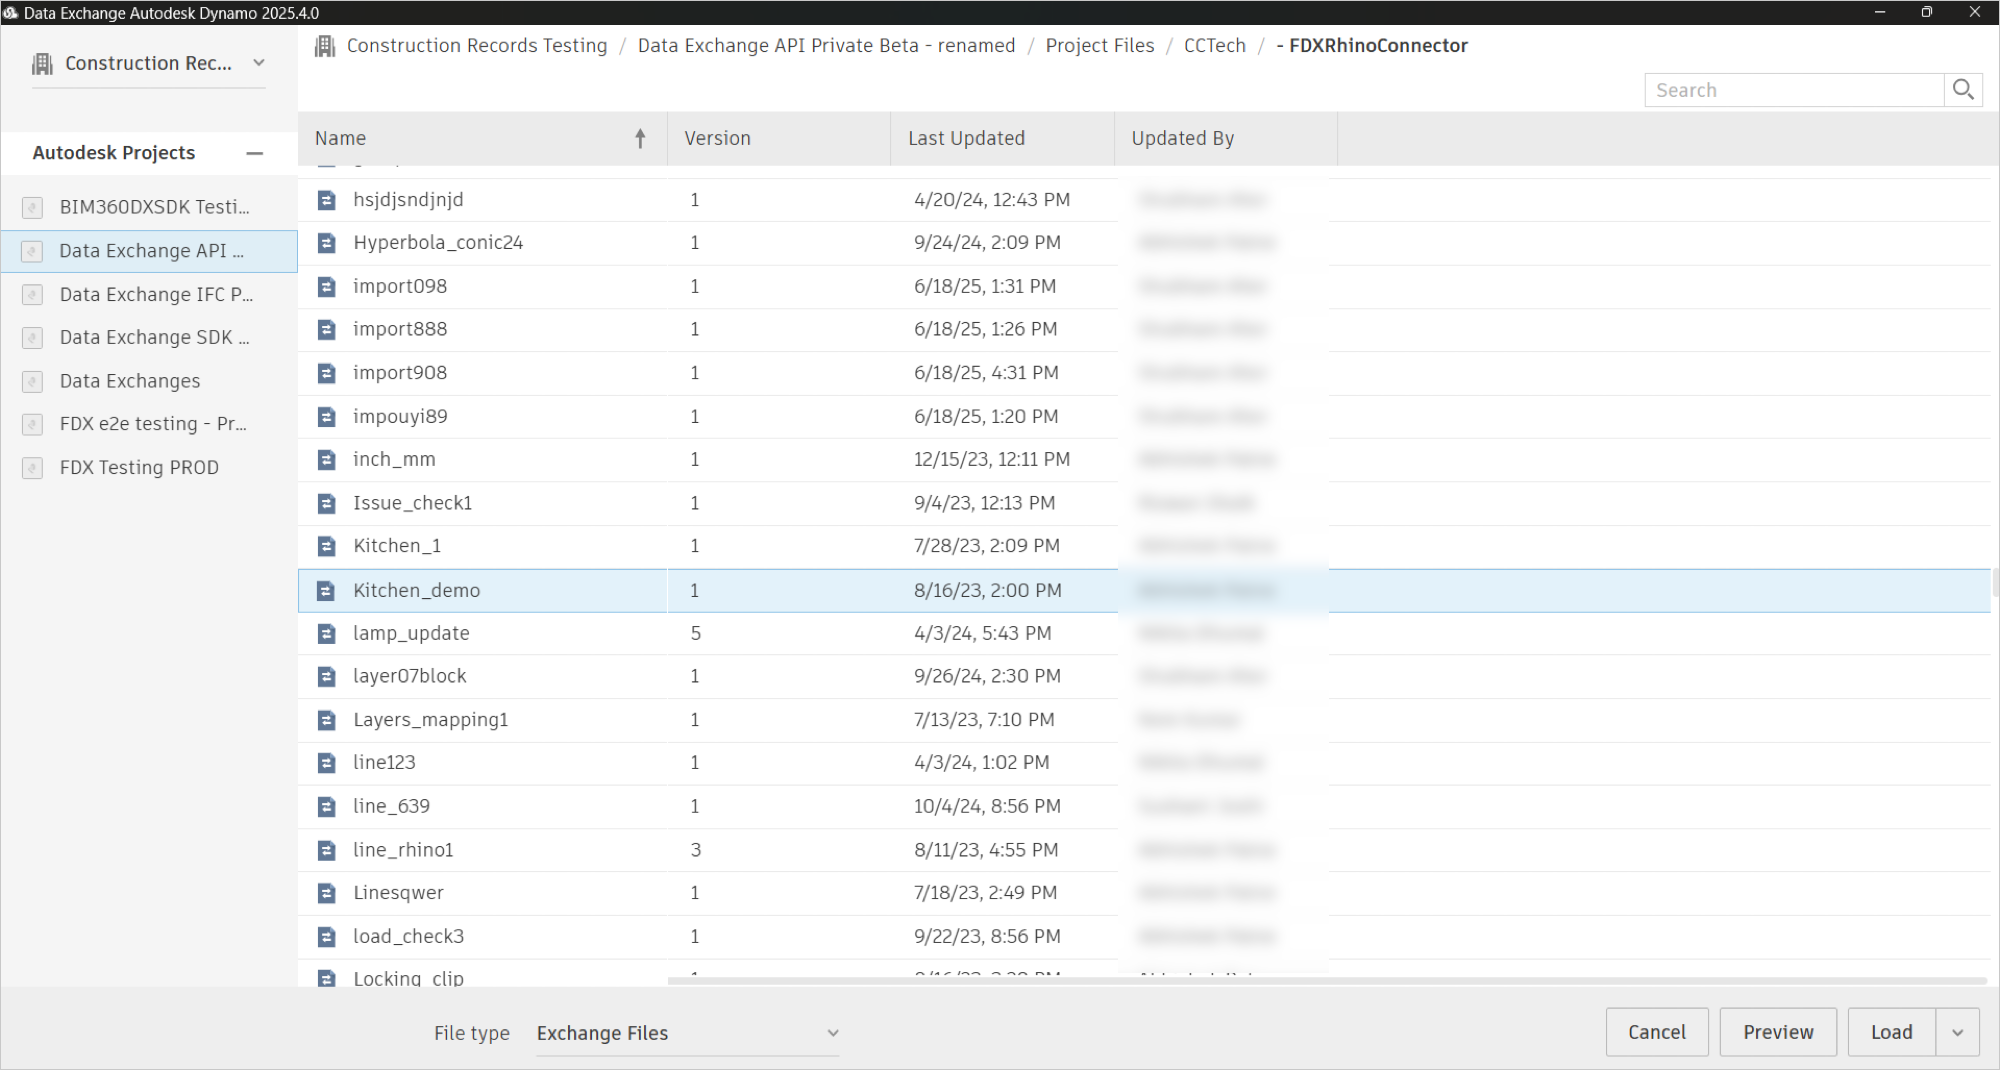
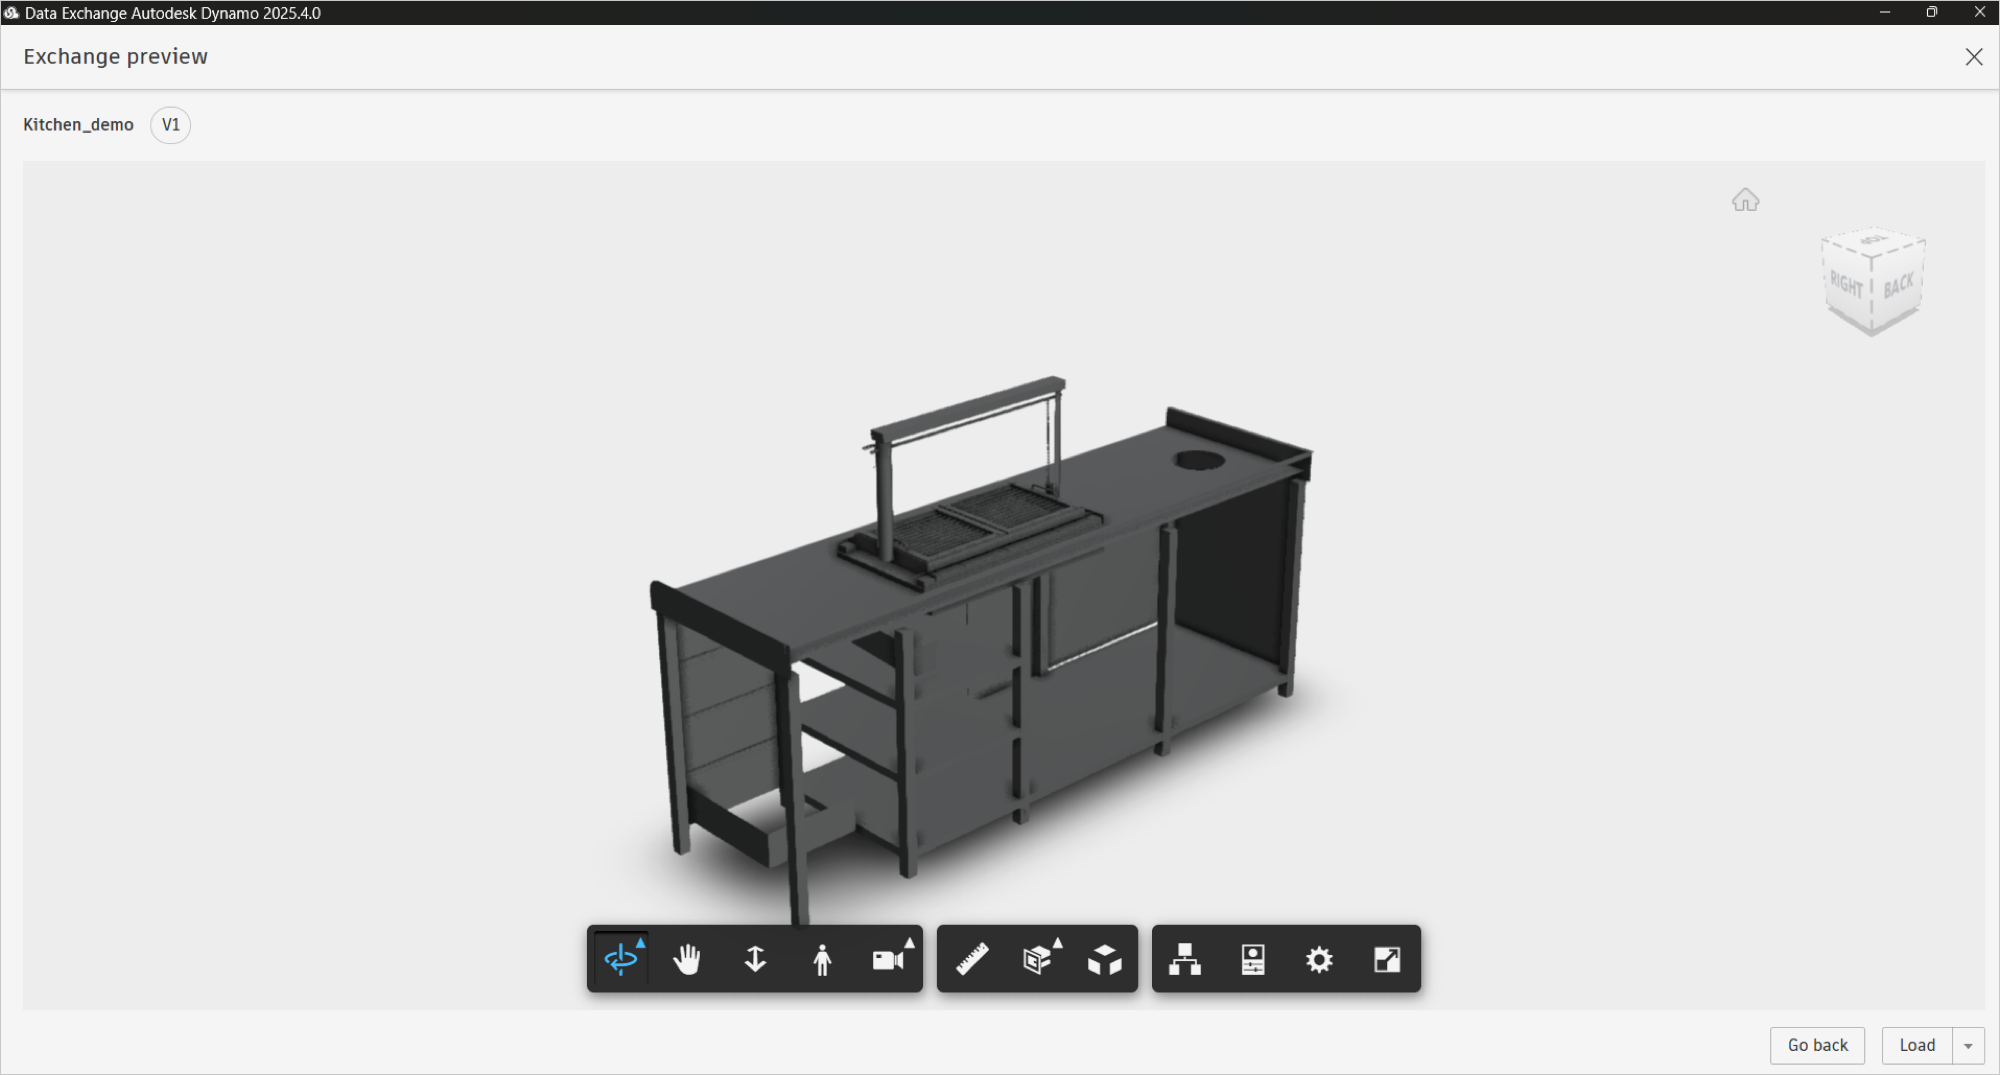
Select your project, select the Data Exchange, and click Preview to view the Data Exchange before loading or Load to load the Data Exchange.
The Data Exchange will get loaded and the Connector interface will close.
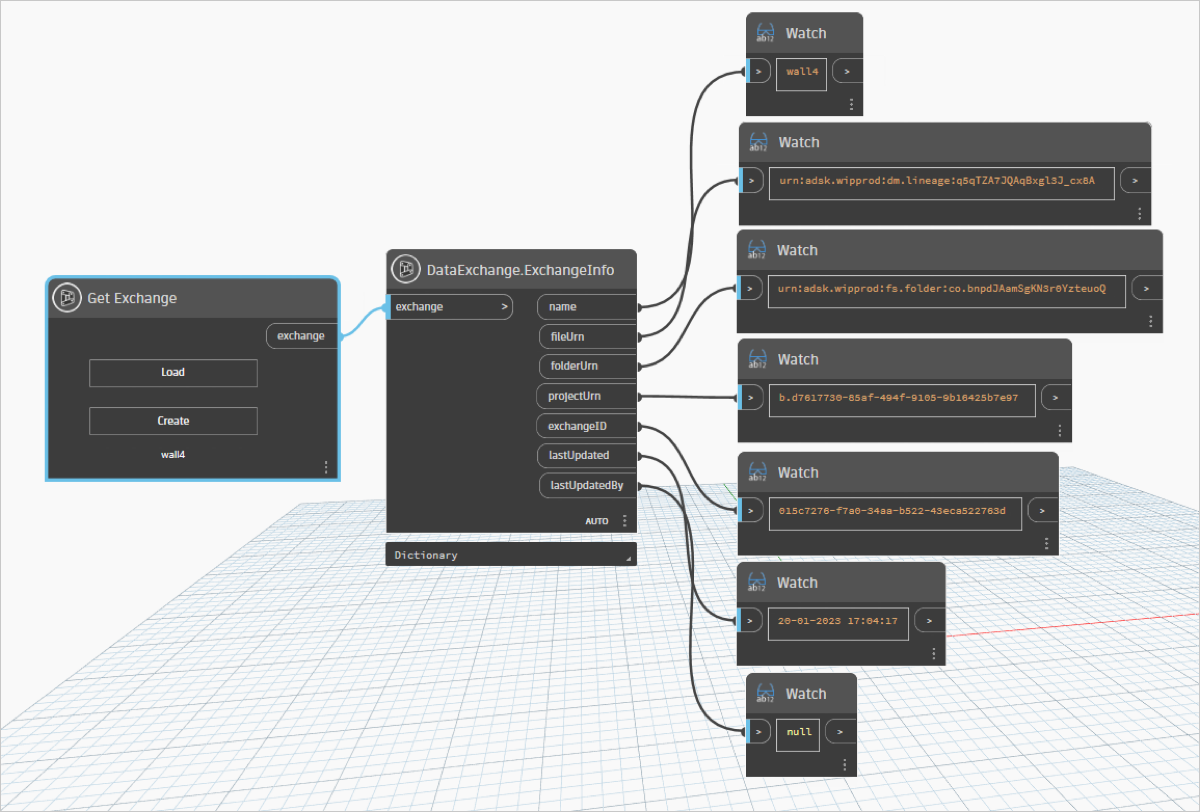
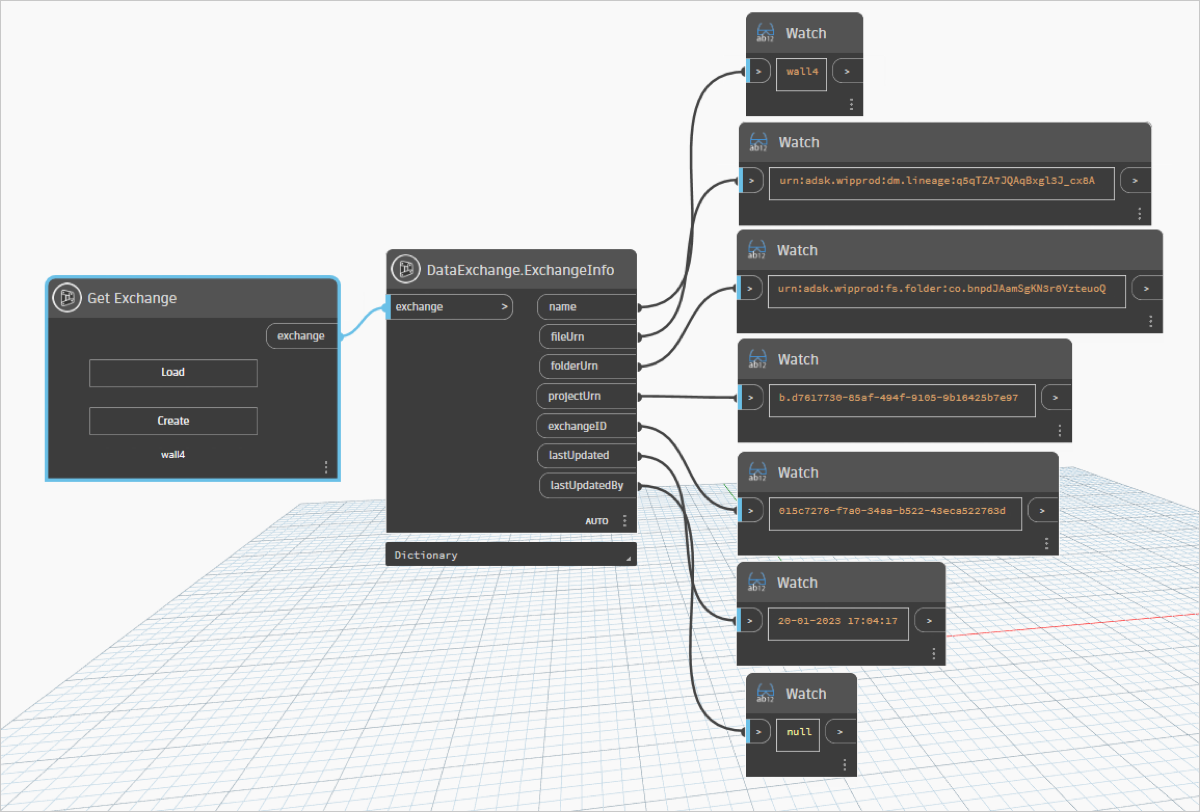
To view the detailed information of the loaded Data Exchange, connect the ExchangeInfo node with the output of the GetExchange node.
Connect the output of the ExchangeInfo node to the input of multiple Watch nodes to view the Data Exchange information through separate outputs.
Create:
| Supported Input Type | Expected Output |
|---|---|
| No input. | Data Exchange as an object. |
Click the Create button.
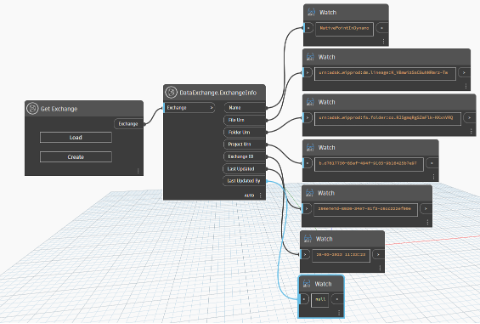
You will be prompted to sign into the Autodesk Docs. Sign in using your Autodesk credentials.
After signing in successfully, return to the Dynamo software.
The Connector interface opens. If a latest version of the Connector is available you will see a notification at the bottom of the interface .

To download the latest Connector version, click Help menu and select Check for Updates. You will be redirected you to the download link.
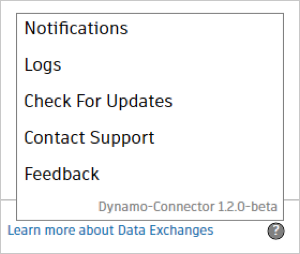
If you want to manually check for updates, click Help menu and select Check for Updates. You will be redirected to the download link or see a "no updates available" notification.

To create a Data Exchangre, click Create Data Exchange.
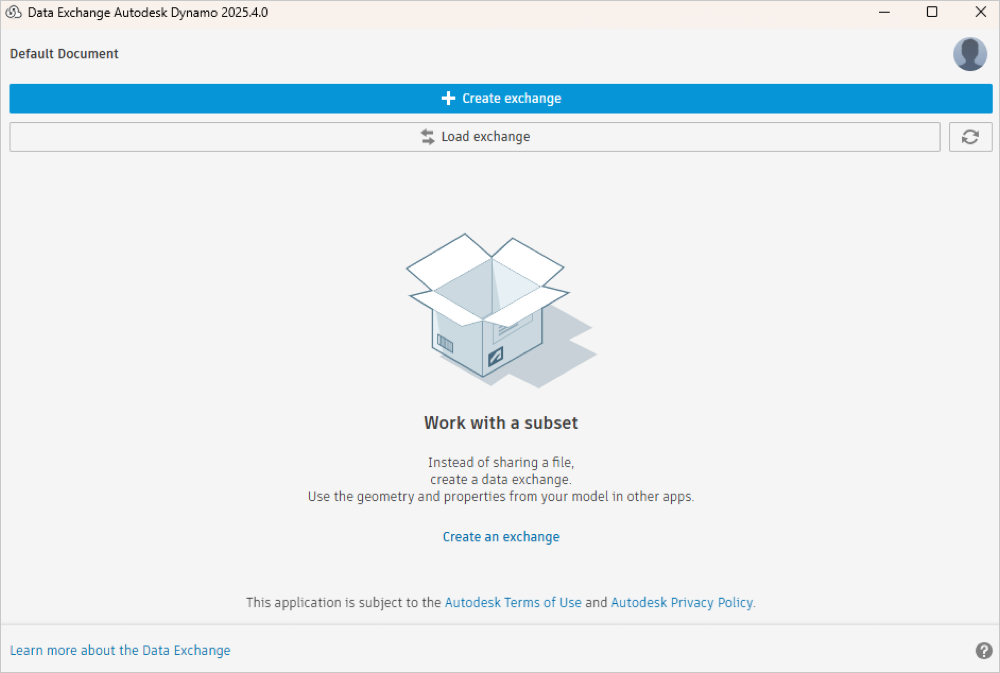
Key in the Data Exchange Name and location in Autodesk Docs to save the Data Exchange.
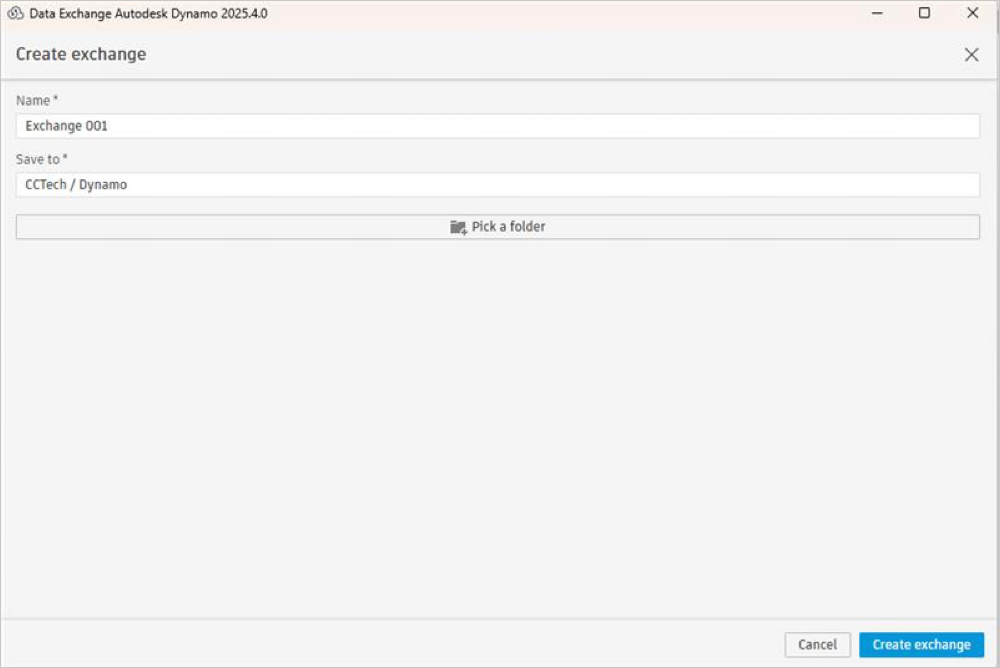
This will create an empty Data Exchange in the Autodesk Docs and get listed on the Connector interface. You can add a List of lists of geometries to the empty Data Exchange using Send node. For detailed information refer to Send section of this document.
ExchangeInfo
This node takes the Data Exchange object as an input and provides information about the Data Exchange through separate outputs. You can view the Data Exchange information by using this node.
| Supported Input Type | Expected Output |
|---|---|
| Data Exchange as an object. | Name of the Data Exchange. |
| File URN (Uniform Resource Name). | |
| Folder URN . | |
| Project URN . | |
| ID Of Data Exchange (Exchange ID). | |
| Last Updated Date | |
| Last Updated By |
Click the ExchangeInfo node from the library.
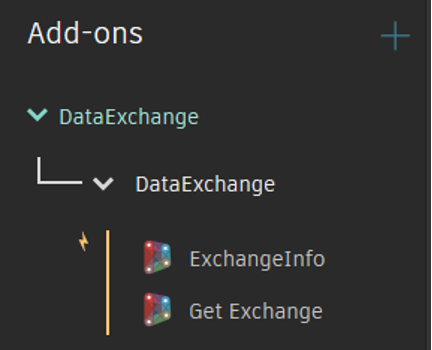
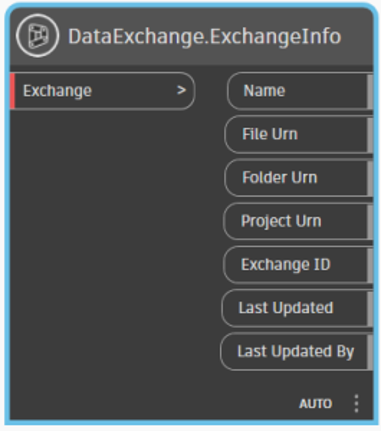
Connect the output of GetExchange node to the input of ExchangeInfo node.
Connect the outputs of the ExchangeInfo node to the input of the multiple Watch nodes to view the Data Exchange information through separate outputs.
