Create and Update Exchanges
This topic details how to create an exchange of your Rhino model using the Autodesk Data Exchange Connector for Rhino and save it to Autodesk Docs. After the exchange is created successfully, it will be listed in Rhino to view or update later.
Create an Exchange
In the Rhino software, make sure you have saved all the changes to your Rhino model.
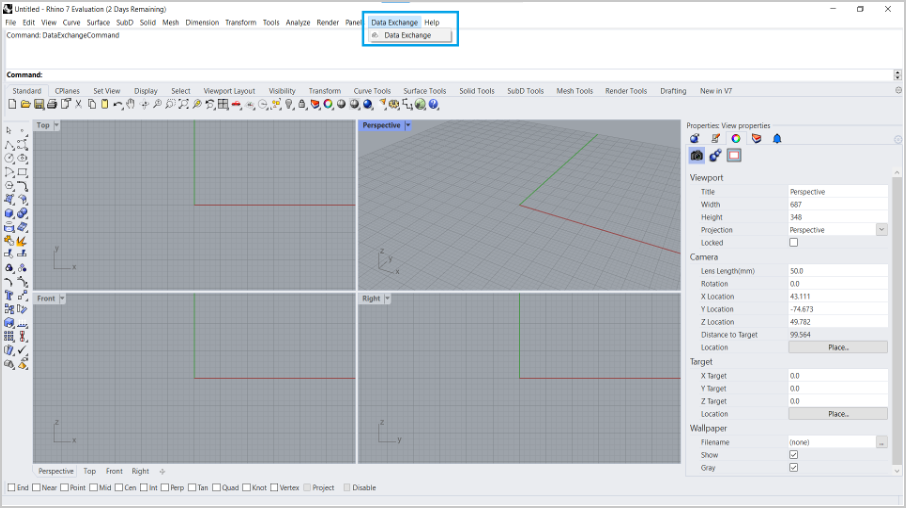
Click Data Exchange under the Data Exchange tab.
Sign in to the Autodesk Construction Cloud using your Autodesk credentials.
After signing in successfully, return to the Rhino software.
The connector interface opens. If a latest version of the connector is available you will see a notification at the bottom of the interface.

To download the latest connector version, click Help menu and select Check for Updates. You will be redirected you to the download link.
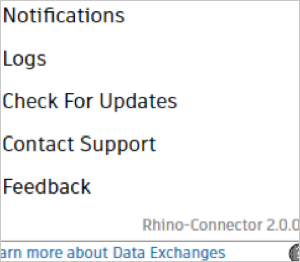
If you want to manually check for updates, click Help menu and select Check for Updates. You will be redirected to the download link or see a "no updates available" notification.

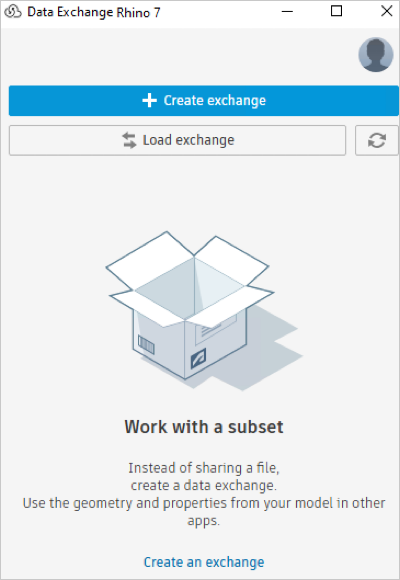
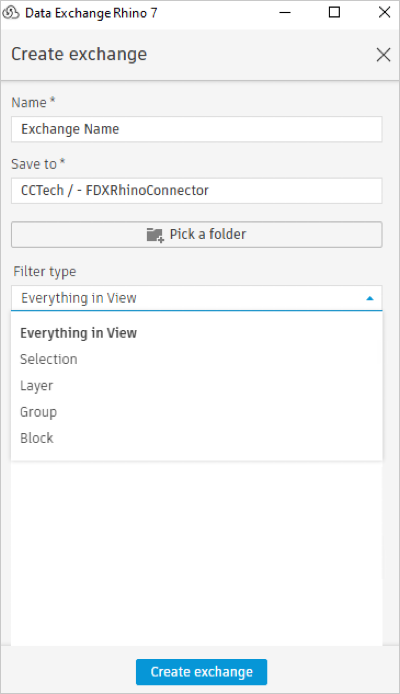
To create an exchange, click Create exchange.
Enter the following:
- Name: Enter a name for the exchange. The connector supports special characters in input fields except characters
<>:"/\|?.`*. - Save to: Select a folder in Autodesk Docs to save your exchange.
- Filter By: Select the required option from the drop-down to create an exchange by Everything in View, Selection, Layer, Group or Block.
- Name: Enter a name for the exchange. The connector supports special characters in input fields except characters
If you select Layer, Group or Block from the Filter By list, select input from the next drop-down.
Support Creating Exchange from Rhino Nested Layers
- Select any individual layer from the dropdown.
- The new feature supports nested layers such as parent-child structure.
- When a parent layer is selected, all its child layers are automatically selected and linked.
- The selection of child layers is disabled to keep them linked to the parent layer.
- The exchange will include all objects from the parent layer and its child layers.
Support Creating Exchange from Rhino Groups
- Select "Group" from the "Filter by" dropdown.
- Choose an input from the next dropdown to see the list of group definitions.
- Select items from the list to display a preview.
- Create an exchange for the selected group definitions.
Support Creating Exchange from Rhino Nested Blocks
- Select "Block" from the "Filter by" dropdown.
- Choose an input from the next dropdown to see the list of block definitions.
- Select items from the list to display a preview.
- Create an exchange for the selected block definitions.
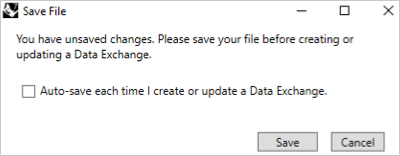
Click Create exchange. If there are unsaved changes to your Rhino model, save the changes in Rhino before you proceed to create an Exchange. Otherwise, you will be prompted to save your changes before the Data Exchange is created.
Click Save to continue exchange creation. You can enable the Auto-save function to automatically save your changes.
The progress bar shows the progress. For models exceeding 10,000 elements, a warning signal that exchange creation may take a few minutes. Maintain Rhino active and consider smaller data subsets for expedited creation.
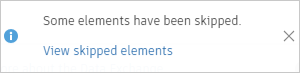
If the model contains unsupported or failed elements, they’re now automatically captured in a detailed HTML report. After the workflow finishes, the interface shows a notification with a clickable link to the report.
The exchange craetion process can be canceled at any time by clicking the Cancel button.
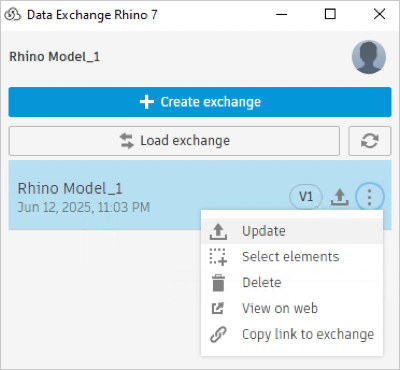
Exchange 'ExchangeName' has been successfully created! notification will appear upon successful exchange creation. The new exchange will be listed in the connector interface with details such as the name, version, date, and time.
Update an Exchange
You can update your exchange with the latest changes you've made to the Rhino model and its properties.
Make changes to your Rhino model.
Save the changes in Rhino software.
Click Data Exchange under the Data Exchange tab.
Select the exchange from the connector interface.
Click the More menu and click Update from the drop-down list. The exchange will be updated with the latest changes and versions up (for example, V1 to V2).