Manage Exchanges
Delete an Exchange
You can delete exchanges that you created directly from the connector interface. This will remove the exchange from Autodesk Docs (ACC), while the model data will remain intact in Rhino.
Click Data Exchange under the Data Exchange tab.
Select the relevant exchange in the connector interface.
Click the More menu and click Delete from the drop-down list.
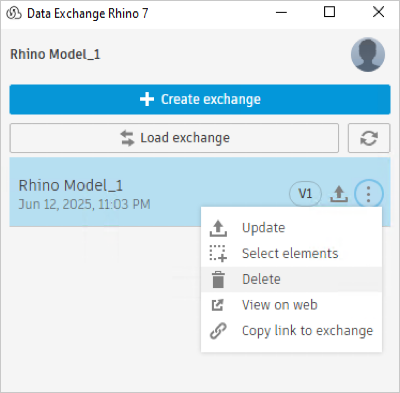
Click Confirm or Cancel as per your requirement.
Remove a Deleted Exchange from Create Interface
You can delete or remove exchanges from the connector interface when the corresponding exchanges are deleted and no longer available in Autodesk Docs.
Open the Rhino model which references the deleted exchange in Autodesk Docs.
Open the connector interface and click the refresh icon.
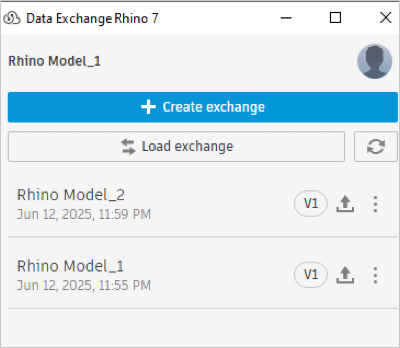
A message appears showing a list of deleted exchanges and asks if you want to permanently remove these from the connector interface.
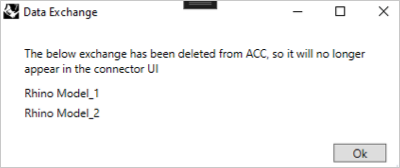
Click Ok to remove deleted exchanges from the connector interface. All deleted exchange entries will be removed from the Connector interface.
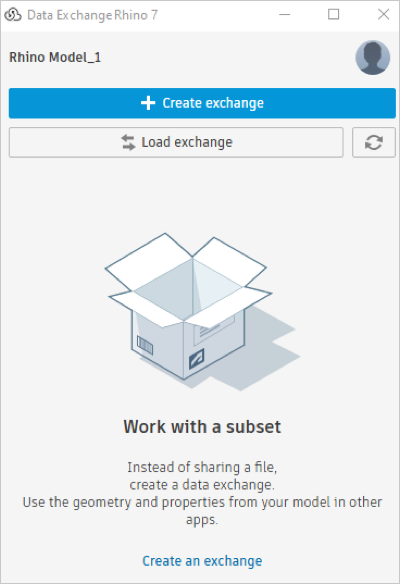
Remove a Deleted Data Exchange from Load Interface
Open the Rhino model which references the deleted exchange in Autodesk Docs.
Open the connector interface and click the refresh icon.
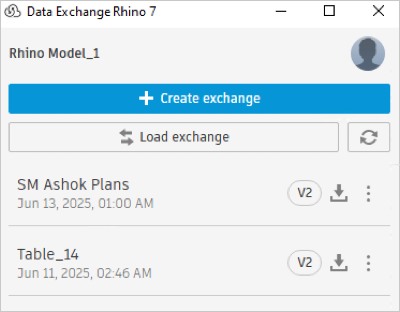
A message appears with individual prompts for each exchange in a list of multiple deleted exchanges, asking if you want to permanently remove them from the connector interface.
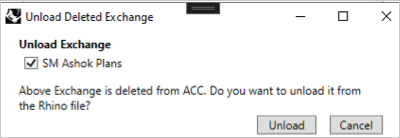
Click Unload to remove deleted exchanges from the connector interface and Rhino document also.
If you click Cancel, it removes only interface entry and data remains in Rhino document.
All deleted exchange entries will be removed from the connector interface.
View an Exchange on the Web
This section explains how you can view a selected exchange from the loaded exchange list on Autodesk Docs. When you select an exchange for viewing, you will be redirected to Autodesk Docs and the exchange will be displayed in a new web browser window.
Select the relevant exchange from the connector interface.
Click the More menu and click View on Web from the drop-down list.
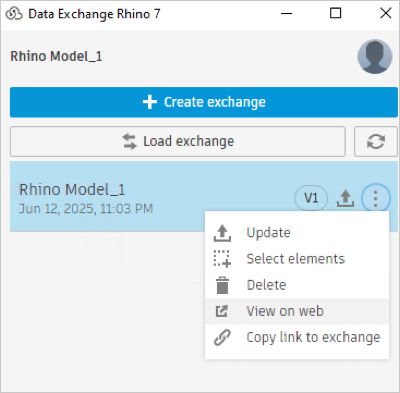
A new browser window will open where you can view the exchange in Autodesk Docs.
Select the Elements of an Exchange
You can select the components from your exchange using this feature. This will help you to identify the elements from a specific exchange in your Rhino file.
Select one or multiple exchanges from the connector interface.
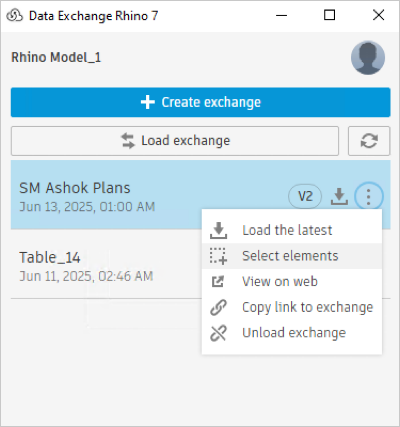
Click the More menu and click Select Elements from the drop-down list. It highlights the selected exchange elements in Rhino.
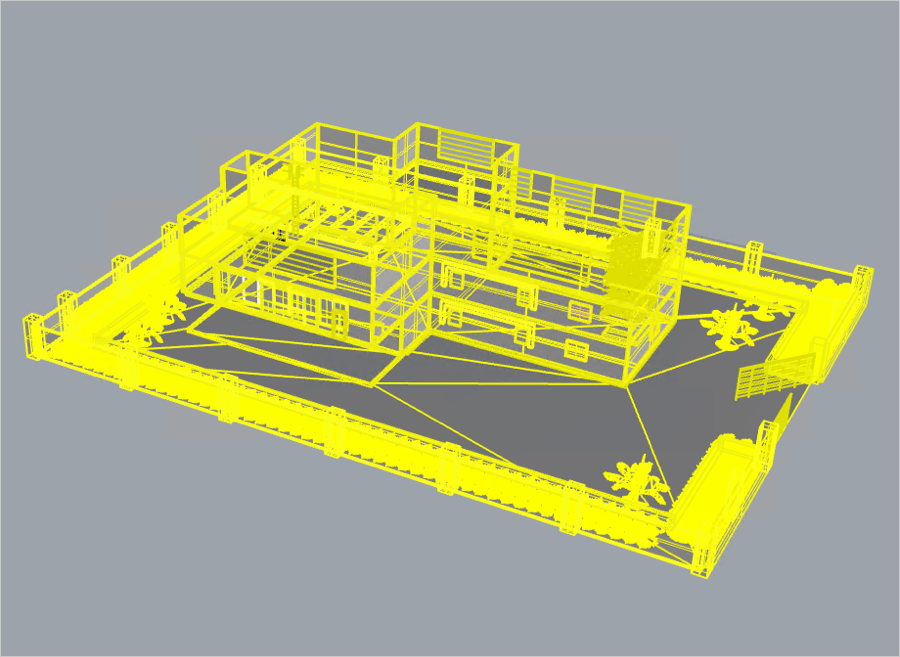
Map Rhino Layers to Revit Categories
Use the Data Exchange Rhino Template to create an exchange with Revit Categories. The template provides predefined layers in your Rhino file. The exchanges created from Rhino using these layers will help you map the Rhino elements to the Revit categories downstream.
To use the template:
- Click the File tab and click New.
- A new window opens with all the available templates.
- Choose the template and click Open.
For information about mapping between layers and categories, refer to the CSV file located at @\AppData\Roaming\McNeel\Rhinoceros\7.0\Plug-ins\DataExchangeRhinoConnector\ Revit_Category_And_Layer.csv
Use the CSV File to Map the Revit Categories to Rhino Layers. Revit Categories from an exchange can be mapped to the desired Rhino Layer while loading an exchange.
For information about mapping between layers and categories, refer to the CSV file located at @\AppData\Roaming\McNeel\Rhinoceros\7.0\Plug-ins\DataExchangeRhinoConnector\Revit_Category_And_Layer.csv
Sample data in the CSV file is as follows:
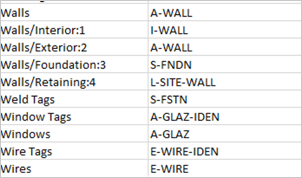
A layer named A-WALL will be mapped to the Walls category. The layer names used in mapping are compliant with AIA (American Institute of Architect Standard). The CSV file entries are listed in alphabetical order. If necessary, you can add the required category for mapping in this table.
