Use the Solids window to:
- import a solid model of a part into PartMaker.
- view a solid model of the stock for the current Face window.
- view a setup assembly (PartMaker/Mill only).
Use the buttons on the Solids Window toolbar and the menu options in theSolids menu to work with the solid model displayed in the Solids window.
Use the ViewCube in the upper-right corner of the Solids window to re-orient the view.
Displaying the Solids window
Select an option to control how the Solids window displayed:
- When the Window > Fixed Face Windows option is selected, the Solids window is embedded in the current Face window.
- When the Window > Floating Face Windows option is selected, the Solids window is displayed as a separate window.
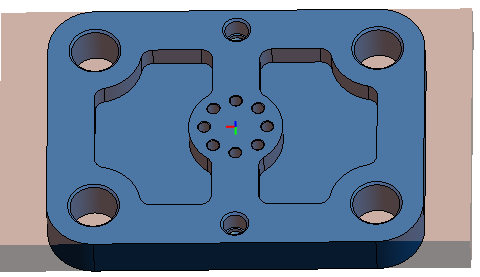
Working with a part model
When you have imported a solid model of a part into PartMaker, you can:
- Transfer geometry from the solid model into the Face window.
- Project geometry from the solid model onto the current Face plane.
- Program directly on the solid model by using the
Extract Parameters from Solid option in the
Hole Group Parameters dialog or the
Profile Group Parameters dialog.
When creating profile groups, you can also define the profile directly on the solid model using the Solid Model icons displayed on the left of a Turning Face window or a Milling Face window.
Solids snap modes are also available when defining a profile directly on a solid model.
Working with a stock model
If you are viewing a stock model in the Solids window, you can:
- Use the Solids > Show Profiles and Holes on Solid Model option to display toolpaths on the stock model.
- Use the Solids > Face Coordinate System > Define Face Plane option to define the face plane for the current Face window.
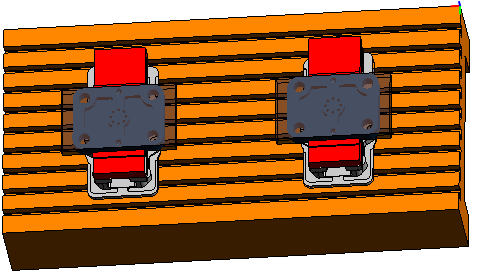
Viewing setup assemblies in PartMaker/Mill
In PartMaker/Mill you can also use the Solids window to view 3D representations of the stock, milling table and other machine fixtures. The Solids window has two different modes to enable you to work with both part models and setup assembly models:
- Select
Solids > Set View > Part Mode or click
 on the
Solids Window toolbar to view, and work with, the part model.
on the
Solids Window toolbar to view, and work with, the part model.
- Select Solids > Set View > Setup Assembly Mode or click
 on the
Solids Window toolbar to view, and work with, the setup assembly model.
on the
Solids Window toolbar to view, and work with, the setup assembly model.