
Activity 1: Assign item numbers to a component and drawing
This feature is part of an extension. Extensions are a flexible way to access additional capabilities in Fusion. Learn more.
In this activity, you'll assign an item number to a component and a drawing.
Steps
Copy the Wireless Speaker assembly from the Design Samples to a project where you can save and edit your own data.
- Launch the Fusion desktop client.
- From the Data Panel, ensure you are working in the hub that was created for your team.
- In the Data Panel, navigate to Home > SAMPLES > Design Samples > Wireless Speaker > Design.
- Right-click _Primary Assembly Wireless Speaker and select Copy.
- In the Copy to dialog, select your desired location and click Copy.
Open the copied Wireless Speaker.
- Option 1: From the Notification Center, locate the notification about the copied component and click Open copy.
- Option 2: In the Data Panel, navigate to the project or folder that contains the copied component and open it.
Assign an item number to the Speaker Body Main Brace component.
In the Browser, click to highlight the Speaker Body Main Brace component.
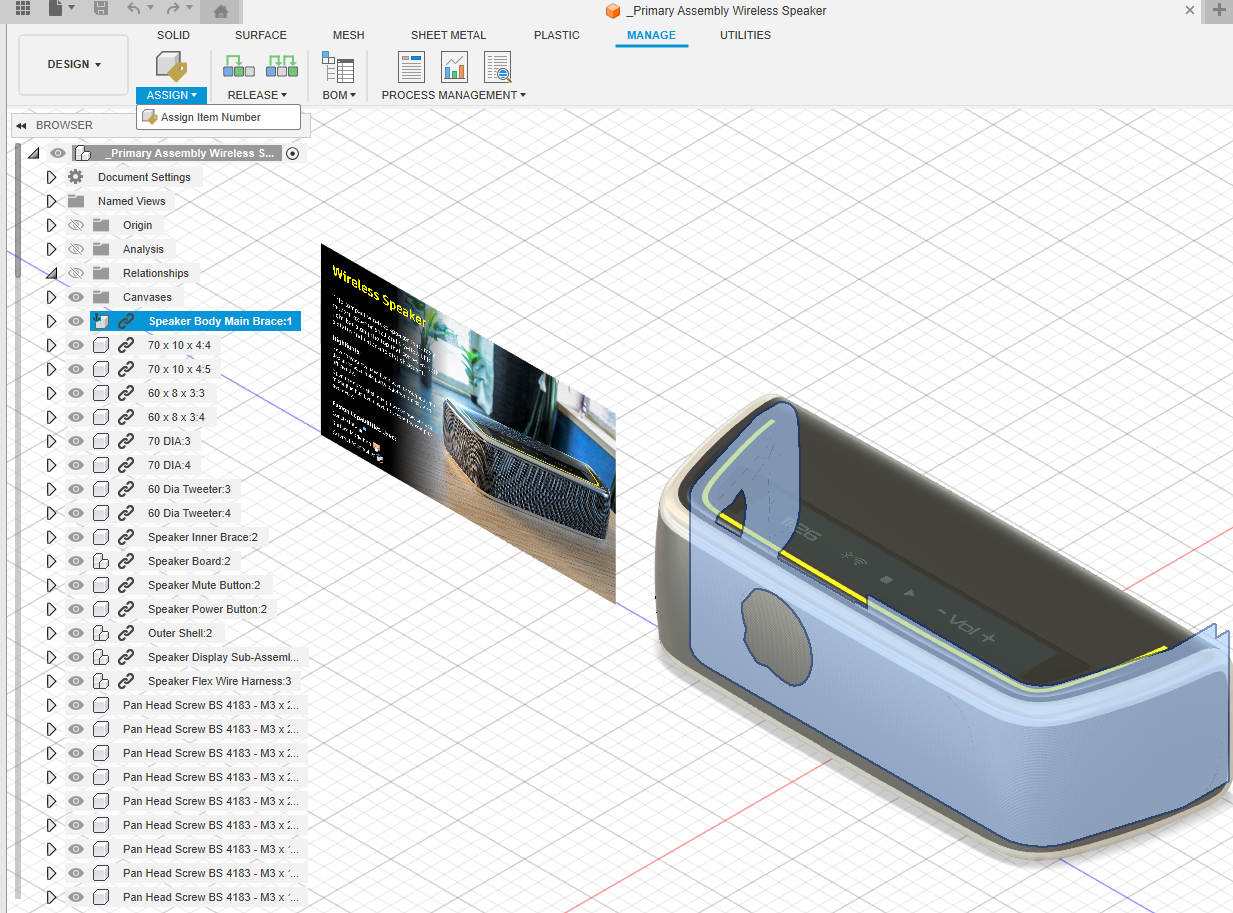
From the Manage tab, click Assign.

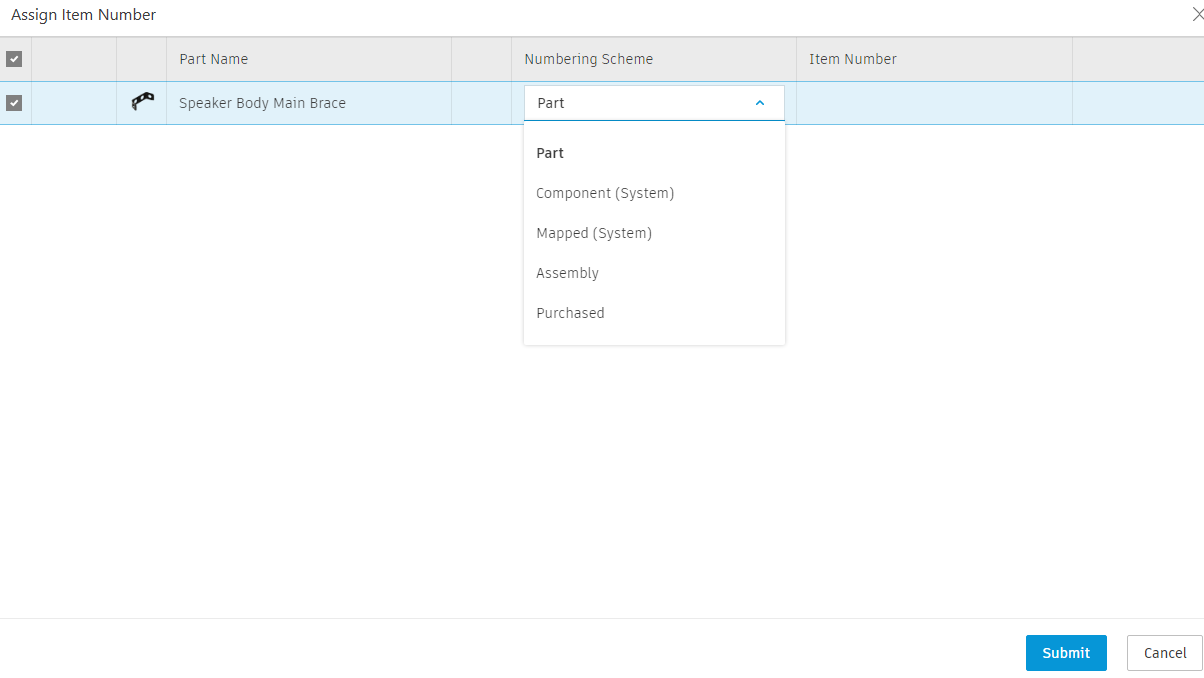
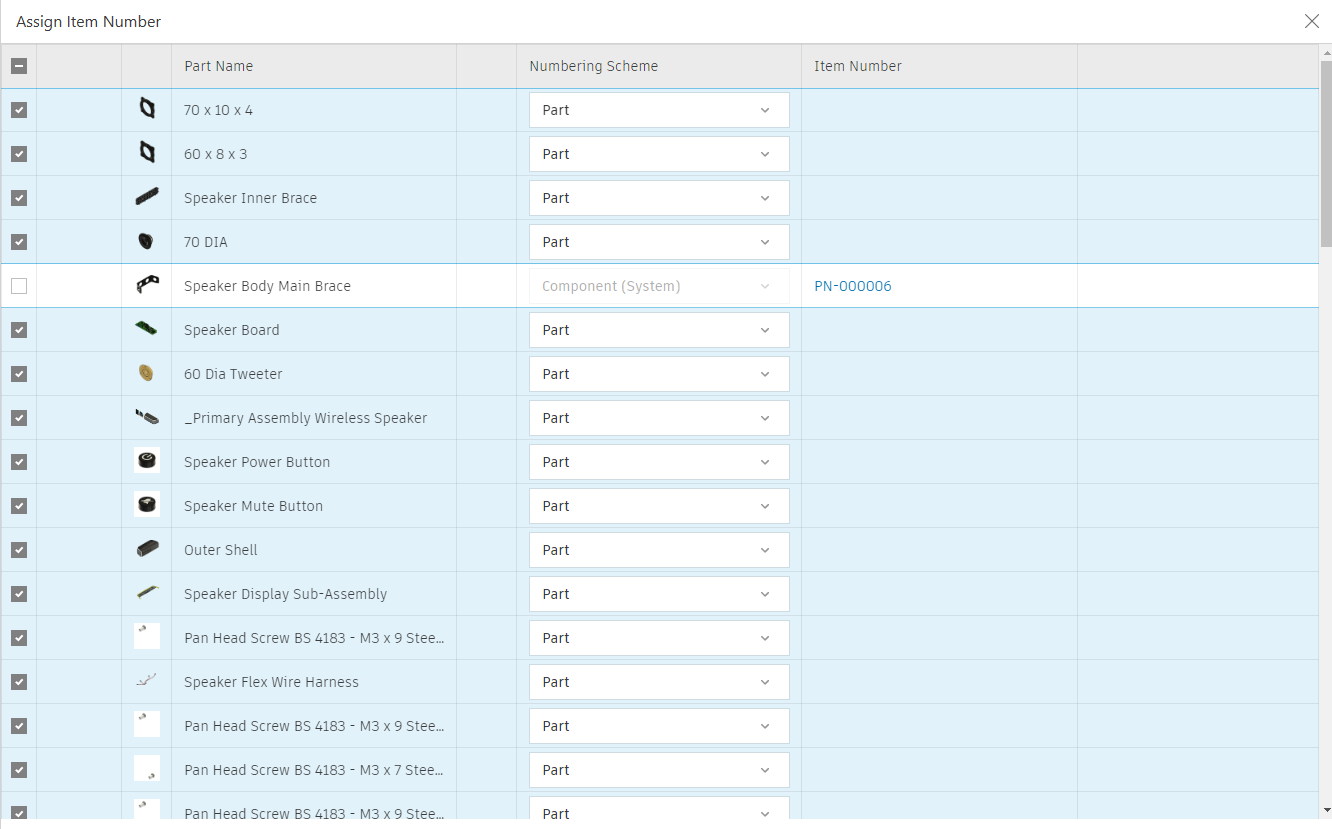
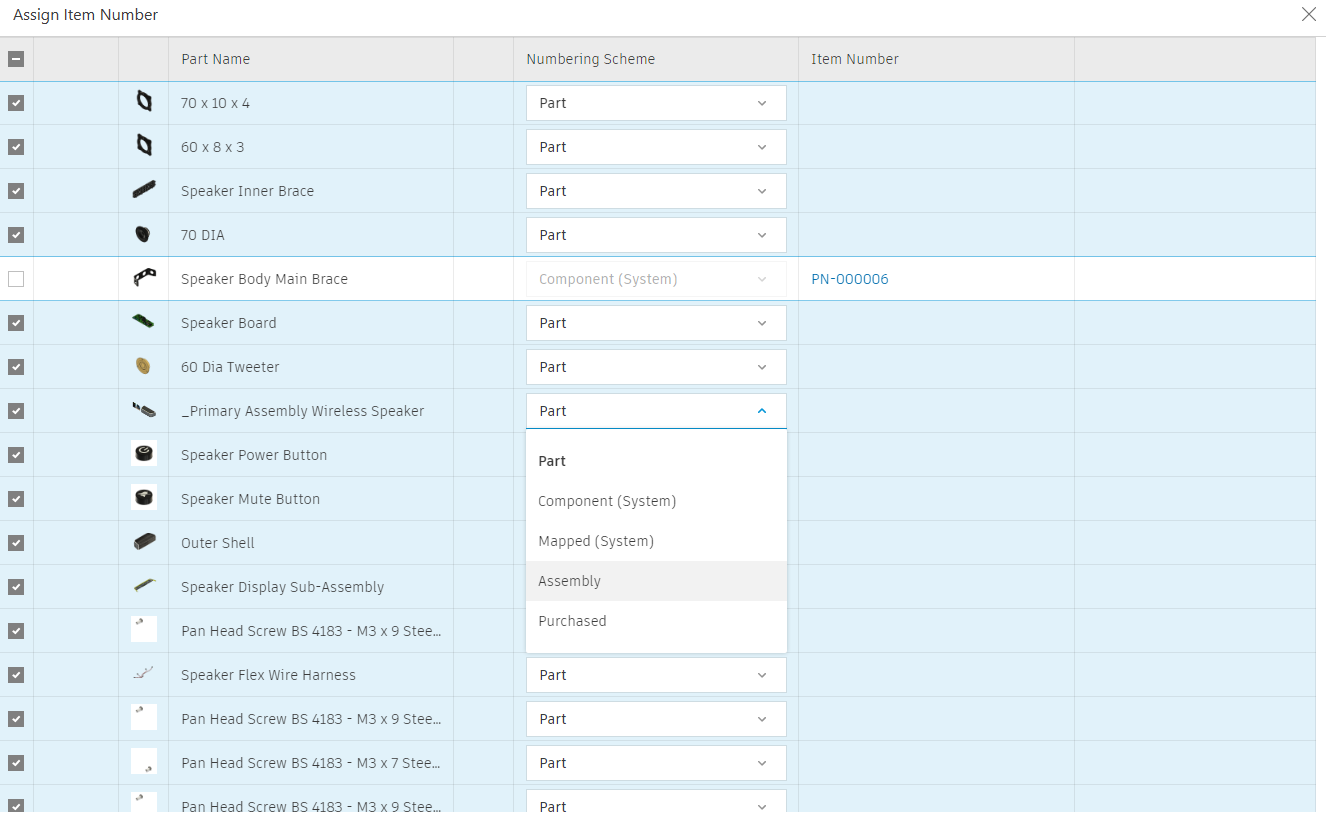
In the Assign Item Number dialog, click the Numbering Scheme drop-down. Observe that there are several item numbering schemes. In addition to the two system numbering schemes (ie. Component (System) and Mapped (System)), your administrator may have configured additional schemes.
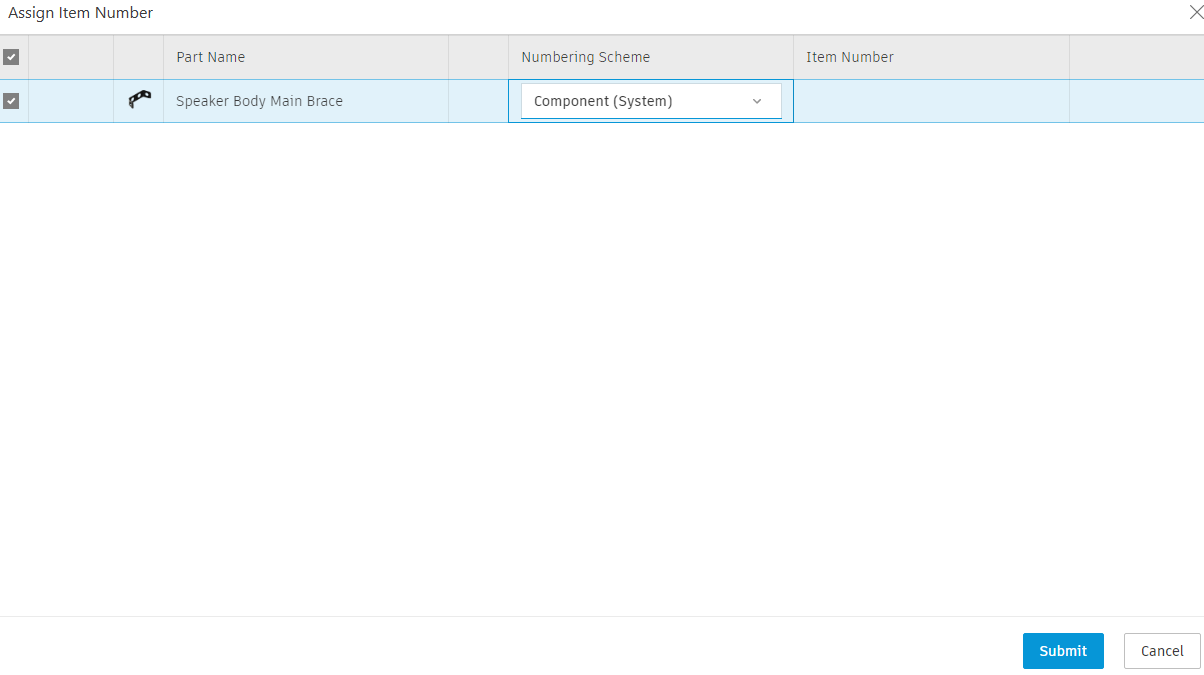
Select the Component (System) numbering scheme, then click Submit.
 Note: Your administrator should have created more than one item numbering scheme when completing their tutorials. If this is not the case, you'll only see the default numbering schemes that come with Fusion.
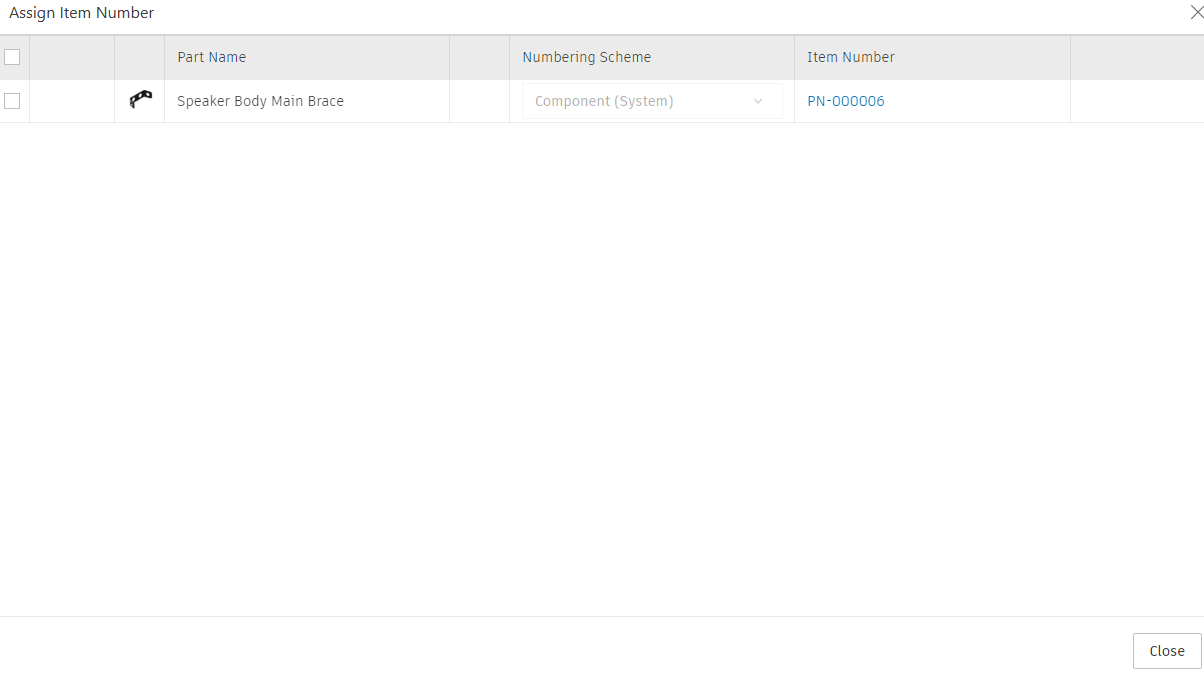
Once an item number has been assigned, close the window.
Assign an item number to all components in the Wireless Speaker.
In the Browser, highlight all components including the Speaker Body Main Brace and Wireless Speaker. You can use the
CtrlorShiftkeys to help you select multiple components.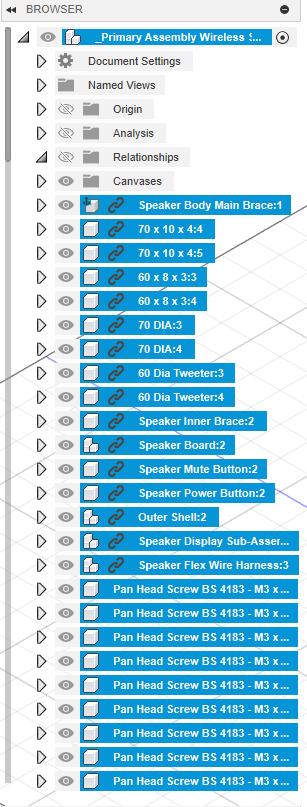
From the Manage tab, click Assign.
In the Assign Item Number dialog, notice that the Speaker Body Main Brace already has an item number assigned and is not selected by default. Leave it unselected for this activity.
Beside the Wireless Speaker assembly, click the Numbering Scheme drop-down and select the Assembly numbering scheme. The remaining components should already have the Part scheme selected by default. Do not select anything for the Speaker Body Main Brace.
 Note: The default scheme is set by your administrator.
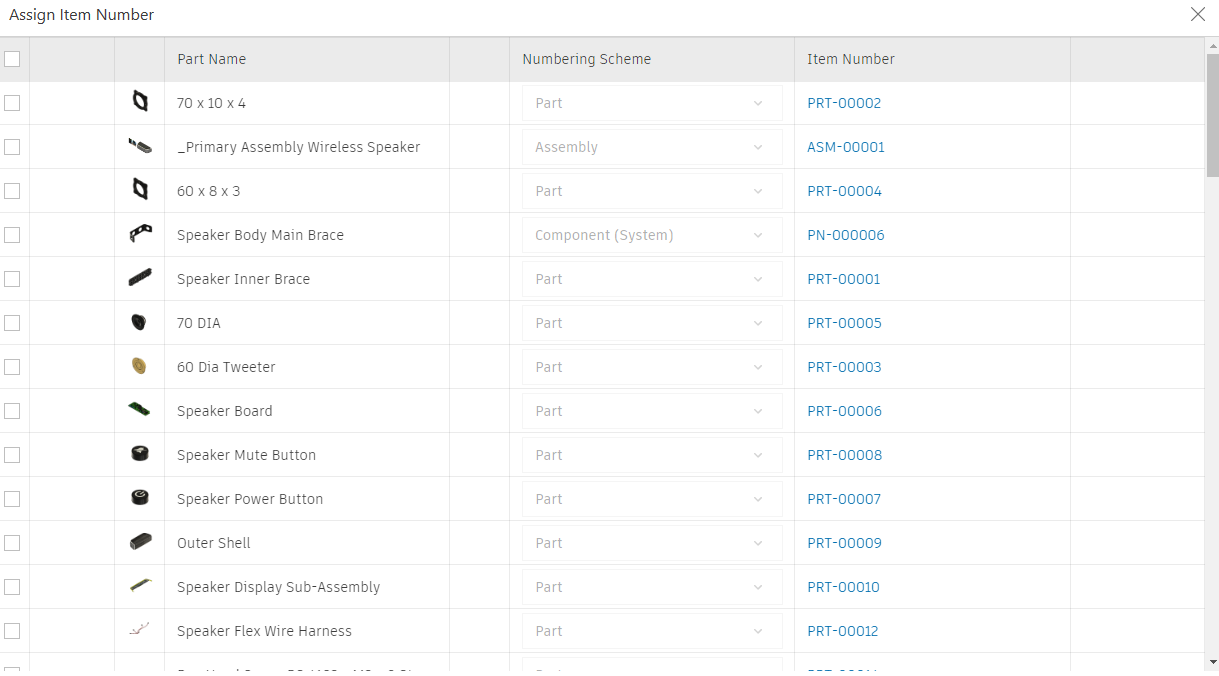
Click Submit. Wait for all item numbers to be generated, then close the dialog.
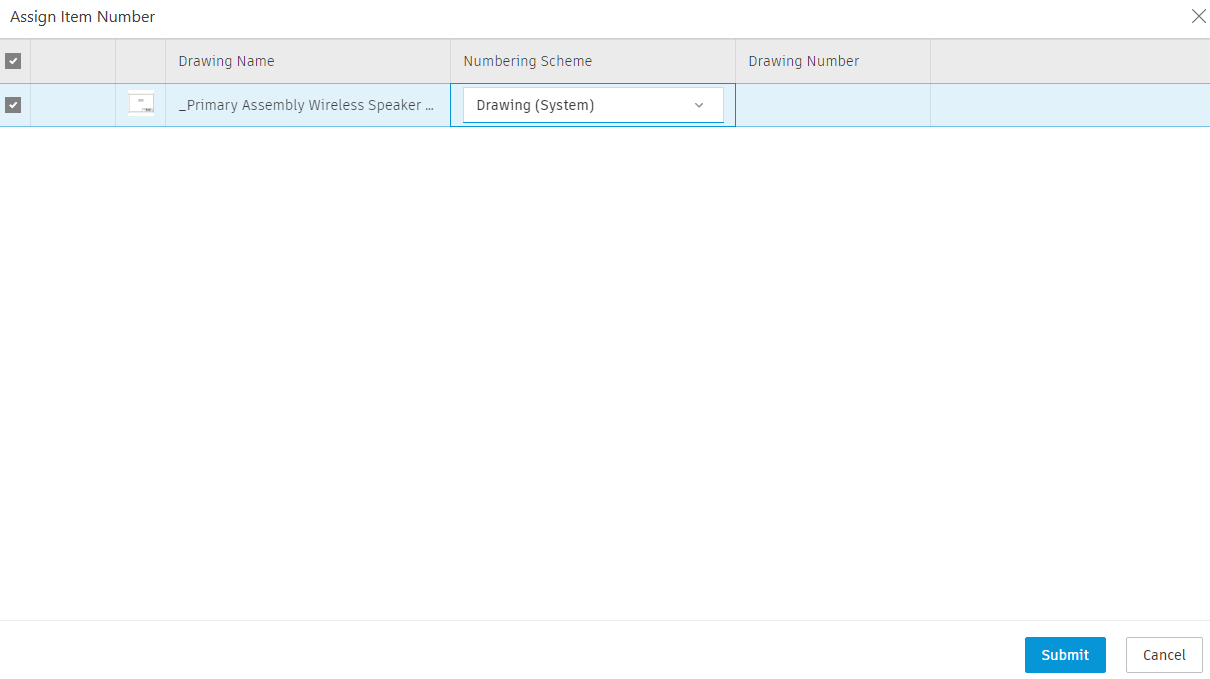
Create a drawing for the Wireless Speaker and assign it an item number using the default Drawing scheme.
Refer to this help page to create a drawing.
Save the drawing to the same location as the Wireless Speaker.
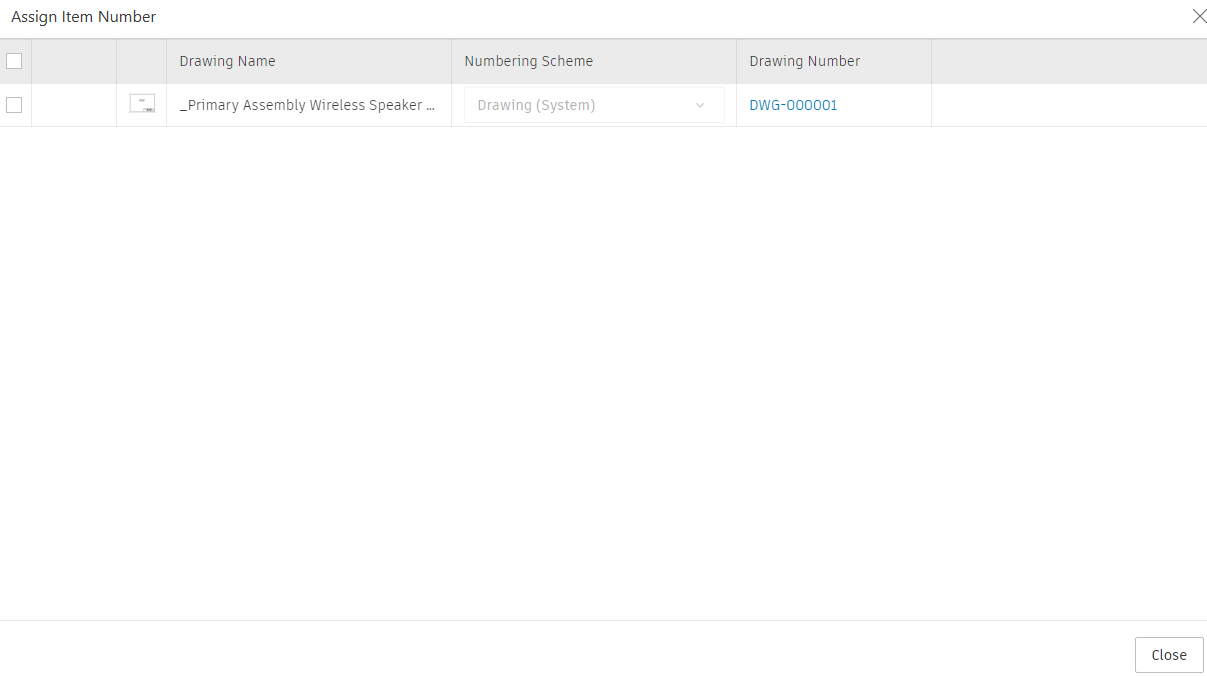
Follow step 3 to assign an item number to the drawing. However, in this case you will select the Drawing numbering scheme.
Activity 1 summary
In this activity, you assigned an item number to all components in an assembly and assigned an item number to a drawing.