
Activity 2: Change an item number
This feature is part of an extension. Extensions are a flexible way to access additional capabilities in Fusion. Learn more.
In this activity, you'll change the item number of a component and explore what happens when you do. You might do this if you chose the wrong item numbering scheme when initially setting the item number. In our example, you chose the wrong item numbering scheme (Component (System)) for the Speaker Body Main Brace component and now need to change it to use the Part scheme.
Prerequisites
- You must complete Activity 1.
- Your administrator must have created at least two item numbering schemes.
Steps
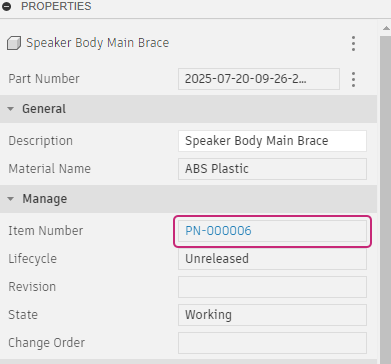
Take note of the current item number for the Speaker Body Main Brace component.
In the Wireless Speaker Assembly, from the Browser, right-click the Speaker Body Main Brace component and select Properties.
Scroll down to the Manage section and take note of the item number.
Change the item number for the Speaker Body Main Brace component.
In the Browser, highlight the Speaker Body Main Brace component.
From the Manage tab, click Assign to open the Assign Item Number dialog.
In the Assign Item Number dialog, select the Speaker Body Main Brace component. From the Numbering Scheme drop-down, select the Part numbering scheme.
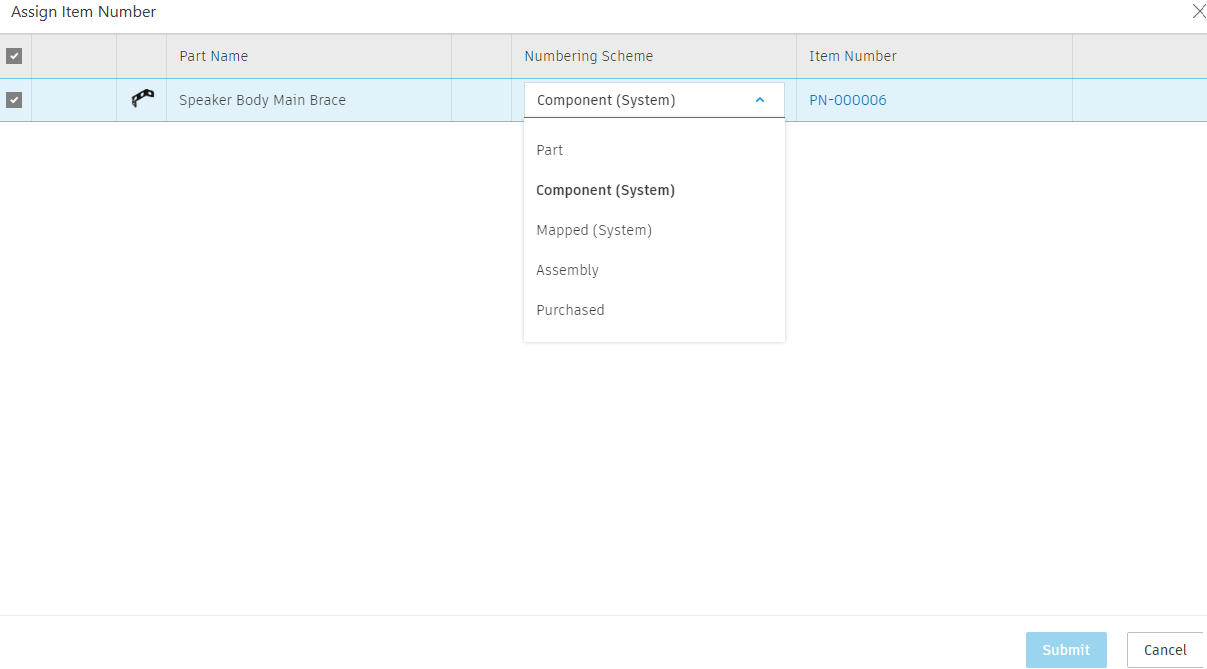
Click Submit.
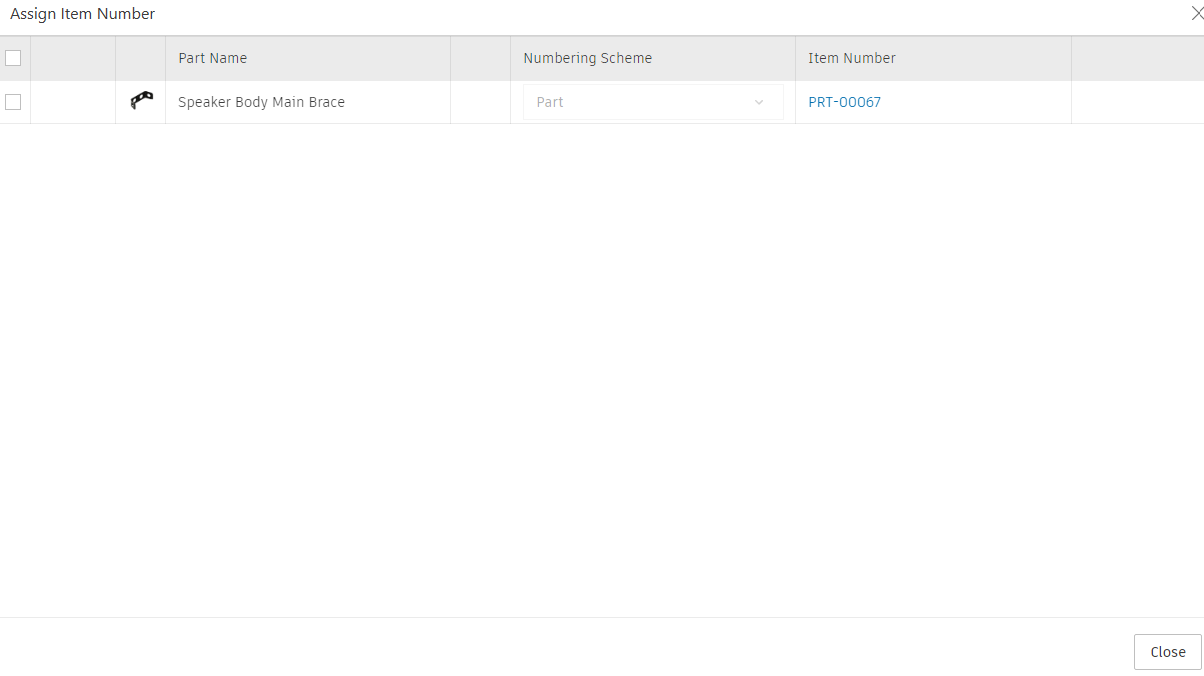
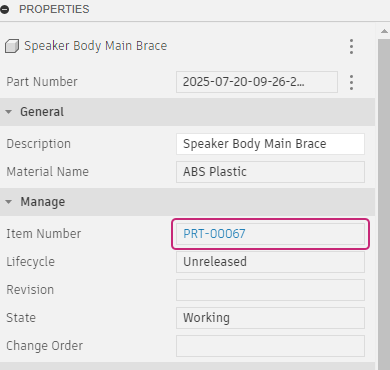
Notice that the item number is now different.
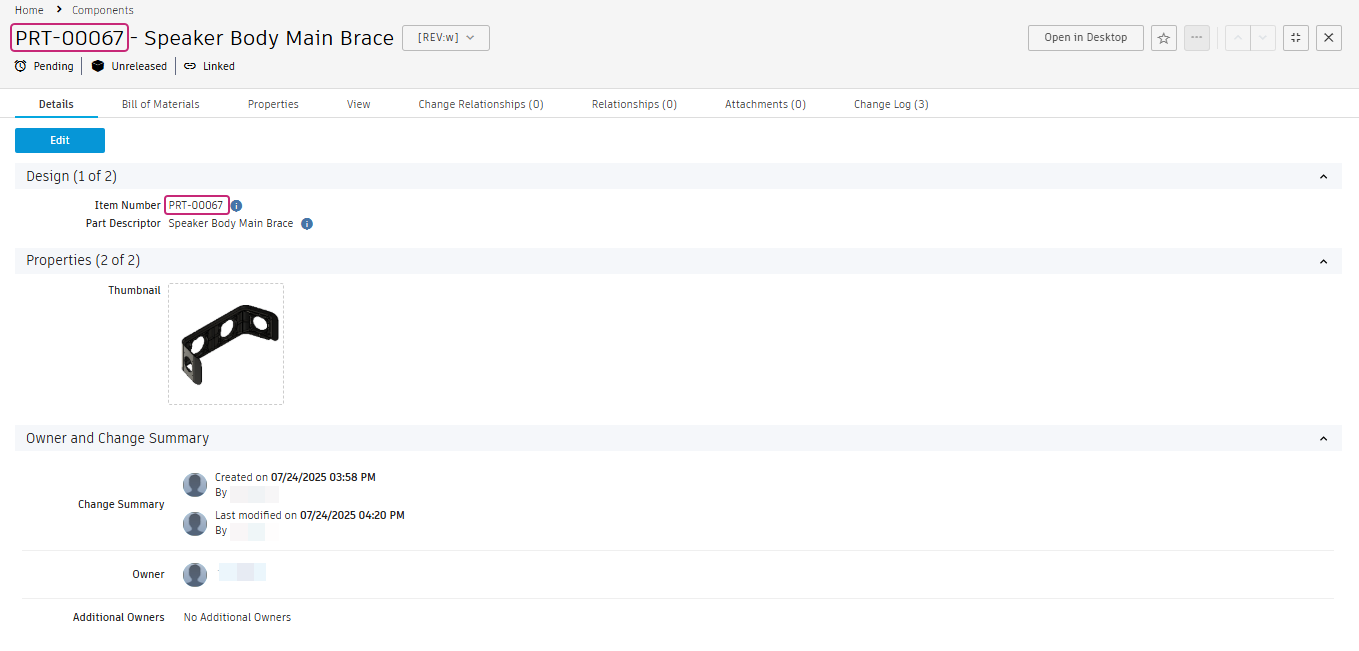
Open the item in the Fusion Manage Extension site.
In the Browser, right-click the Speaker Body Main Brace and select Properties.
From the Manage section, click the item number.
The browser opens to the item with its new item number.
Search for the original item number.
From the main menu, select Search.
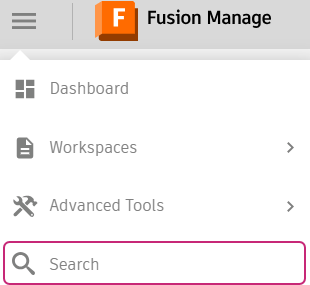
Type in the original item number and press Enter.
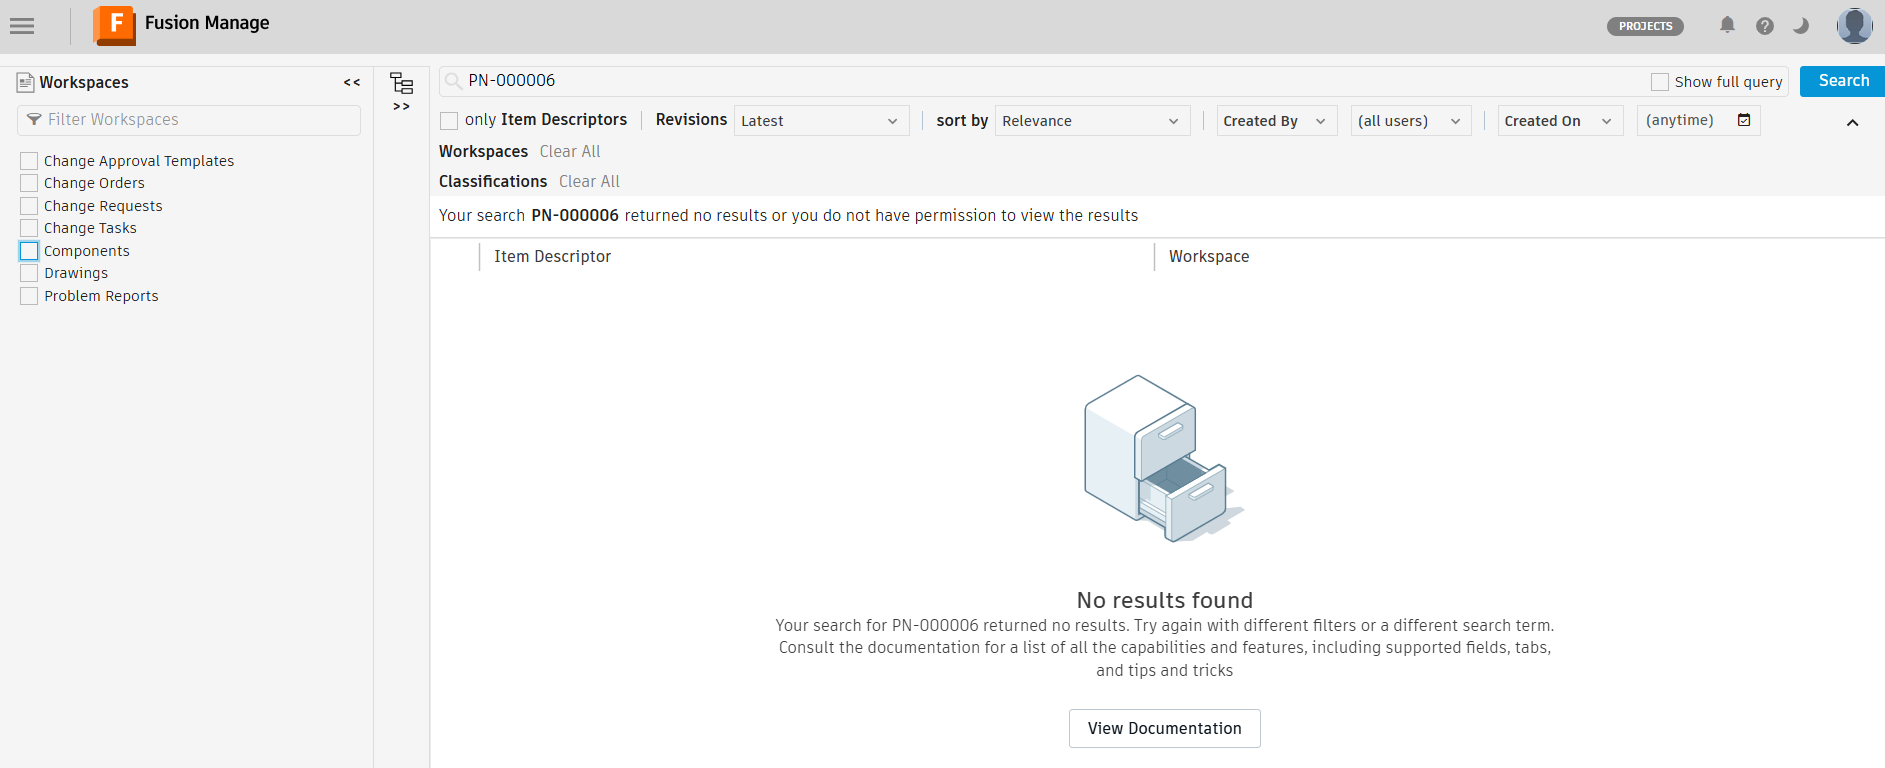
Notice that you cannot find it. This is because renumbering updates the item record with the new number and doesn't just create a new record.
Activity 2 summary
In this activity, you changed the item number of a component and explored what happens when you do.