
Rendering a Cloud - Arnold for Maya
 |
 |
This tutorial gives a step-by-step approach on how to render the Walt Disney Animation Studios Cloud Data Set. The VDB files contained within the download are heterogeneous volumetric cloud model containing density data. We will render this VDB data using an Arnold Volume and shade it using a standard volume shader. We will light the scene using a physical sky connected to the color of a skydome light
A scene file can be downloaded here.
The tutorial is broken up into the following chapters:
Data
Arnold Volume
Lighting
Ray Depth
Standard Volume Shader
Final Render Settings
Data
- Start off by downloading the cloud volume data from the link above and unzip the contents of the file. You should see various VDB files of varying sizes, reference images and a
README.txtfile.
Arnold Volume
- Create an Arnold Volume and under Filename open the file
wdas_cloud_sixteenth.vdb. This is the lowest resolution version of the cloud data and so will be quicker to load initially (we will replace it at the end with the full resolution VDB file). - Increase the step scale to make the volume softer with less scattering. A step size of zero means that the voxel size will be used as the step size. A recommended value for step scale is between 10 and 20 for this dataset.
 |
 |
| 1 | 20 |
Lighting
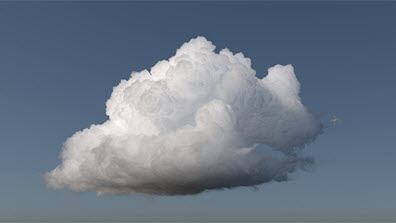
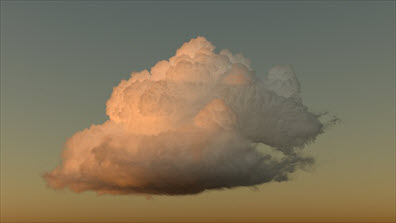
- Connect a physical sky to the color attribute of a skydome light. Adjust the elevation and azimuth of the physical sky to get an interesting lighting effect. Alternatively, you can just rotate the skydome light in the Y direction.
 |
 |
| Elevation: 45 (default) | Elevation: 10 (sunset) |
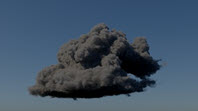
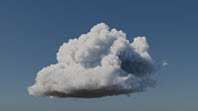
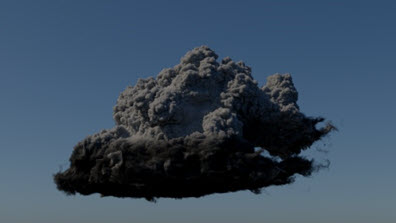
Ray Depth
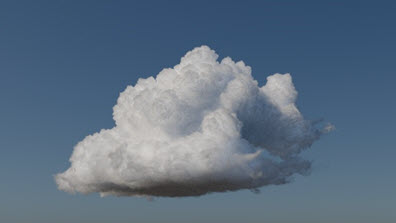
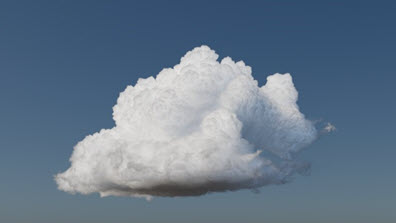
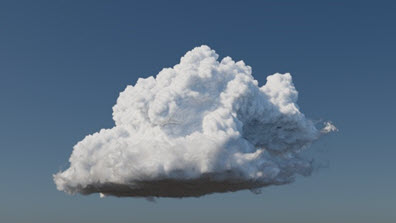
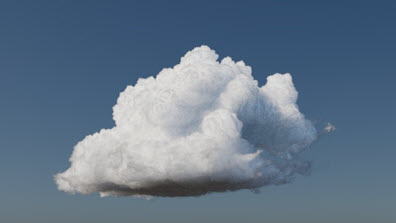
- Before you start rendering the volume, increase the volume ray depth in the render settings to a high value like 50 (remember to increase the total ray depth to 50). This is key to achieving the realistic cloud look as the light will bounce many times inside the volume, making it appear much brighter.
 |
 |
| 0 (default) | 10 |
 |
 |
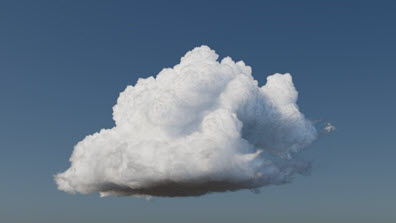
| 25 | 50 |
Standard Volume Shader
- Create a standard volume shader and assign it to the volume. The following attributes were adjusted to give the volume the appearance of a cloud.
 |
 |
| scatter color: 0.5 (default) | 10 |
The scatter slider is maxed to 1. Increasing this value above 1 is a hack and should be used with care. The number should normally be below 1 to be energy conserving.
Remember to add 'density' to the scatter color channel.
| transparent depth: 1. | 15. Controls the depth into the volume at which the transparent color is realized. |
Increasing this value gives the volume a much more cloud-like appearance.
transparency depth is unit-dependent.
| transparent weight: 0.368. | 0.7. Increasing this value allows for more control over the density of the cloud volume. |
 |
 |
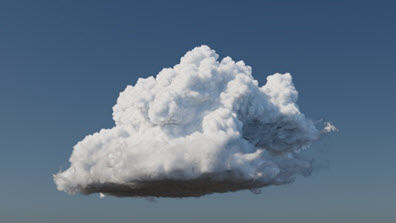
| Density: 1. | 4.3. Increasing this value gives the cloud volume a thicker appearance. |
 |
 |
| Anisotropy: 1 (default). | 0.5 (anisotropy should be above 0 as clouds are quite strongly forward scattering). |
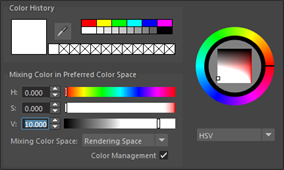
Color value increased to 10 in color chooser
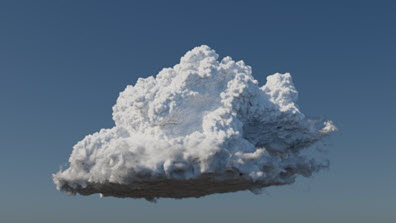
Final Render Settings
Once you are happy with how the cloud is looking, you are ready for final frame rendering.
- Replace the VDB file
wdas_cloud_sixteenth.vdbwithwdas_cloud.vdb.Bear in mind that this is the full resolution VDB file and so will take longer to render.
 |
 |
| 'wdas_cloud_sixteenth.vdb'. | 'wdas_cloud.vdb' |
- Once you are happy with the lighting (and shading) increase the number of skydome light volume samples to around 5 or 6.
- Increase camera (AA) to around 5.
- Under Sampling in the render settings, increase volume indirect to around 3. This will help to remove noise from the indirectly lit areas of the volume.
 |
 |
| Volume indirect: 2 | 3 |
- Finally, render the scene. That concludes this tutorial on how to render a VDB cloud data set.
Once you have completed this tutorial, remember to take your head out of the cloud!
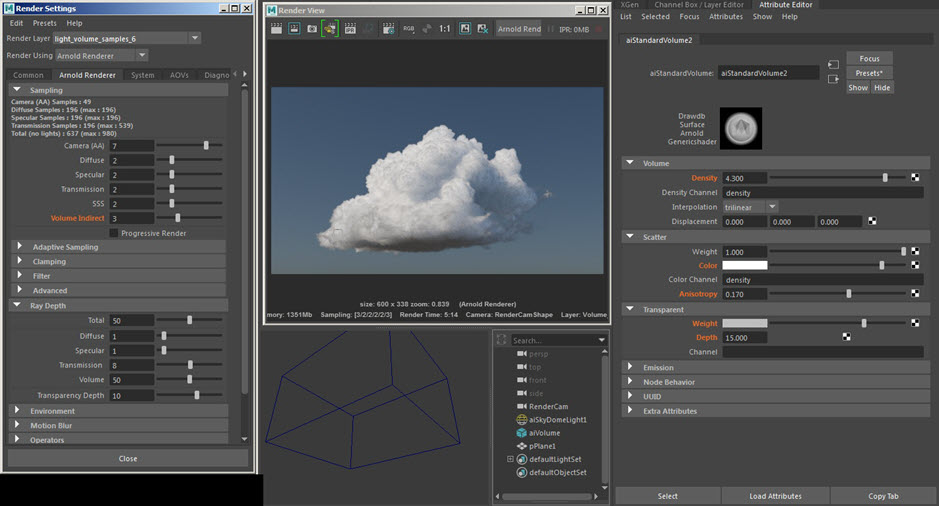
Settings used for this scene